89
APPENDIX C — 42CE/42DC RETURN MODIFICATION
Below are the procedures for converting furred-in ceiling model
fan coils with factory-installed plenum's from rear return to bot
-
tom return.
Precautions
Use eye, ear, and hand safety gear prior to handling sheet metal or
modifying any fan coil units.
42CE and 42DC Units
All necessary holes for attachment are present on the unit.
Do not drill new holes.
Use No. 8 sheet metal screws for all attachments.
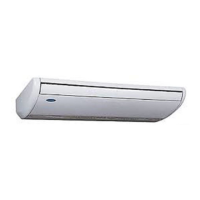
42CE Rear to Bottom Return Conversion (Typi-
cal 42CEA03 Rear Return Unit Shown)
1. Remove filter and access panel.
2. Install access panel on the rear of the unit with 5 screws.
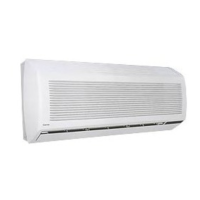
3. Bend the tabs on each of the plenum side panels to hold
the filter in place.
4. Install filter.
5. Use aluminum tape to cover up the holes on both of the
plenum side panels.
NOTE: To convert a Bottom Return unit to Rear Return, follow
the same process but ensure you bend the correct tabs for holding
the filter in place.
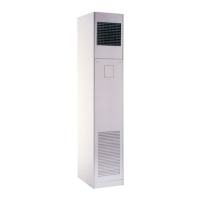
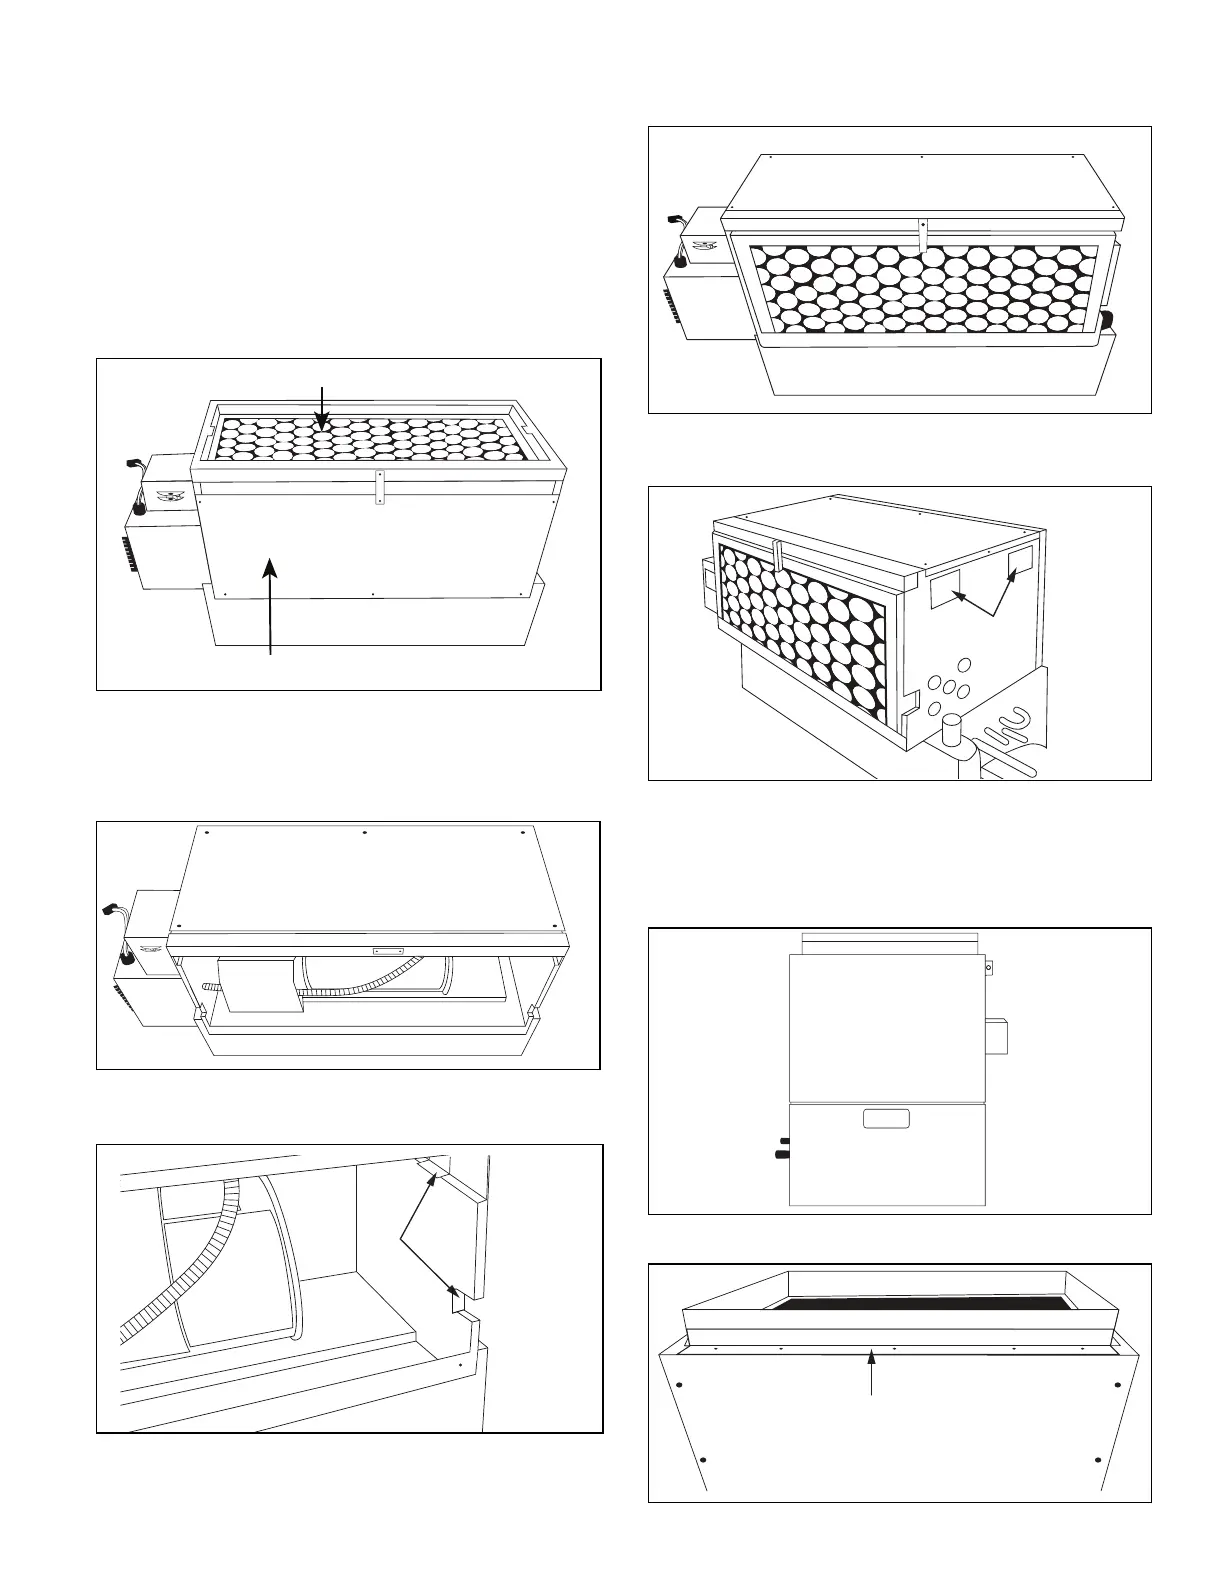
42DC Rear to Bottom Return Conversion
(Typical 42DCA03 Rear Return Unit Shown in
Pictures Below)
1. Remove filter bracket and take out the filter.
FILTER
ACCESS PANEL
BRACKET
(REMOVE)
 Loading...