GB - 14
Zone Manager
Unit zone addressing
The units must have their communications address changed to
the zone number in which they will occupy.
Figure shows an example using 9 units and 4 zones.
For this example, the values shown in Table 1 should be used.
For this example, units B, C, E, H, and I will occupy Zone 4.
Therefore their communications addresses should be configured
to address 4.
The numbering of the zones must begin with Zone 1. Any
further zones must be added in a sequential order.
For example, configuring the zones 1, 2, 3, and 5 will result in
improper operation. (Fault code C4 would be seen).
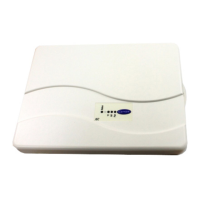
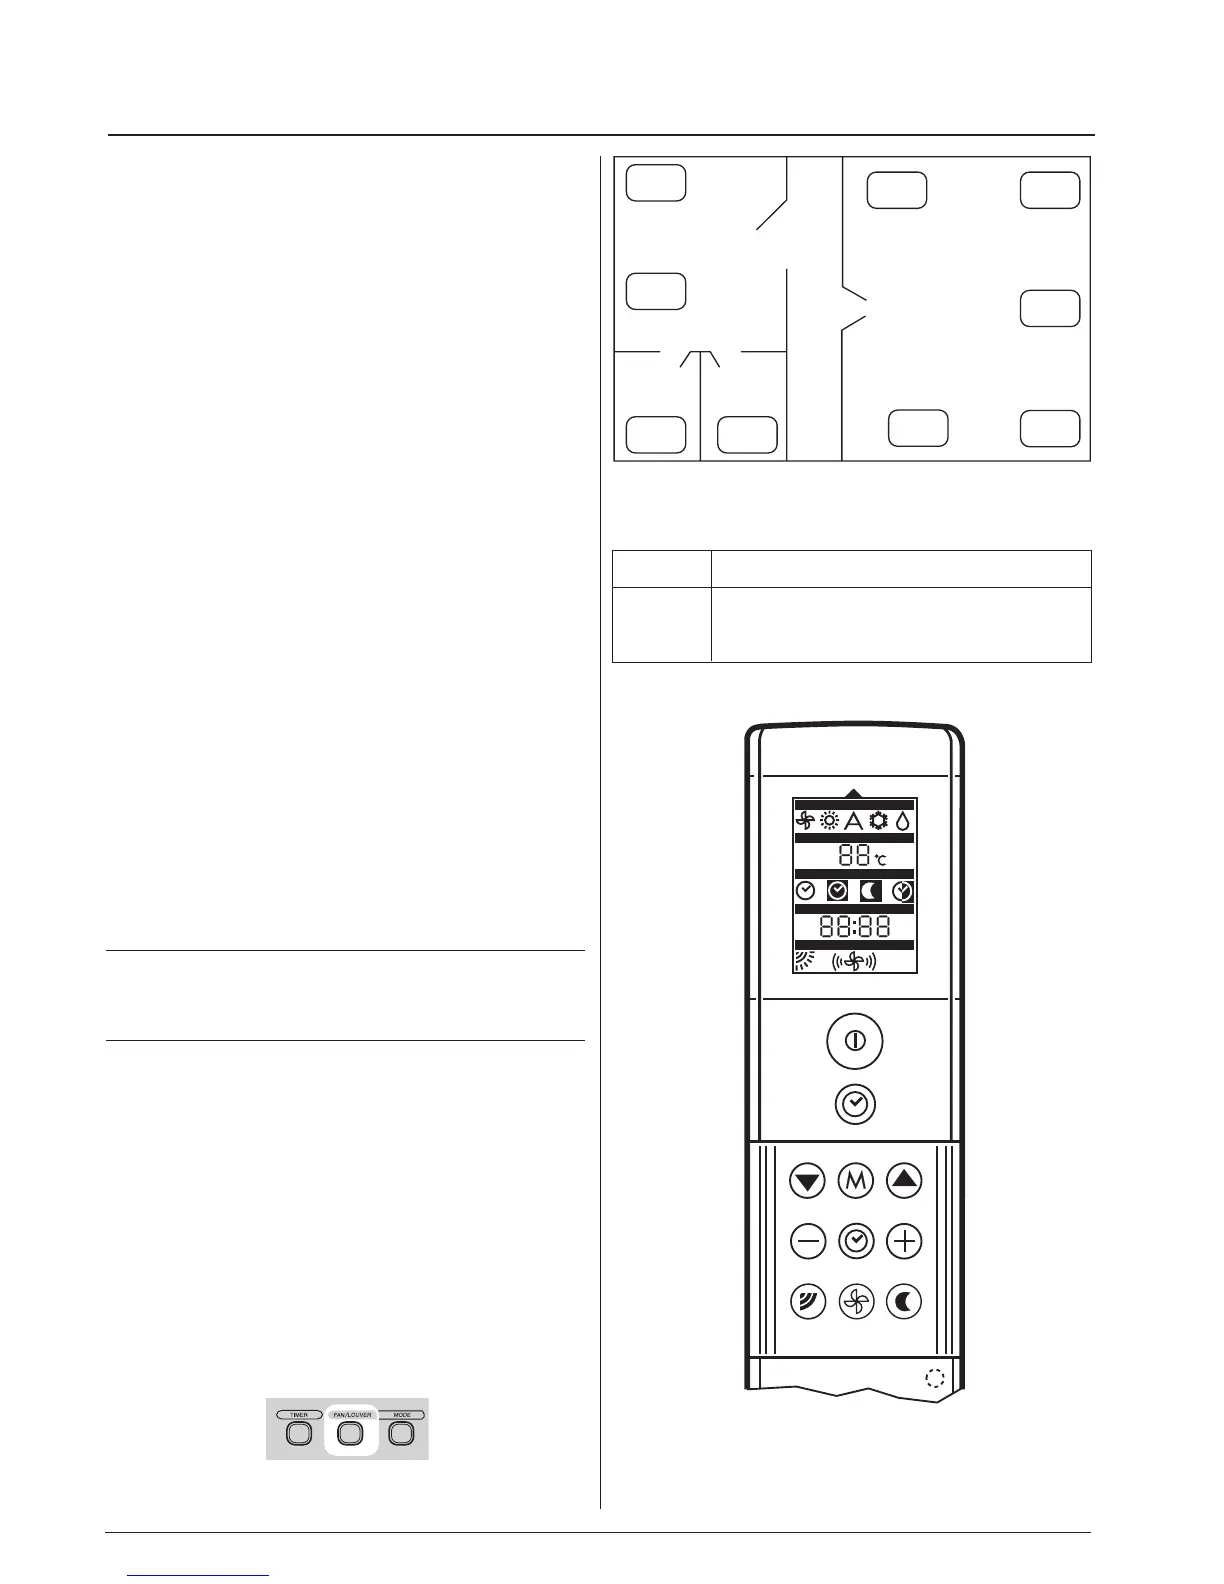
Configuring the communications address using the
IR remote
Remove the sliding panel from the remote exposing the
batteries and clock set button.
ENTERING CONFIGURATION MODE
• With a pointed object, such as a ball-point pen, depress the
clock set button.
• While depressing the clock set button, hold the "
MODE" button
depressed for 3 seconds.
Until the LCD display will change to display the number one
and the word "Id:un" Release the clock set and "
MODE" buttons.
• Press the mode button twice to cycle through the configuration
menùs and select address. The LCD display will display an
"Ad:dr" when the address configuration menù is selected.
SELECTING ADDRESS
• Press the "up" or "down" buttons to change the address
number to configure the unit.
NOTE:
While it is possible to configure a communications address from
1-32, a unit must have an address from 1-8 to work properly
with the Zone Manager.
SENDING ADDRESS TO THE UNIT
While pointing the remote at the unit, press the "ON/OFF" button.
The unit will quickly beep as verification of receiving the new
communications address.
EXIT CONFIGURATION MODE
Press the "
FAN" button on the remote to exit the configuration menù.
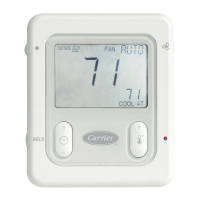
Configuring the CCN Address using the Group Controller
ENTERING CONFIGURATION MODE
Please make sure the Group Controller is properly wired to the
unit to configure the address.
• On the Group Controller press and hold the "
FAN/LOUVER"
button for 5 seconds. After 5 seconds a "1-" will appear.
Remote control
A
BC
D
Unit H
Unit D
Unit F
Unit B
Unit C
Unit G
Unit A
Unit I
Unit E
Example unit configuration
Table 1: CCN addresses for units
Unit A B C D E F G H I
Communic.
14414 2344
Address
Unit zone addressing
MODE
TEMPERATEMPERATURETURE
TIMERTIMER
CLOCKCLOCK
A
I
R
 Loading...