68
Advanced Settings
. Shooting Beautiful Scenery Images (Landscape)
1. Enter the Landscape Mode
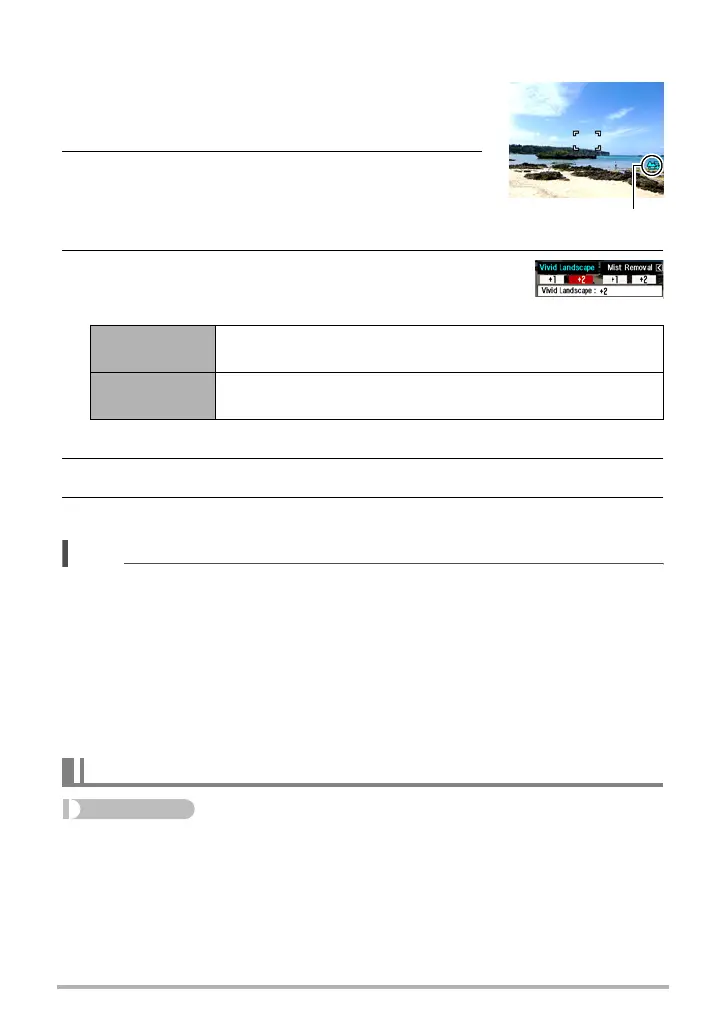
• Entering the Landscape Mode causes the Ö to
appear on the Control Panel.
2. Press [SET].
3. Use [4] and [6] to select the Landscape Mode
setting (third Control Panel option from the bottom),
and then press [SET].
• Available level settings are “+1” (Weak) and “+2” (Strong).
4. Point the camera at the scenery you want to record.
5. Press the shutter button to shoot.
NOTE
• The Make-up Mode and Landscape Mode cannot be used during movie recording.
• The following functions cannot be used together with the Make-up Mode:
Triple Self-timer, Face Detection, Landscape Mode, Some BEST SHOT scenes
• The following functions are disabled while the camera is in the Landscape Mode:
Triple Self-timer, Make-up Mode, Face Detection, Lighting, Color Filter, Sharpness,
Saturation, Contrast, Some BEST SHOT scenes
• Switching from “Auto” to “Premium Auto” (page 26) causes the Make-up and/or
Landscape Mode features to be applied automatically. Because of this, you cannot
enter the Make-up Mode or Landscape Mode while you are using Premium Auto.
Procedure
[r] (REC) * [MENU] * Quality Tab * EV Shift
For details, see the Control Panel procedure on page 46.
Vivid
Landscape
Enhances colors to produce a clearer, more vivid landscape
image.
Mist Removal
Corrects for misty and cloudy conditions for scenery images
that appear as if they were shot on a clear day.
Correcting Image Brightness (EV Shift)
Landscape icon
 Loading...