E-14
Playing a Rhythm
NOTE
• With the rhythms listed below, make sure that CASIO
CHORD, FINGERED, or FULL RANGE CHORD is
selected before you try playing chords. The volume of
percussion instruments is very low, and percussion is
inserted in a way that does not interfere with the overall
mood of the rhythm.
To play with Auto Accompaniment
PREPARATION
• Use the procedures under “Selecting a Rhythm” to select
the rhythm you want to use and adjust the tempo.
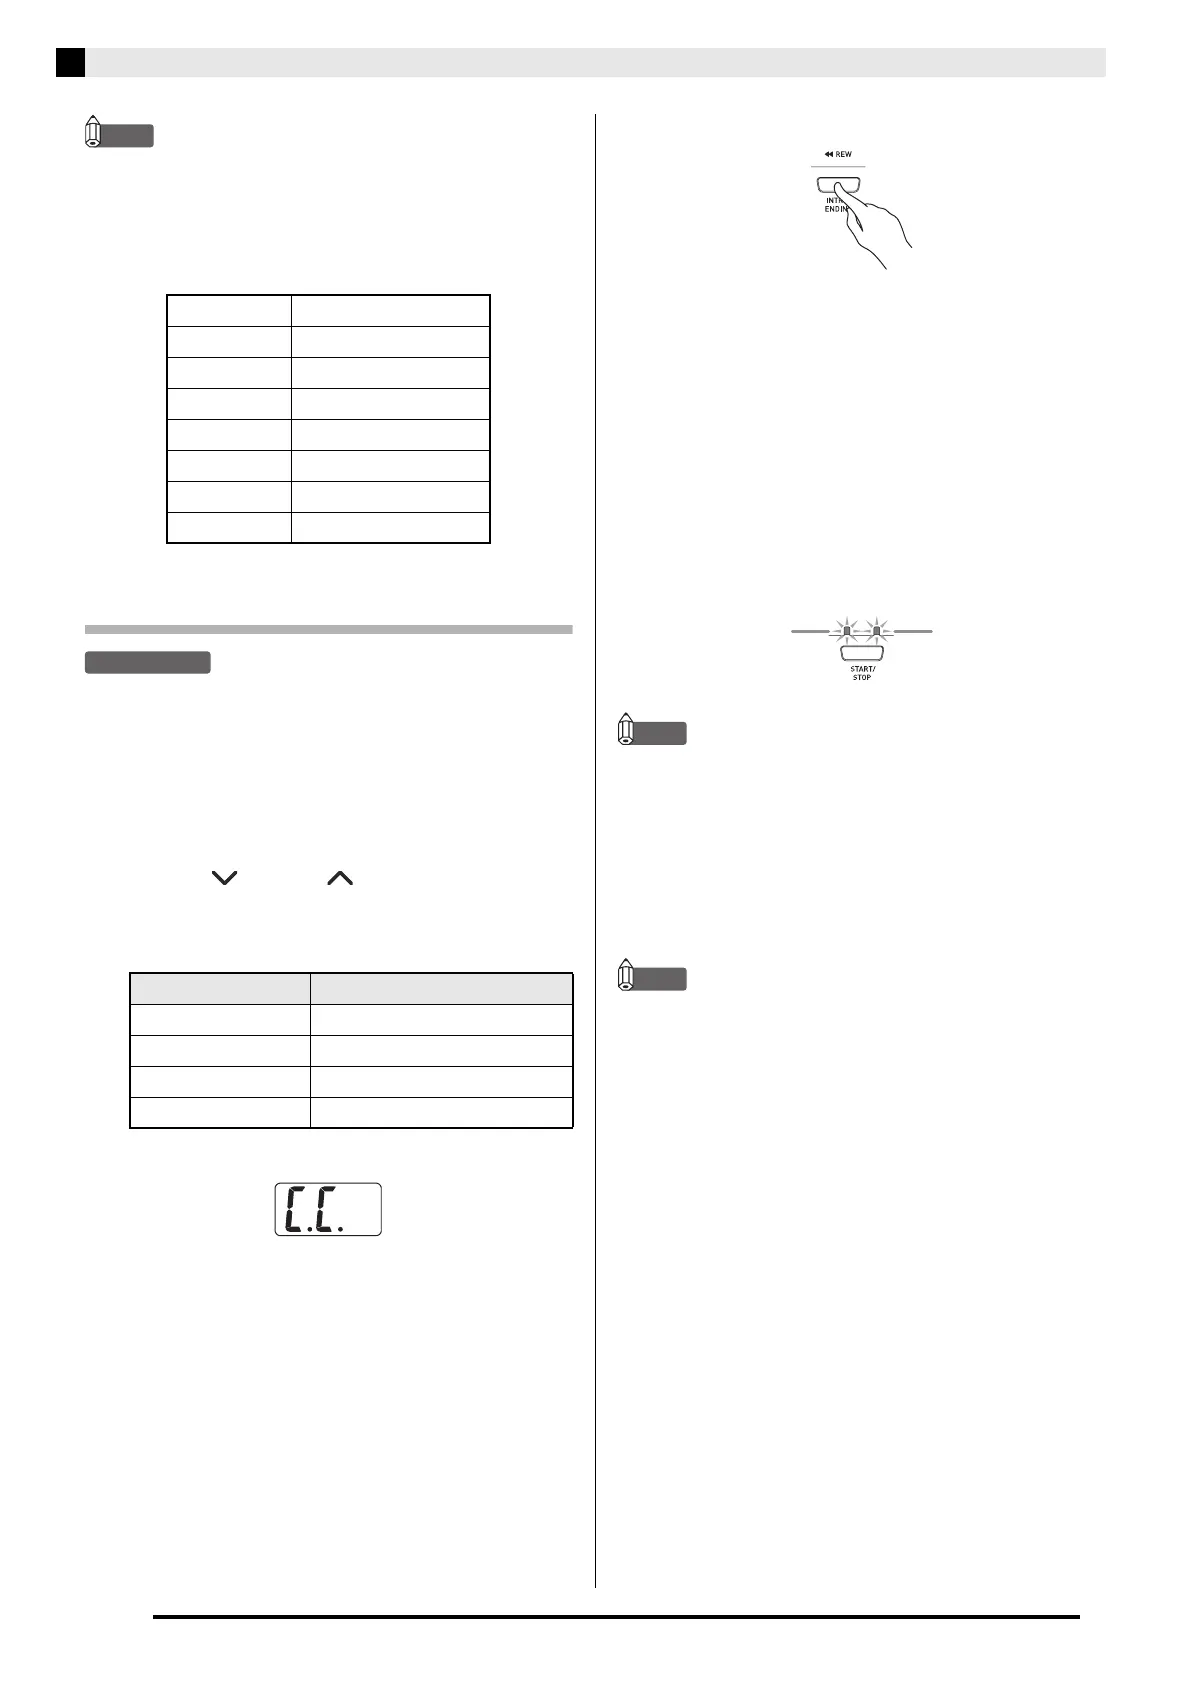
1.
Press the TEMPO/SETTING button.
• This will cause the button’s lamp to flash.
2.
Press the MODE button.
3.
Use the /NO and /YES buttons to select
one of the Auto Accompaniment modes
shown below.
• Here we will select the CASIO CHORD mode.
• See “How to Play Chords” on page E-15 for details
about Auto Accompaniment modes and their chord
fingerings.
4.
Press the TEMPO/SETTING button again.
• This will cause the lamp above the button to go out.
5.
Press the SYNCHRO/FILL-IN button.
• This configures the digital piano so rhythm and
chord accompaniment will start automatically when
you press any keys within the accompaniment
keyboard range.
• This will cause the two lamps above the START/
STOP button to flash.
6.
Press the INTRO/ENDING button.
7.
Finger the first chord within the
accompaniment keyboard range.
• Playing a chord will cause the intro pattern for the
selected rhythm to play, followed by the
accompaniment rhythm and chord pattern.
8.
Finger other chords on the keyboard.
• See “How to Play Chords” on page E-15 for
information about how to finger chords within the
different Auto Accompaniment modes.
• The two lamps above the START/STOP button will
flash along with the beat.
NOTE
• You can insert a fill-in pattern while a rhythm pattern is
playing by pressing the SYNCHRO/FILL-IN button. A
fill-in helps to change the mood of the pattern.
9.
To stop accompaniment, press the INTRO/
ENDING button.
• This will play an ending pattern for the selected
rhythm before stopping Auto Accompaniment play.
NOTE
• You can stop accompaniment play without an intro and
ending pattern by pressing the START/STOP button in
place of steps 6 or 9.
• See “Other Settings” on page E-24 for information about
adjusting accompaniment volume.
10 ROCK’N’ROLL
14 ARPEGGIO 1
15 ARPEGGIO 2
16 MARCH 1
17 MARCH 2
18 STRIDE PIANO
19 WALTZ 1
20 WALTZ 2
Display Indicator Meaning
oFF NORMAL
C.C. CASIO CHORD
FnG FINGERED
FUL FULL RANGE CHORD
Flashes on the
first beat.
Flashes on
subsequent beats.
C
PX200_02_e.fm 14 ページ 2007年5月7日 月曜日 午前10時34分
 Loading...