– 6 –
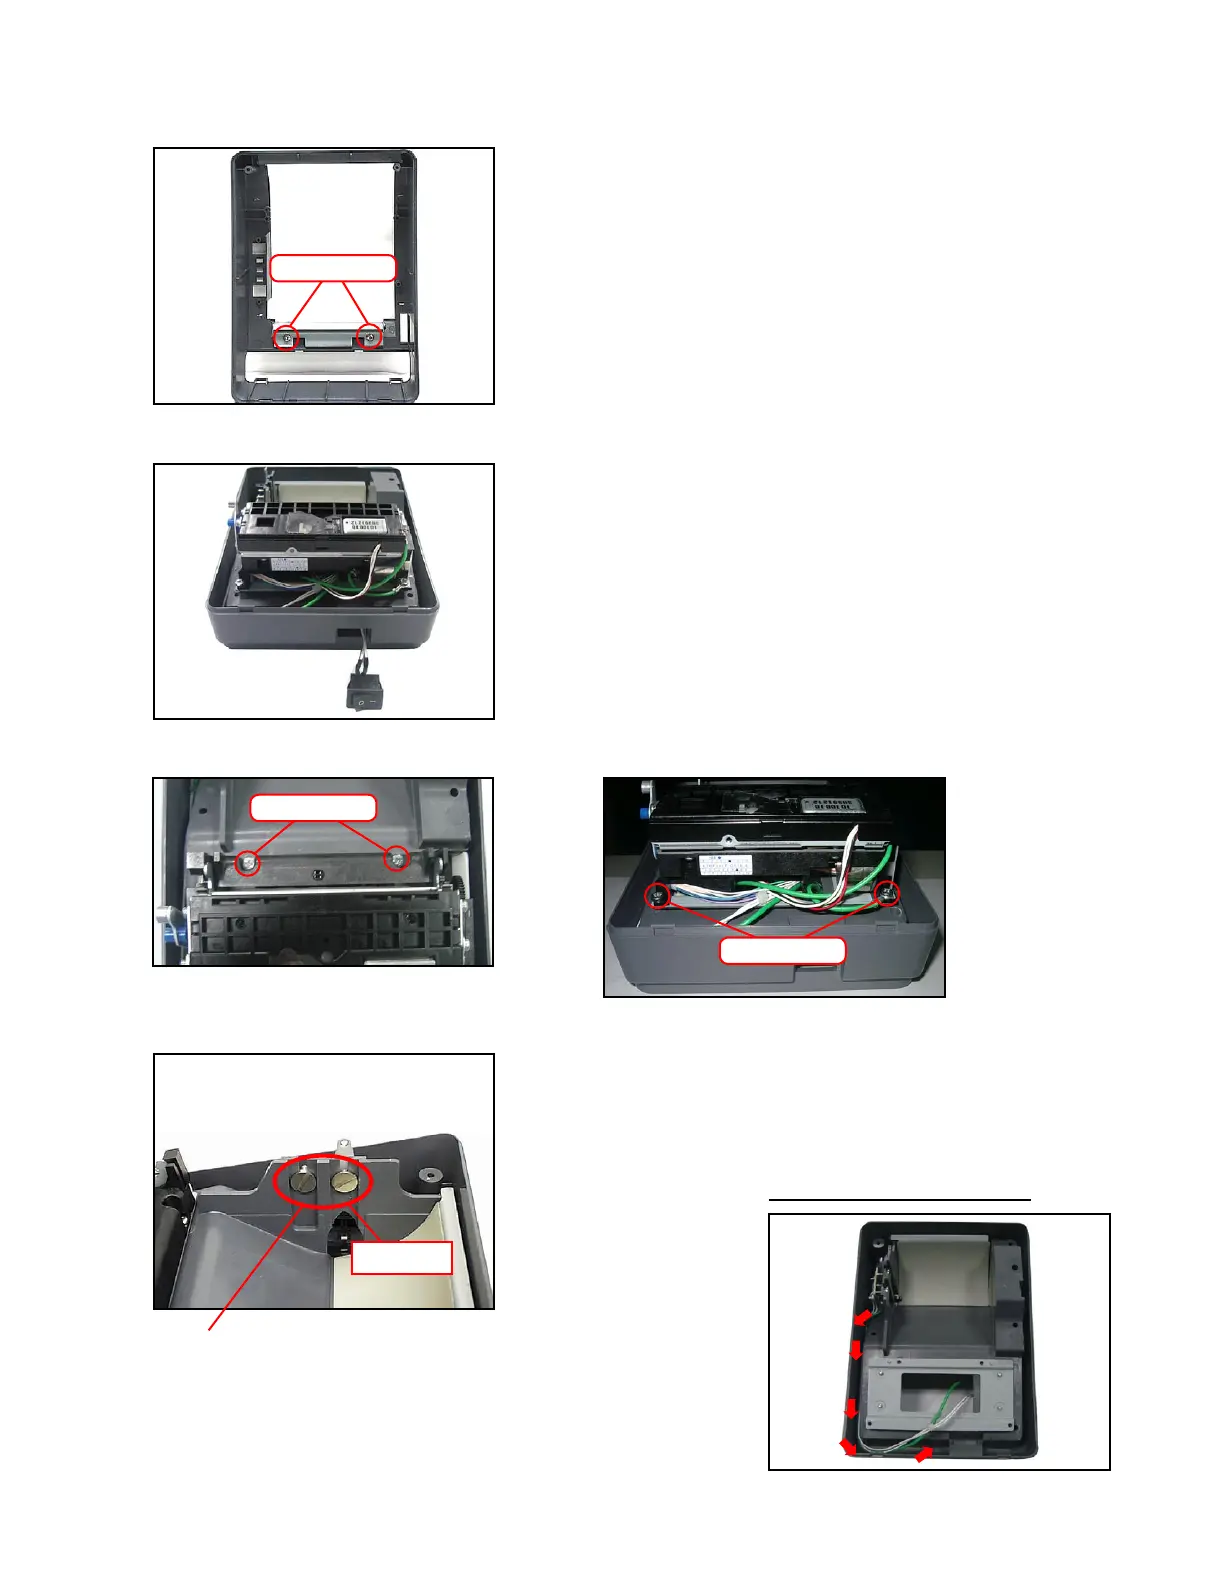
8. Remove the two screws and then the paper guide and the cutter.
Screws
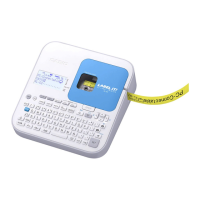
10. Remove the four screws and then the printer unit.
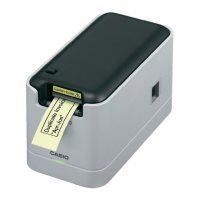
9. Remove the power switch.
Screws
Screws
11. Loosen the two screws and then remove the end sensor unit.
Precaution when assembling
Fix the end sensor unit at the lowest of the groove.
Loosen
Precaution when assembling: