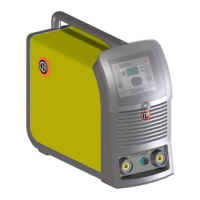
5
4) To improve the quality of the welding the following acces-
sory functions are available that relate to the MMA weld-
ing process selected:
•
HOT START - This increases the welding current, in per-
centage terms, for a time interval that can be set at the
start of the welding process, thereby reducing the risk of
poor fusion at the start of the joint (HOT START - 0-100
- regulation step: 1).
•
ARC FORCE MMA - Regulates, in percentage terms, the
dynamic characteristics of the arc (ARC FORCE - 0-100
- regulation step: 1).
WARNING: Both the values for the accessory functions are
pre-set at a value of 50, which is the value deemed best for
welding.
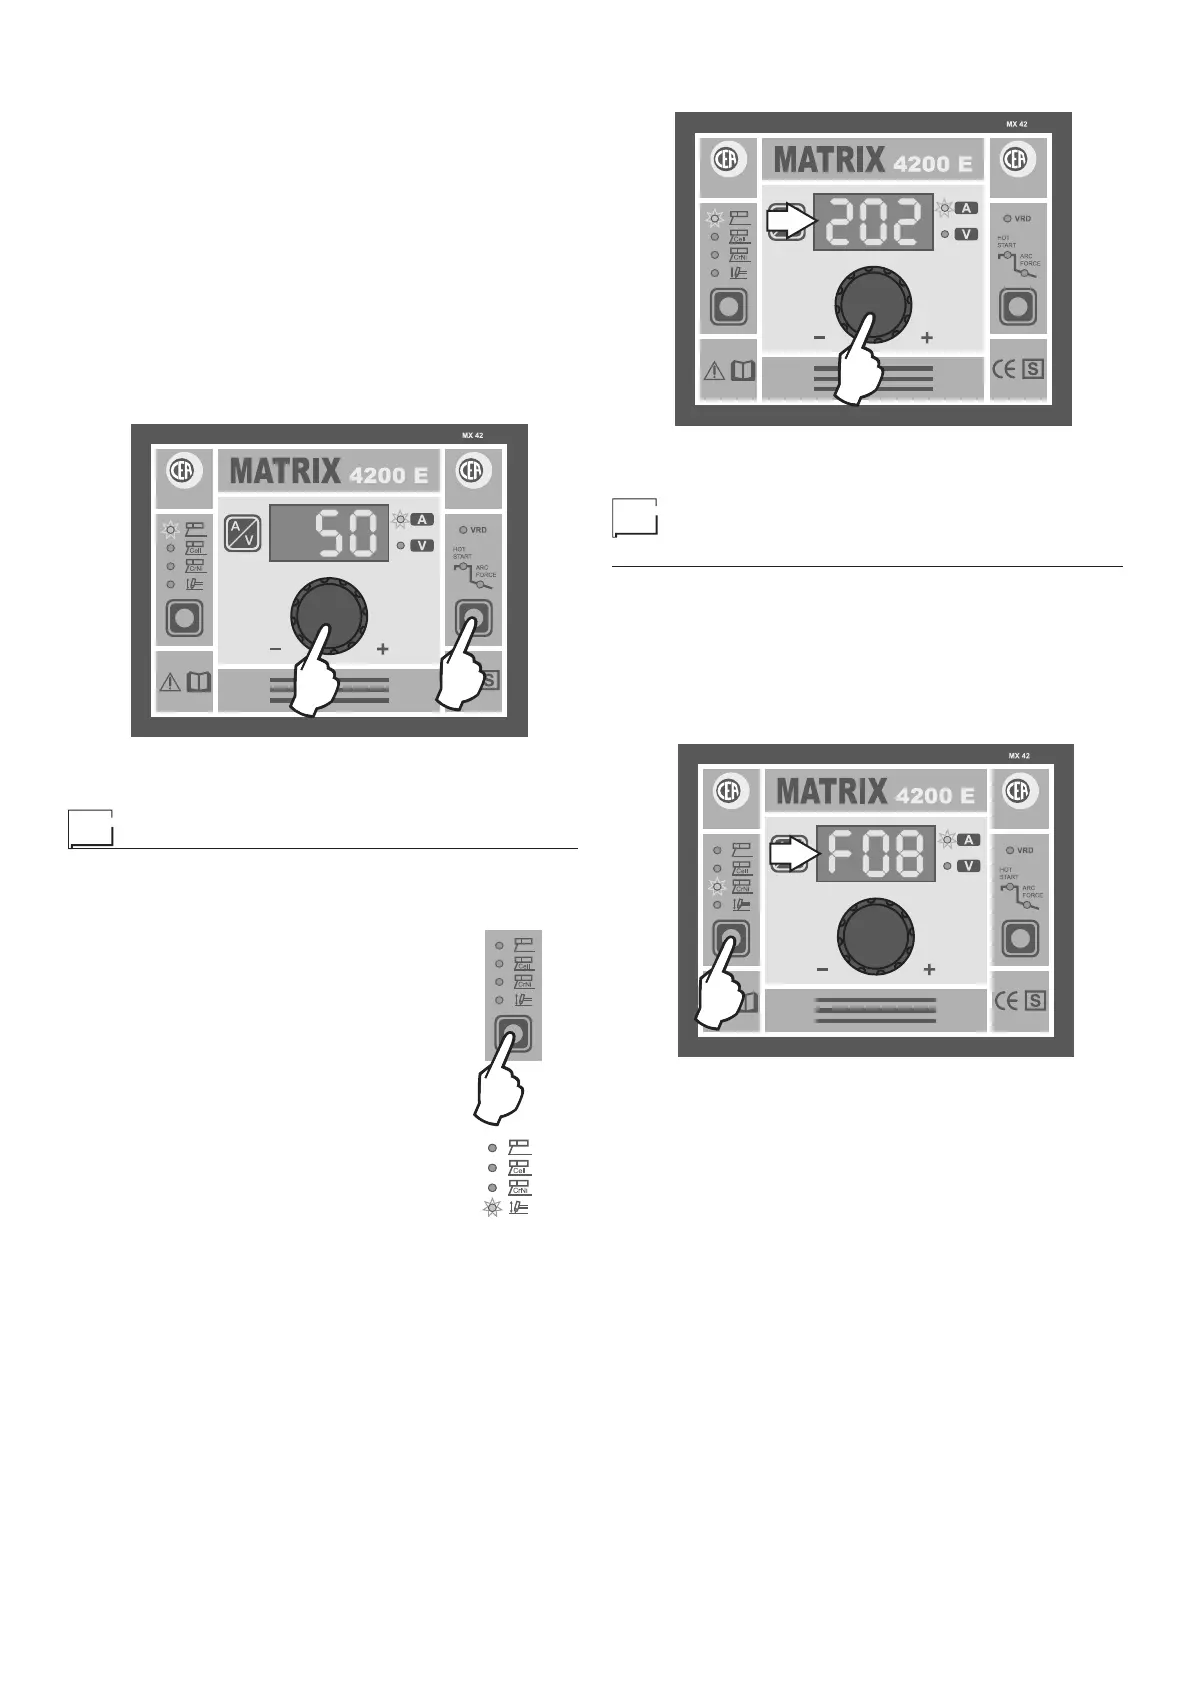
To select these two accessory functions, simply press the
FUNCTION SELECTION key (T2) and regulate the value us-
ing the ENCODER Knob (E).
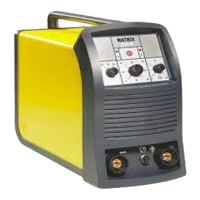
E
T2
2000HA90
5) Once the all the selections/regulations indicated above
have been made, welding can begin.
TIG welding
1) Start the welding machine by pushing the switch on the
rear panel to position I.
2) Press the WELDING PROCESS SELEC-
TION Key and select the following pro-
cess:
• TIG with “Lift” type ignition
With TIG welding using the innovative “Lift”
type thermally controlled ignition TCS), ig-
nition come about precisely and quick-
ly, reducing the inclusions of tungsten to
a minimum and doing away with incisions
into the workpiece to be welded. The SWS
(Smart Welding Stop) system avoids oxida-
tion of the welded joint.
3) Turn the ENCODER Knob (E) until the DISPLAY shows
the CURRENT VALUE at which you wish to weld.
E
D
2000HA90
4) Once the all the selections/regulations indicated above
have been made, welding can begin.
Creating and memorising
automatic welding points
Once you have defined the parameters that characterise a new
automatic welding point (abbreviated as JOB), it can be stored
in the memory in the following manner:
1) Hold down the WELDING PROCESS SELECTION Key for
at least 5 seconds, until the DISPLAY (D) shows a flashing
message that represents the first AUTOMATIC WELDING
POINT (JOB) free and/or available, in which the data can
be saved (example: F08).
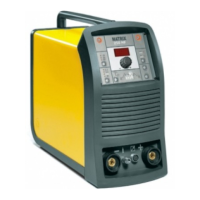
T1
D
2000HA90
In order to choose another free JOB simply rotate the EN-
CODER knob and see the other JOBS available. The MX
control panel allows you to save a maximum of 99 AUTO-
MATIC WELDING POINTS (JOBS).