6
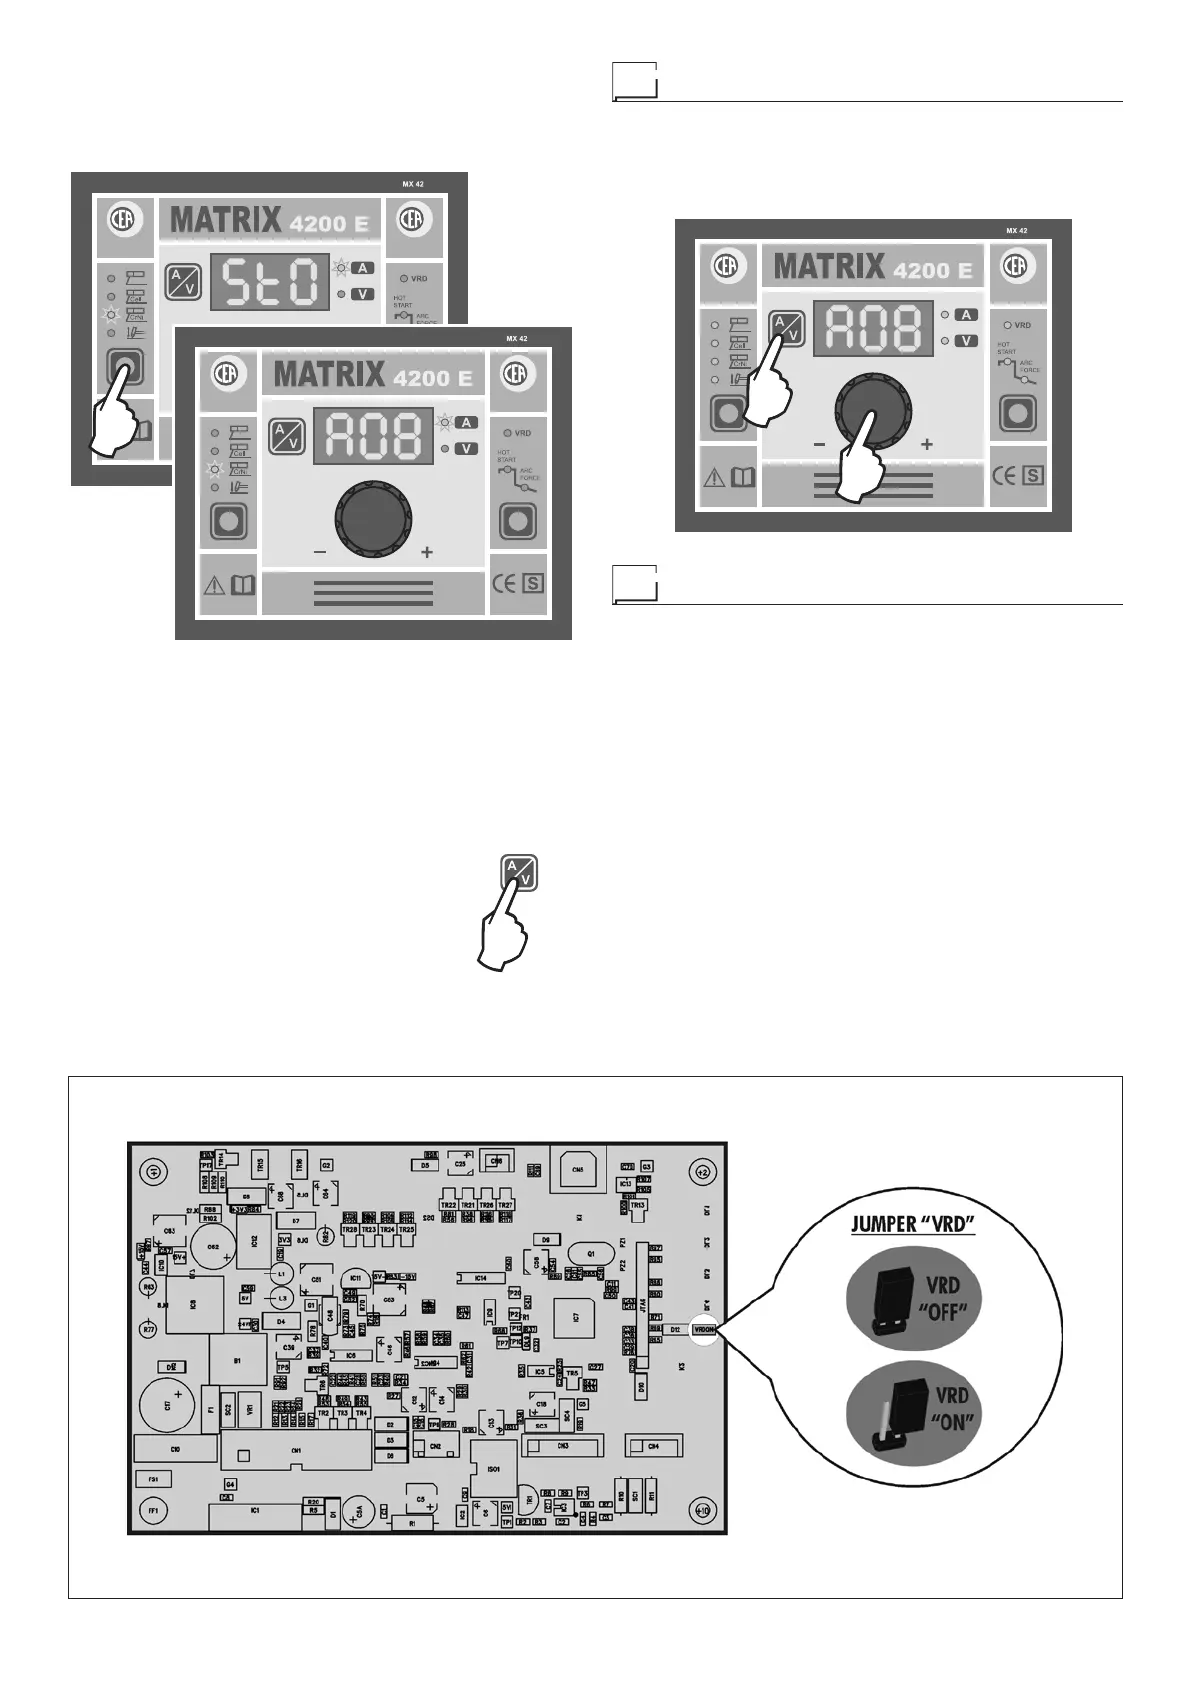
FIG. B
2000HA92
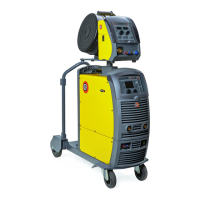
2) To SAVE the JOB simply push the WELDING PROCESS
SELECTION Key (T1) again until the DISPLAY reads
“StO” for about 1 second, which confirms that the JOB
has been saved and then the automatic point chosen (for
example: A08).
T1
2000HA90
Once the saving operation has been completed the control
panel automatically goes to the last JOB saved.
If the user wants to weld in this way they do not need to
adjust any parameter, but if they wish they can view them
by pressing the relevant keys.
NOTE: Creating a JOB implies saving all the special functions
associated with it.
3) To exit the JOB, hold the DISPLAY
SELECTION key down for at least 5
seconds. The welding machine will au
-
tomatically load the values for the JOB
from which it comes.
Recalling automatic welding points
To recall a JOB saved previously:
1) Enter JOB mode by holding the DISPLAY SELECTION key
(T3) down for at least 5 seconds.
2) Rotate the ENCODER knob (E) until you find the JOB re-
quired.
T3
E
2000HA90
Activating the VRD device
To activate the VRD device, which must be done when the
welding machine is switched off:
1) Use a suitable screwdriver to unscrew the 4 screws that fix
the MX control panel to the welding machine.
2) Remove the “VRD” JUMPER on the DIGITAL INTERFACE
BOARD (Fig. B).
3) Use a suitable screwdriver to tighten the 4 screws that fix
the MX control panel to the welding machine.
4) Start the welding machine by pushing the switch on the
rear panel to position I.
When the MX control panel switches on the VRD LED will
come on and will be GREEN, which means that the VRD func-
tion is on.
To “deactivate” the VRD device and therefore start to weld, fol-
low this simple procedure: First touch the workpiece with the
electrode, then detach it and ignite the arc within a MAX of 0,3
seconds, otherwise if this time is exceeded the VRD device
starts and prevents welding.