ENGLISH
52
Maintenance and care
• CEDIMA
®
• Technical Documentation • All rights reserved as per ISO 16016 • Subject to modications due to progressive development •
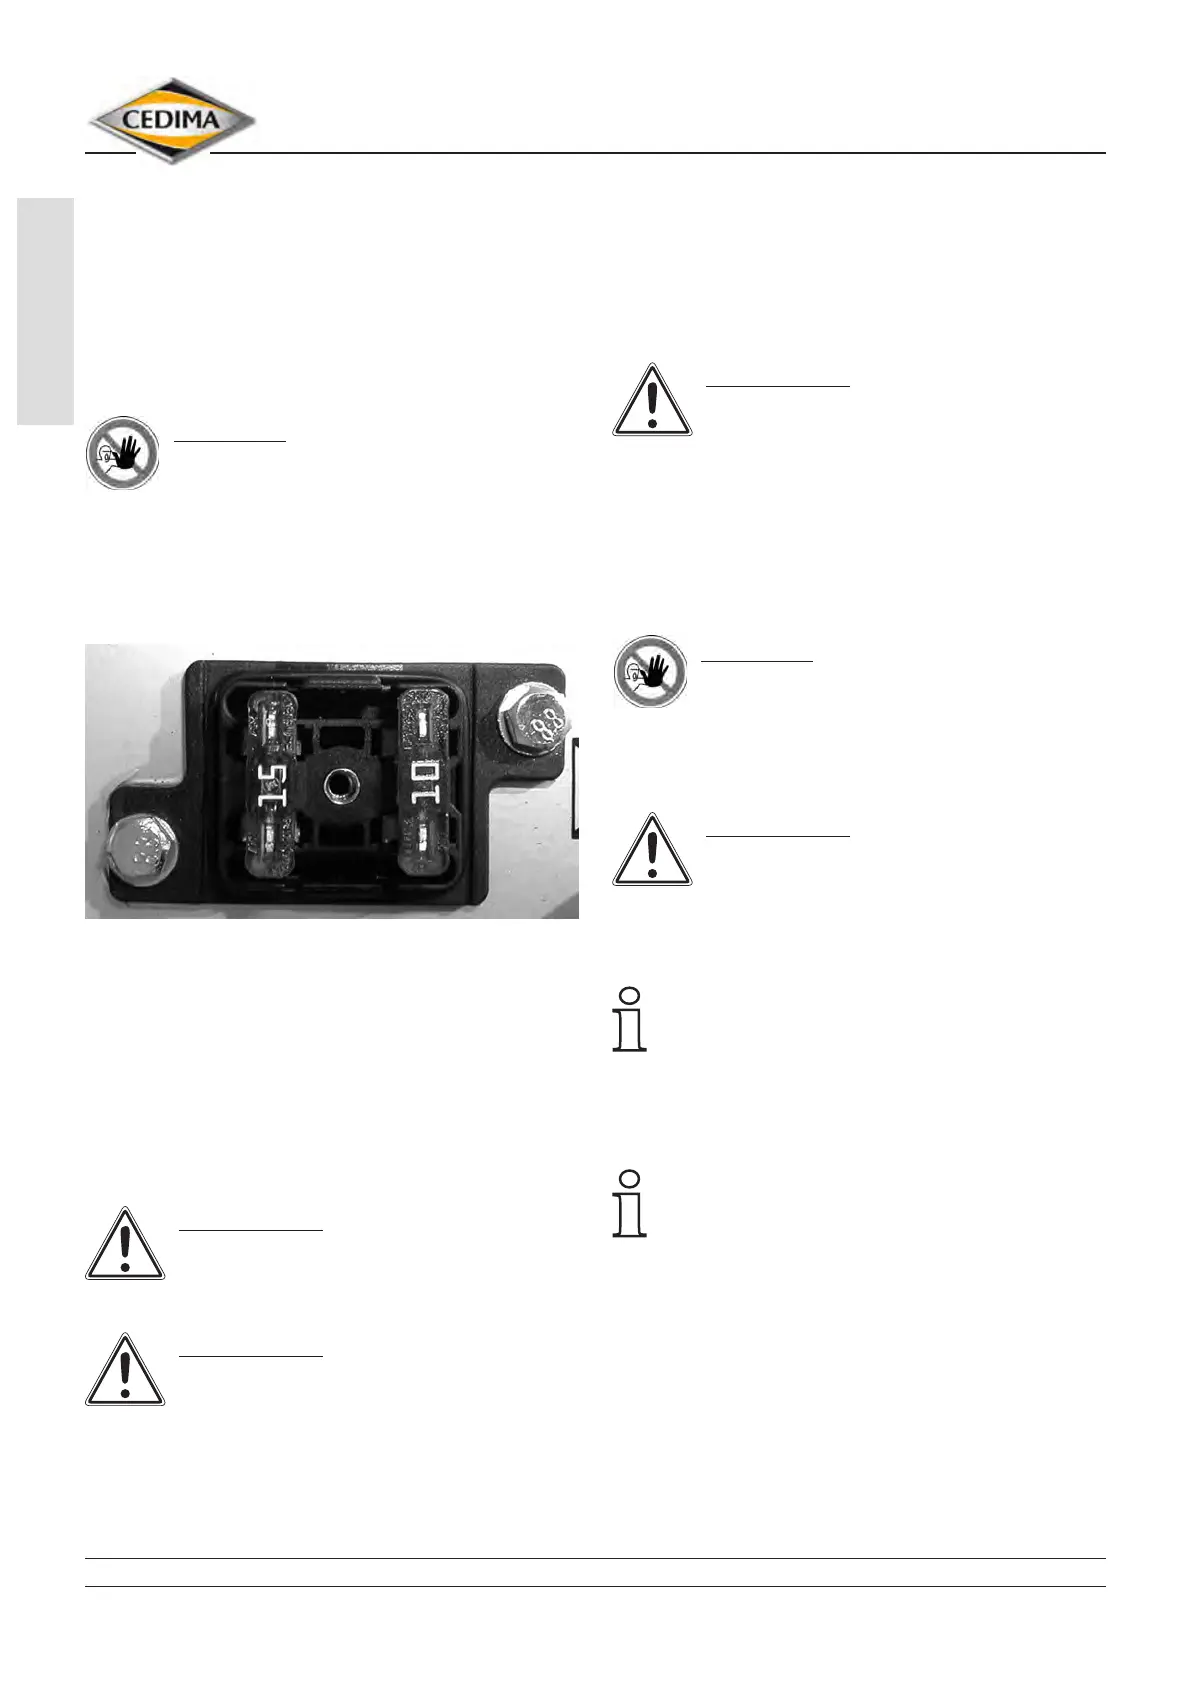
6.6.15 Checking/changing the
in-board fuses
The in-board fuses (at plug-in fuses) protect the re-
spective components of the electric plant from damag-
es arising from the electric power supply system. Check
the intactness of the fuses in case of a failure of one
of the electric consumer loads (motor starter, compact
hydraulic unit, water pump, horn, …).
DANGER!
Danger of injury! Shut off the joint cutter!
Secure the machine against unintentional
starting or rolling away!
Check and replace the in-board fuses as follows:
1. Loosen and open the fuse box’s cover on the joint
cutter’s control panel (gs. 4.8, 4.9 and 6.30).
CF-2116 D fuse box (cover removed) Fig. 6.30
2. After having checked and eliminated the failure,
replace the defective fuse(s) by a new fuse with the
prescribed ampere (A) value.
You can nd the positioning of the fuses and the pre-
scribed amperage in the wiring diagram (refer to chap-
ter 9, spare parts list and g. 6.30).
3. Close the fuse box’s cover on the control panel (gs.
4.8, 4.9 and 6.30).
ATTENTION!
Have any repair work on the electric/
electronics be carried out by a qualied
electrician (electric workshop) or by CEDIMA
®
.
ATTENTION!
Do not try to repair the fuses as this
might lead to destruction of the consumer
loads. When installing a fuse always observe the
prescribed value.
Blown fuses can be recognised at the broken wire. If
the fuse wire is not damaged, after a longer period cor-
rosion might occur between the fuse and the clamping
holder.
Remove the fuse and clean the clamping holders from
corrosion by means of a brass brush.
ATTENTION!
In order to avoid damages to the electric
components shut down the joint cutter
for cleaning the fuse clamps and disconnect the
battery (refer to 6.6.14).
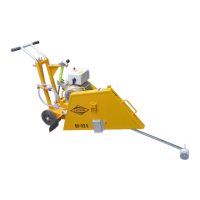
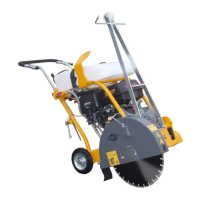
6.6.16 Servicing the joint cutter’s motor
DANGER!
Risk of injury! Switch OFF the joint cutter
engine! Secure the joint cutter against
unexpected starting or rolling away!
Carry out maintenance works of the motor as per
maintenance table 6.5.
ATTENTION!
The motor operating manual is decisive.
Observe the safety instruction (chapters
3, 6 and section 6.6.1).
For servicing the joint cutter’s motor read and observe
absolutely the supplied motor operating manual.
Handle the motor oil, the oil lter, the fuel
lter and the air lter according to the
manufacturers’ instructions.
1. Dismount the diamond saw blade and lower the cut-
ting shaft until the joint cutter’s motor is in a horizon-
tal position.
For changing the motor oil use the oil drain
hose that is positioned at the front side of the
motor.
2. Take the oil drain hose out of its holder and drain the
warm motor oil by opening the hose cap (gs.6.31
and 6.32).
3. Close the hose cap and ll in new motor oil as per
motor operating manual (see sect. 6.7).