52
2. When you have selected the sengs that align with your needs, click “Slice with Slic3r”.
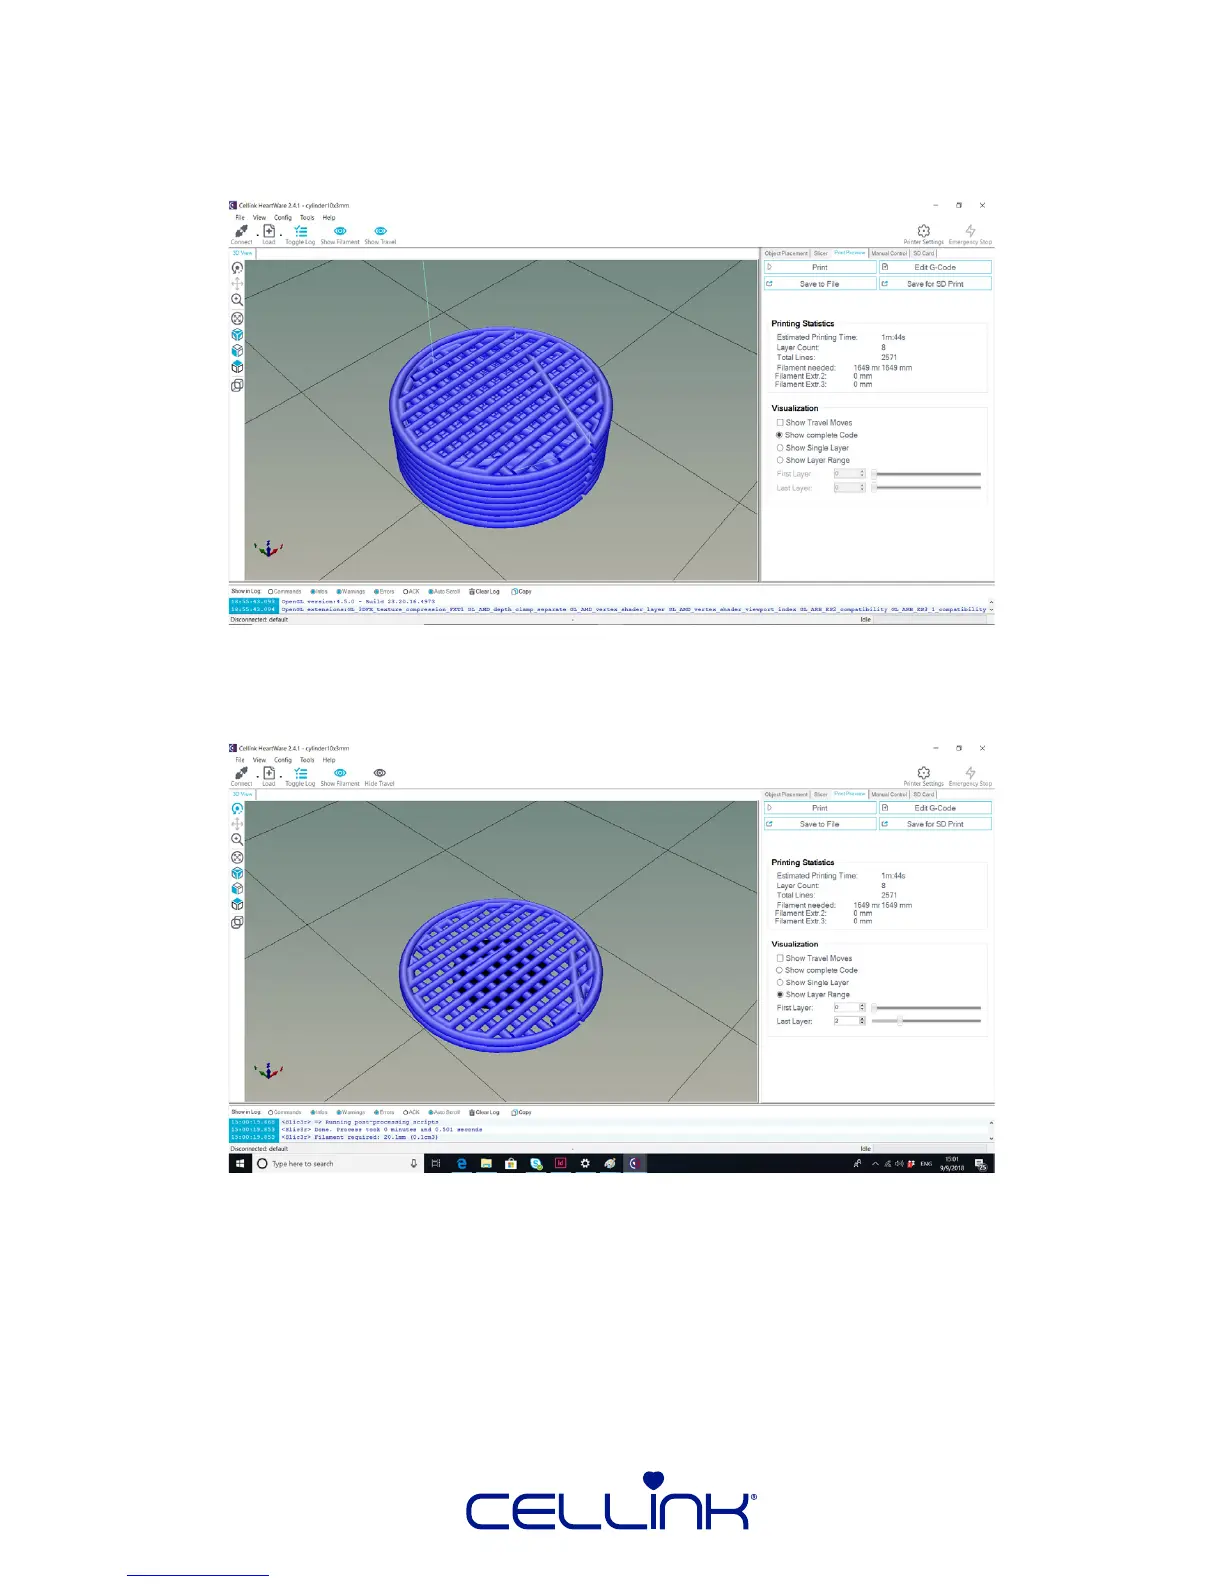
The soware will automacally switch to the “Print Preview” tab and the View window
will look like the image below.
The blue lines depict the path that the printhead will follow to extrude print your part.
You can use the sliders under “Visualizaon” in order to examine the path of each or a
set of layers.
 Loading...