49
7.3 Basic Slicing Workow
7.3.1 Staging Your Models
Before you can create code, you must place models, in the form of .STL or .OBJ les,
within the print volume, then scale and spaally arrange them to suit your applicaon.
1. To add les you may:
• In the Top Tool Bar, go to “File” > “Load”.
• In the Top Tool Bar, click on the “Load” icon.
• In the Right Control Window, click “Add Object” .
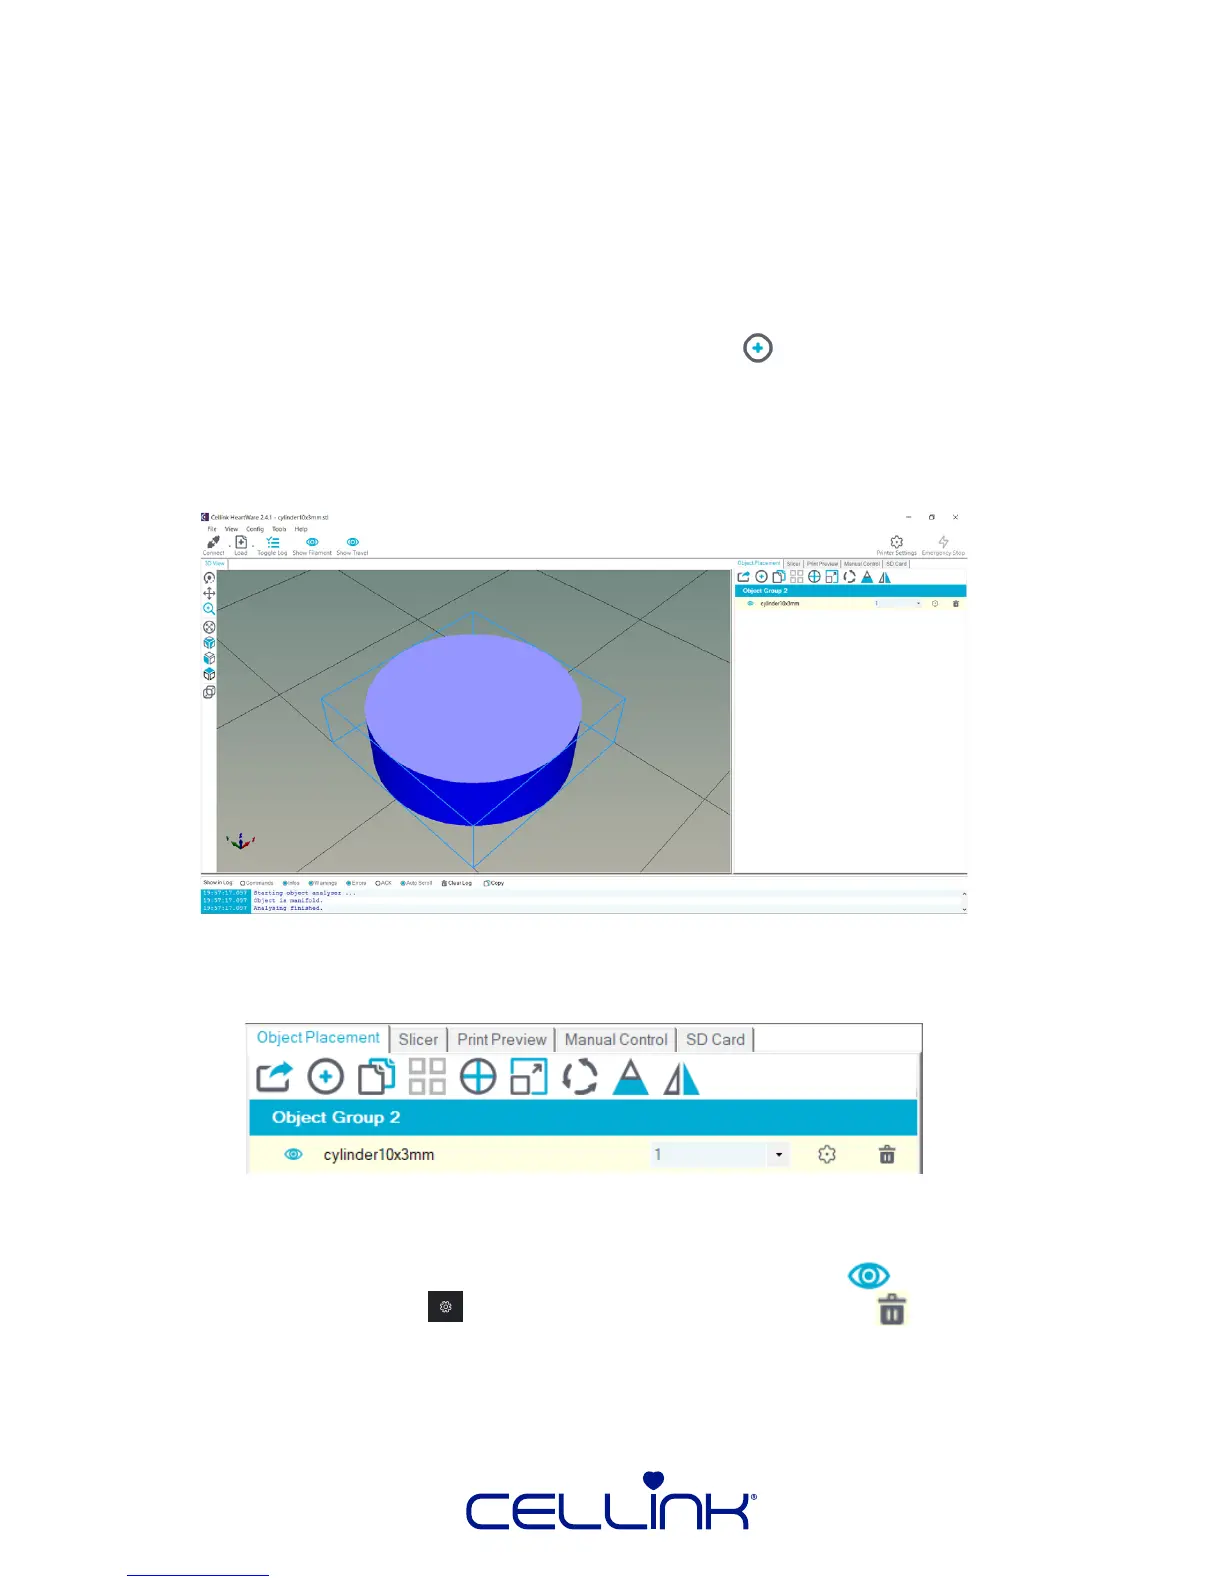
Your View Window will look like the image below, with the cylinder replaced with the
model of your choice:
2. Now, you can perform transformaons on your objects. Below is a descripon of
informaon and buons available in this tab:
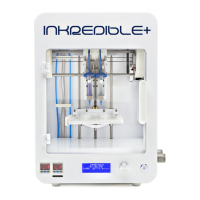
The highlighted box corresponds to each model you load: the name of which is wrien
below “Object Group 1”. You can change the visibility with the icon, view detailed
model informaon with the icon, and delete the model with the icon.