61
4. Adjust the X posion of printhead one unl it is right above the probing
sensor by following these steps:
-Select “Move Axis” and enter by pressing the control knob [8].
-Select “Move 0,1mm” and enter by pressing the control knob [8].
-Select “Move X” and enter by pressing the control knob [8].
-Jog the X-axis by turning the control knob [8] unl PH1 nozzle is in
the centre of the metal canlever of the sensor.
5. Adjust the Y posion of printhead one unl it is right above the probing
sensor by following these steps:
-Select “Move Axis” and enter by pressing the control knob [8].
-Select “Move 0,1mm” and enter by pressing the control knob [8].
-Select “Move Y” and enter by pressing the control knob [8].
-Jog the Y-axis by turning the control knob [8] unl PH1 nozzle is to
the round part of metal canlever of the sensor.
6. Return to the “Ulies Menu” and select the opon “Set Probe Posion” by
pressing the control knob [8].
7. Restart the INKREDIBLE 3D Bioprinter.
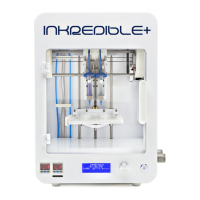
8.2.11 Pressure monitor not displaying correct pressure
The issue is most likely that the 0-level for pressure has been oset. To x this, do the
following:
1. Press and hold the buons on both sides of the middle buon on the
pressure display unl the pressure monitor’s 0-level has been reset.
 Loading...