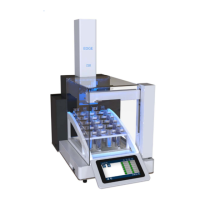
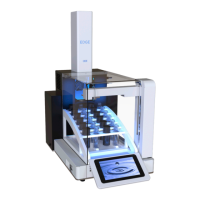
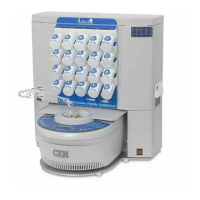
5
• Internal temperature and pressure readings result in precise temperature control.
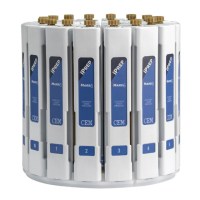
• Up to six solvents can be used at a time.
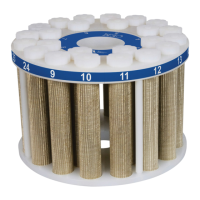
• Run 12 samples in sequence unattended.
• Each extraction can consist of an extraction, rinse and wash.
Hardware Setup
WARNING
Handle all chemicals under a fume hood, and wear appropriate protective equipment
including, safety glasses, chemical resistant gloves, and a laboratory coat. Dispose of all
waste in accordance with all applicable local, state, and federal health and safety
recommendations. For detailed information on the safety requirements for the chemicals
used on the EDGE, refer to the appropriate manufacturers’ documents.
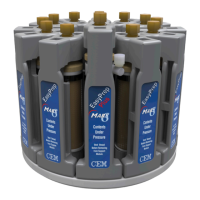
Assembly
1. Attach the bottles.
1.1 Attach the waste tubing and sensor wire to the upper right side of the instrument.
1.2 Attach the waste bottle to the white cap with a sensor located on the EDGE.
1.3 Remove the blue caps from the solvent bottles and fill each with the desired solvent.
1.4 Securely screw the blue bottle caps on the solvent bottles.
1.5 Thread the solvent tubing attached to the EDGE through the appropriate solvent bottle cap to the
bottom of the solvent bottle.
NOTE
Be aware of which solvent line is in which solvent, as this will need to be set up in Bottle Setup.
2. Install the rack.
2.1 Place the rack on the EDGE so that the magnets hold it securely in place.
3. Power the instrument.
WARNING
Do not tamper with the EDGE such as removing any components of the housing or manually
trying to move the automation components.
3.1 Attach the power cord to the EDGE at the bottom left of the rear of the instrument.
3.2 Plug the power cord into a power outlet.
3.3 Turn the EDGE power button located on the left corner of the EDGE to ON.