9
Getting Started ::
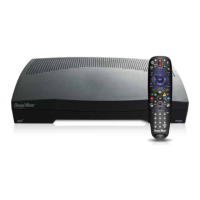
When you power on your DVR+ receiver for the fi rst time, it may take a minute for two for the unit to
power up and display the Setup Wizard. The steps below will guide you through the steps to set up
your receiver and scan for subscription-free over-the-air channels.
Using the Setup Wizard
Select your
language and
country, then
select CONTINUE
and press
OK/SELECT on
the remote.
Verify that your DVR+’s
connections are hooked
up correctly, then press
OK/SELECT to continue
to the next step.
A channel scan will
begin automatically.
When it’s complete,
the Streaming
Services screen
displays.
Streaming services from
your Internet connection
are listed (if applicable).
Press
OK/SELECT to
continue.
Internet channels
are available
upon activation
through Channel
Master TV. Press
OK/SELECT to
continue.
Enter your ZIP code,
time zone, and time
setting. Then select
CONTINUE and press
OK/SELECT.
If some channels are duplicated or have
poor picture quality:
In some areas with multiple transmitters nearby,
there may be duplicate channels. If there are
duplicate over-the-air channels in your local
area, they will be listed in the channel 100–199
range in the guide.
If a channel’s transmission is marginal and
cannot be improved (e.g., pixelation or audio
issues; see page 34), consider deleting the
channel (see page 30).