21798-01-EN Rev. 04 Page 14
4.2.2 System Operating Environment
* Sensor and Battery
-4°F to +140°F (-20°C to +60°C)
Receiver Module
-4°F to +140°F (-20°C to +60°C)
Display In-Cab
-4°F to +140°F (-20°C to +60°C)
Battery Charging 32°F to +113°F (0°C to +45°C)
*Concrete temperature between 32°F to +122°F (0°C to +50°C)
Table 1 System Operating Temperatures
The SMARThatch sensor, receiver, and display are suitable for operation in
0 to 95% non-condensing humidity environments.
4.3 Sensor Installation
The following steps detail installation of the SMARThatch System.
4.3.1 Sensor Location and Orientation
The SMARThatch sensor is installed in place of the existing drum access hatch.
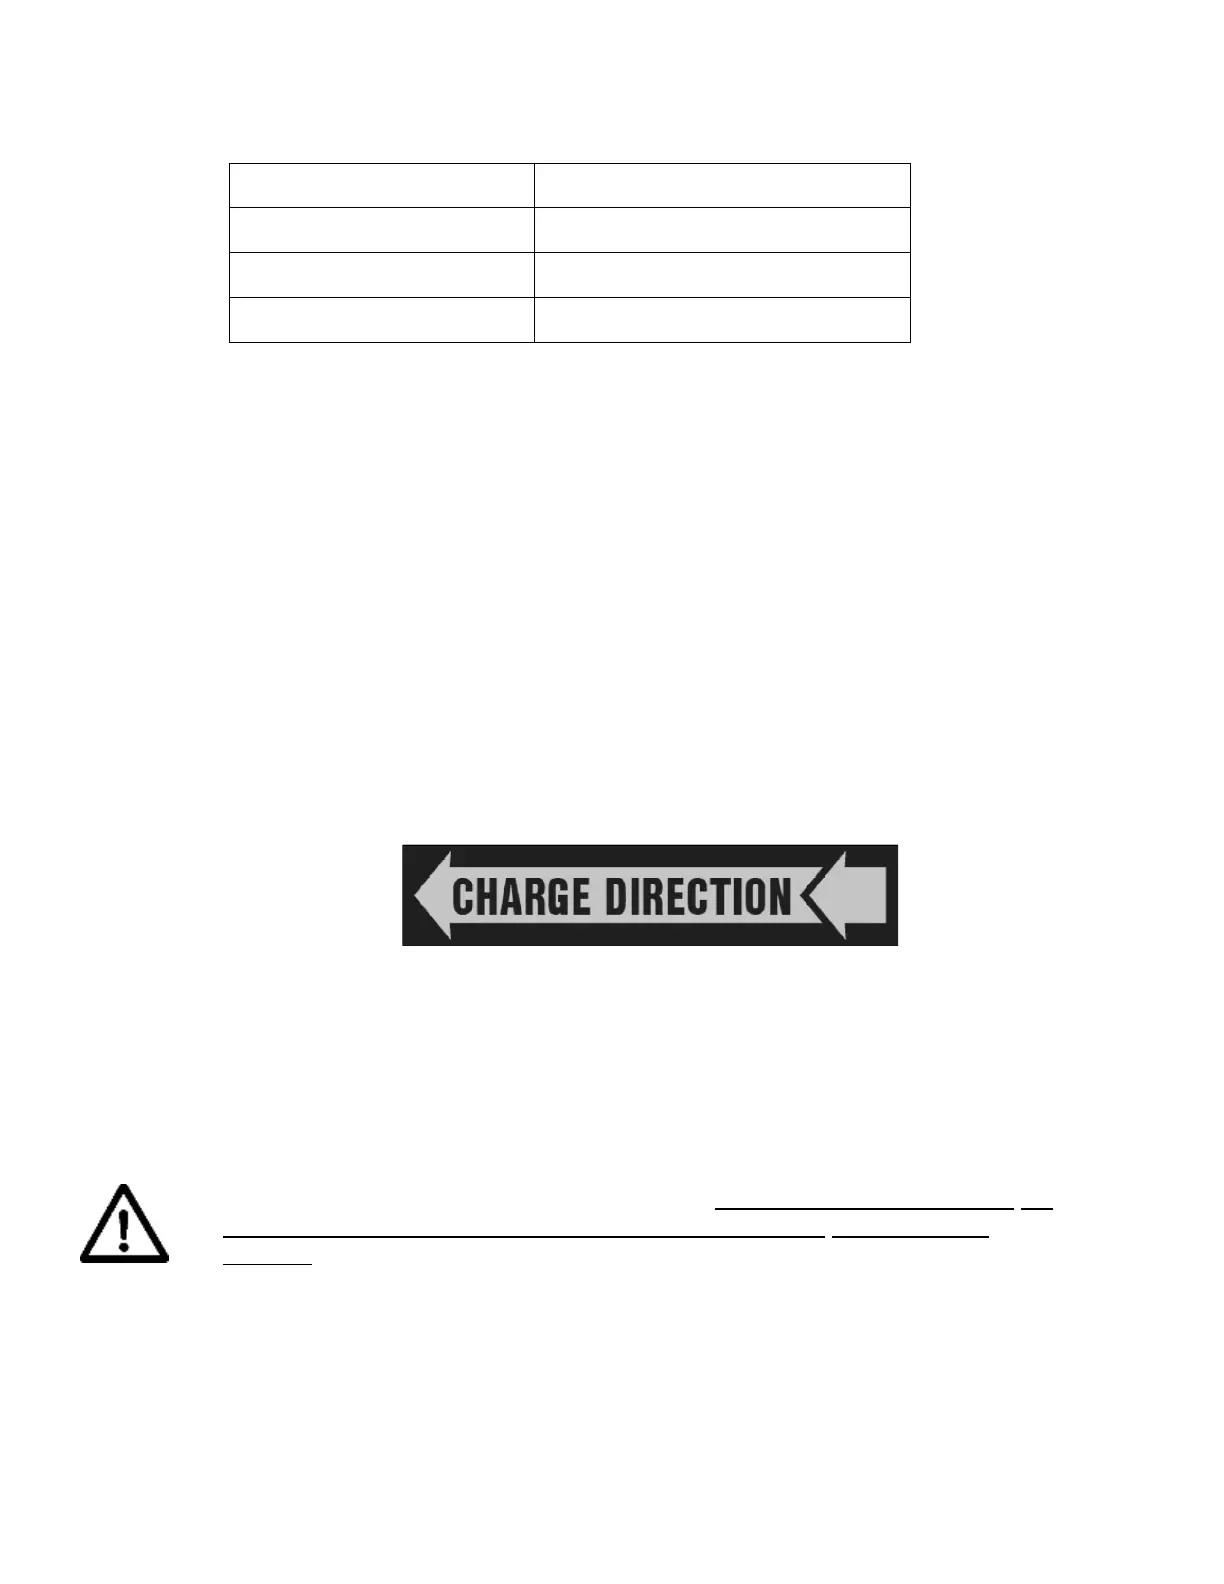
For accurate air and temperature readings it is important that the sensor is
installed in the proper orientation relative to the drum rotation direction. The
sensor assembly has an orientation label that points in the direction of rotation
when the drum is rotating in the charging direction (Figure 6).
Figure 6: Label Indicating Proper Sensor Orientation
4.3.2 Remove Existing Hatch or SMARThatch Sensor
Remove the existing mixer drum access hatch. Clean and inspect sealing
surface and nut plate per drum manufacturer’s recommended practices. It is
very important that the nut plate is in good condition and therefore should be
replaced if excessive wear or any defects are found, or if there is any concern
that its mechanical integrity is compromised.
If an SMARThatch sensor is already installed, use caution when removing, as
it is heavy (56 lbs / 25 kg) and can cause serious injury if mishandled or
dropped. Two (2) people are required for removal.
Loosen all retaining bolts and leave several in place while prying the hatch free.
Remove all bolts, except the bottom retaining bolt to help support the weight
before the hatch is lifted off the drum. See Figure 8 for example of retaining bolt.