If you used autoregistration, update the specific configuration information for the phone: associate the phone
with a user, change the button table, or assign a directory number.
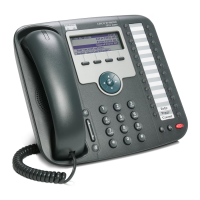
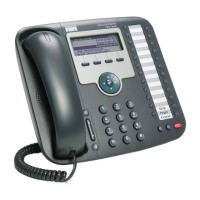
Install Cisco Unified IP Phone 7931G
The following steps provide an overview and checklist of installation tasks for the Cisco Unified IP Phone
7931G. The steps present a suggested order to guide you through the phone installation. Some tasks are
optional, depending on your system and user needs. For detailed procedures and information, refer to the
sources in the steps.
Procedure
Step 1
Choose the power source for the phone:
•
Power over Ethernet (PoE)
•
External power supply
Determines how the phone receives power.
Step 2
Assemble the phone, adjust phone placement, and connect the network cable.
Locates and installs the phone in the network.
Step 3
Monitor the phone startup process. Verifies that phone is configured properly.
Step 4
If you are configuring the network settings on the phone for an IPv4 network, you can set up an IP address
for the phone by either using DHCP or manually entering an IP address.
a) Using DHCP: To enable DHCP and allow the DHCP server to automatically assign an IP address to the
Cisco Unified IP Phone and direct the phone to a TFTP server, choose Settings > Network Configuration
> IPv4 Configuration and:
•
To enable DHCP, set DHCP Enabled to Yes. DHCP is enabled by default.
•
To use an alternate TFTP server, set Alternate TFTP Server to Yes, and enter the IP address for the
TFTP Server.
Consult with the network administrator if you need to assign an alternative TFTP server instead
of using the TFTP server assigned by DHCP.
Note
b) Without DHCP: You must configure the IP address, subnet mask, TFTP server, and default router locally
on the phone, choose Settings > Network Configuration > IPv4 Configuration:
To disable DHCP and manually set an IP address:
1
To disable DHCP, set DHCP Enabled to No.
2
Enter the static IP address for phone.
3
Enter the subnet mask.
4
Enter the default router IP addresses.
5
Set Alternate TFTP Server to Yes, and enter the IP address for TFTP Server 1.
You must also enter the domain name where the phone resides by choosing Settings > Network
Configuration.
Cisco Unified IP Phone 7931G Administration Guide for Cisco Unified Communications Manager 9.0 (SCCP and SIP)
27
Cisco Unified IP Phone 7931G
Cisco Unified IP Phone Installation
 Loading...