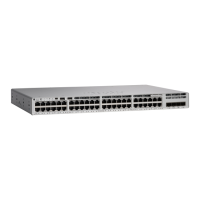
Mounting the Switch
Rack-Mounting
Installation in racks other than 19-inch racks requires a bracket kit not included with the switch.
To prevent bodily injury when mounting or servicing this unit in a rack, you must take special precautions to
ensure that the system remains stable. The following guidelines are provided to ensure your safety:
• This unit should be mounted at the bottom of the rack if it is the only unit in the rack.
• When mounting this unit in a partially filled rack, load the rack from the bottom to the top with the
heaviest component at the bottom of the rack.
• If the rack is provided with stabilizing devices, install the stabilizers before mounting or servicing the
unit in the rack.
Statement 1006
Warning
Figure 15: Rack-Mounting Brackets
This figure shows the standard 19-inch brackets and other optional mounting brackets. You can order the
optional brackets (ACC-KIT-T1=) from your Cisco sales representative.
Cisco Catalyst 9200 Series Switches Hardware Installation Guide
24
Installing the Switch
Mounting the Switch
 Loading...

