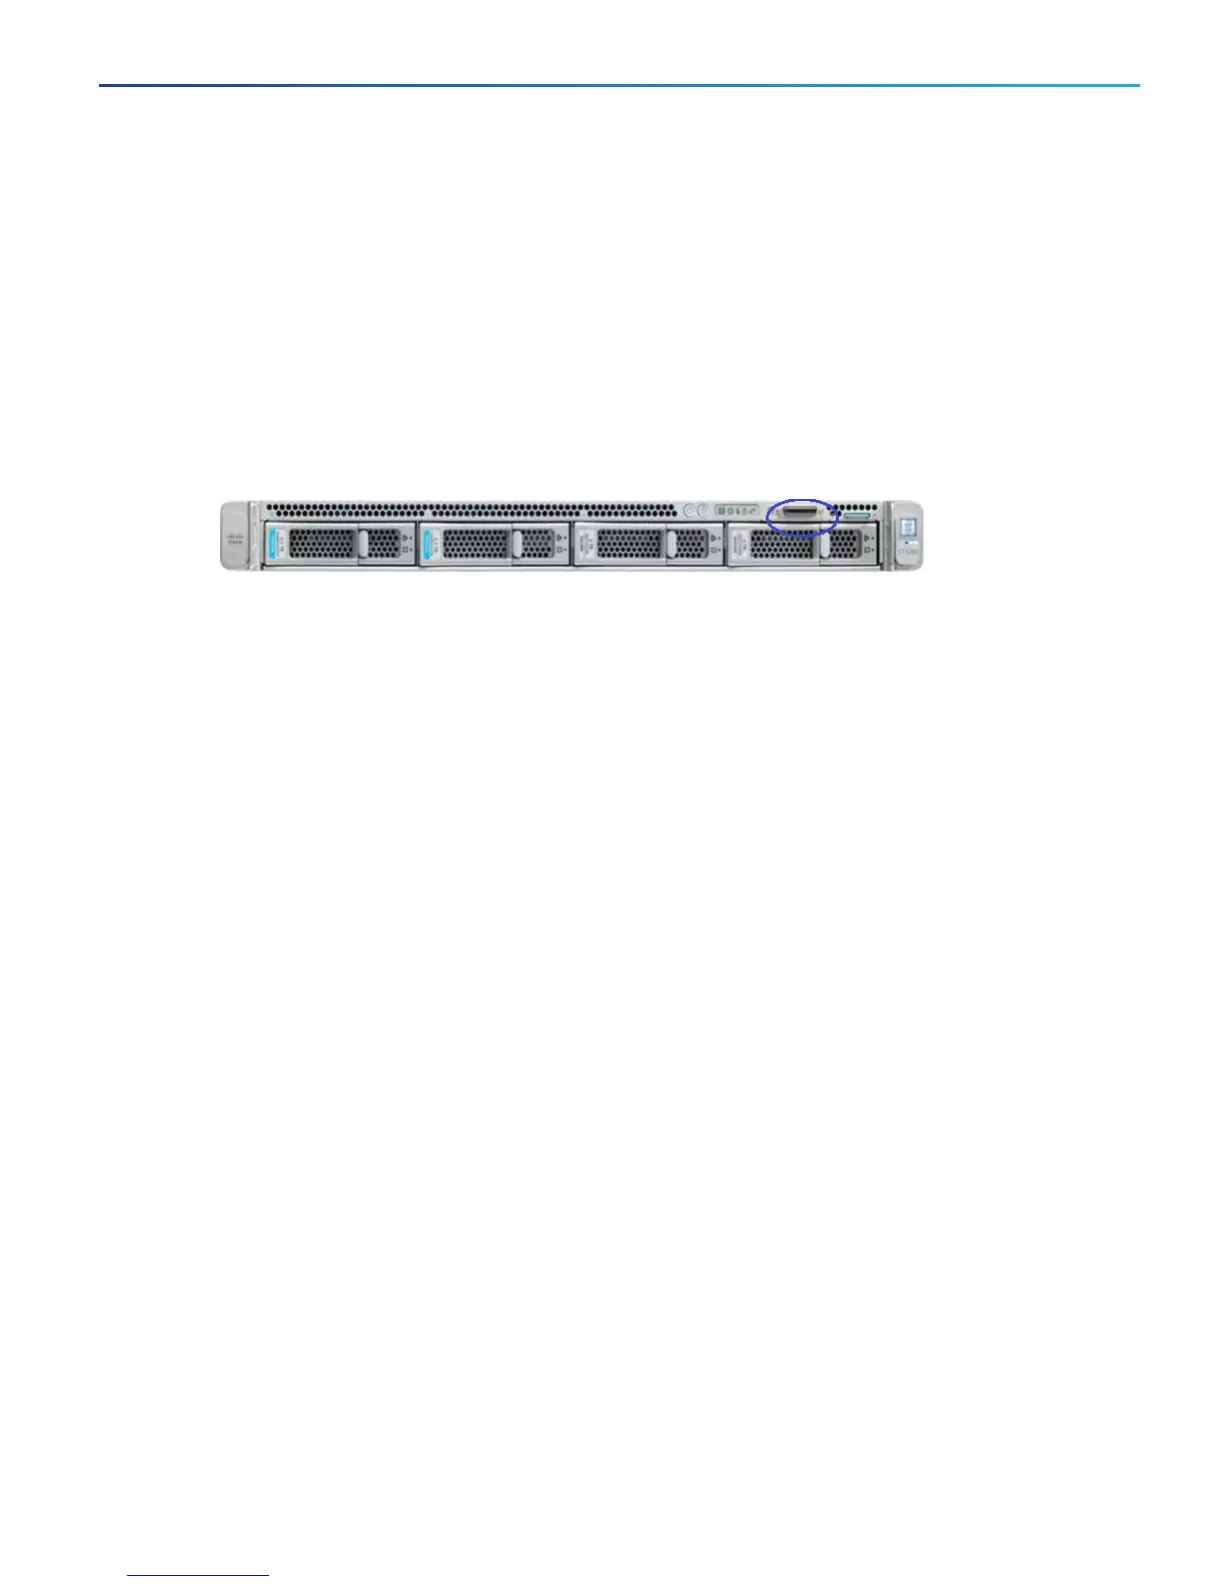
7. During the initial Power On Self Test phase, you should see the CIMC address displayed in the bottom left of
the screen.
Result: CIMC is now enabled on this Expressway. You will be prompted to change the default CIMC password
when you first log in to the CIMCweb interface.
8. Disconnect the peripherals and the adapter.
If you use static addresses:
Follow these steps if your deployment uses static IP addressing:
1. Connect your network to the CIMC/dedicated management port (port 5 in Rear Panel Layout, page 9).
2. Connect the supplied KVM adapter (3-legged cable) to the console port at the front of the CE1200
Connect to the Expressway Console, page 13
Note:The KVMconsole is used to configure the CIMC, not to access Expressway.
3. Connect a USB keyboard and VGA monitor to the KVMadaptor, and switch on the monitor.
4. Switch on the CE1200 appliance.
5. Watch the boot process on the monitor.
6. Press F8 to enter the CIMC configuration.
7. You are prompted to change the default CIMC password and configure the management interface IP address:
a. Set a strong password that matches the conditions in CIMC password requirements, page 14 and press
Enter.
b. At the password modified prompt, press Enter again to complete the password change.
Note: Due to a known issue, the system fails to notify you if the new password does not match the
password requirements. In this case, when you first try to access the CIMC web interface (Task 2) you
must use the supplied default CIMC password and will then be prompted to set a different, stronger,
password before you continue. (At that point the system will correctly prompt you if the password doesn't
match the requirements.)
c. We recommend leaving the default NIC mode as Dedicated and the NIC redundancy settings as None.
8. Press F10 to save your changes and Esc to exit.
Result: CIMC is now enabled on this Expressway.
9. Disconnect the peripherals and the adapter.
Task 2: Run CIMC from a remote host and enable Serial over LAN (once only)
1. In a web browser, go to the CIMCIPaddress you configured in the previous task.
2. Do one of the following:
— If you use a static IPaddress, log in using the password you set in Task 1.
Note: If the new password you set in Task 1 was not strong enough, because of the known issue with the
system failing to notify you at the time, you are now prompted to enter the default password and then to set
a different, strong, password before you can continue. The new password must match the conditions in
CIMC password requirements, page 14.
— If you use DHCP, define a strong password to replace the supplied default. The new password must match
the conditions in CIMC password requirements, page 14.
3. Click the menu arrow in the top-left corner.
4. Navigate to Compute > Remote Management > Serial over LAN.
15
Cisco Expressway CE1200 Appliance Installation Guide
Connect to the Expressway Console
 Loading...