2-5
Cisco Nexus 5600 Series Hardware Installation Guide
Chapter 2 Installing the Cisco Nexus 5600 Series Switches
Installing a Cisco Nexus 5600 Series Switch
To inspect the shipment, follow these steps:
Step 1 Compare the shipment to the equipment list provided by your customer service representative and verify
that you have received all items, including the following:
• Grounding lug kit
• Rack-mount kit
• ESD wrist strap
• Cables with connectors
• Any optional items ordered
Step 2 Check for damage and report any discrepancies or damage to your customer service representative. Have
the following information ready:
• Invoice number of shipper (see packing slip)
• Model and serial number of the damaged unit
• Description of damage
• Effect of damage on the installation
Installing a Cisco Nexus 5600 Series Switch
This section describes how to use the rack-mount kit provided with the switch to install the Cisco Nexus
5600 switch into a cabinet or rack that meets the requirements described in Appendix A, “Cabinet and
Rack Installation.”
Caution If the rack is on wheels, ensure that the brakes are engaged or that the rack is otherwise stabilized.
Rack-Mount Kits
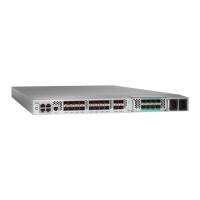
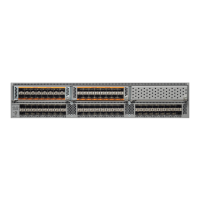
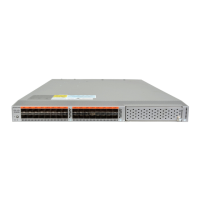
The tables below lists the items contained in the rack-mount kits provided with the Cisco Nexus 5696Q,
5672UP and 5672UP-16G, 56128P, 5624Q, and 5648Q switches.
Table 2-1 Cisco Nexus 5696Q Rack-Mount Kit
Quantity Part Description
2 Rack-mount outer rail
2 Rack-mount inner rail
1 Rack-mount support rail, left
1 Rack-mount support rail, right
2 Rack-mount slide rail
24 M4 x 0.7x8mm Phillips flat-head screw
 Loading...
