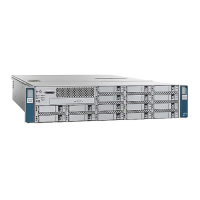
2-5
Cisco UCS C210 Server Installation and Service Guide
OL-20887-02
Chapter
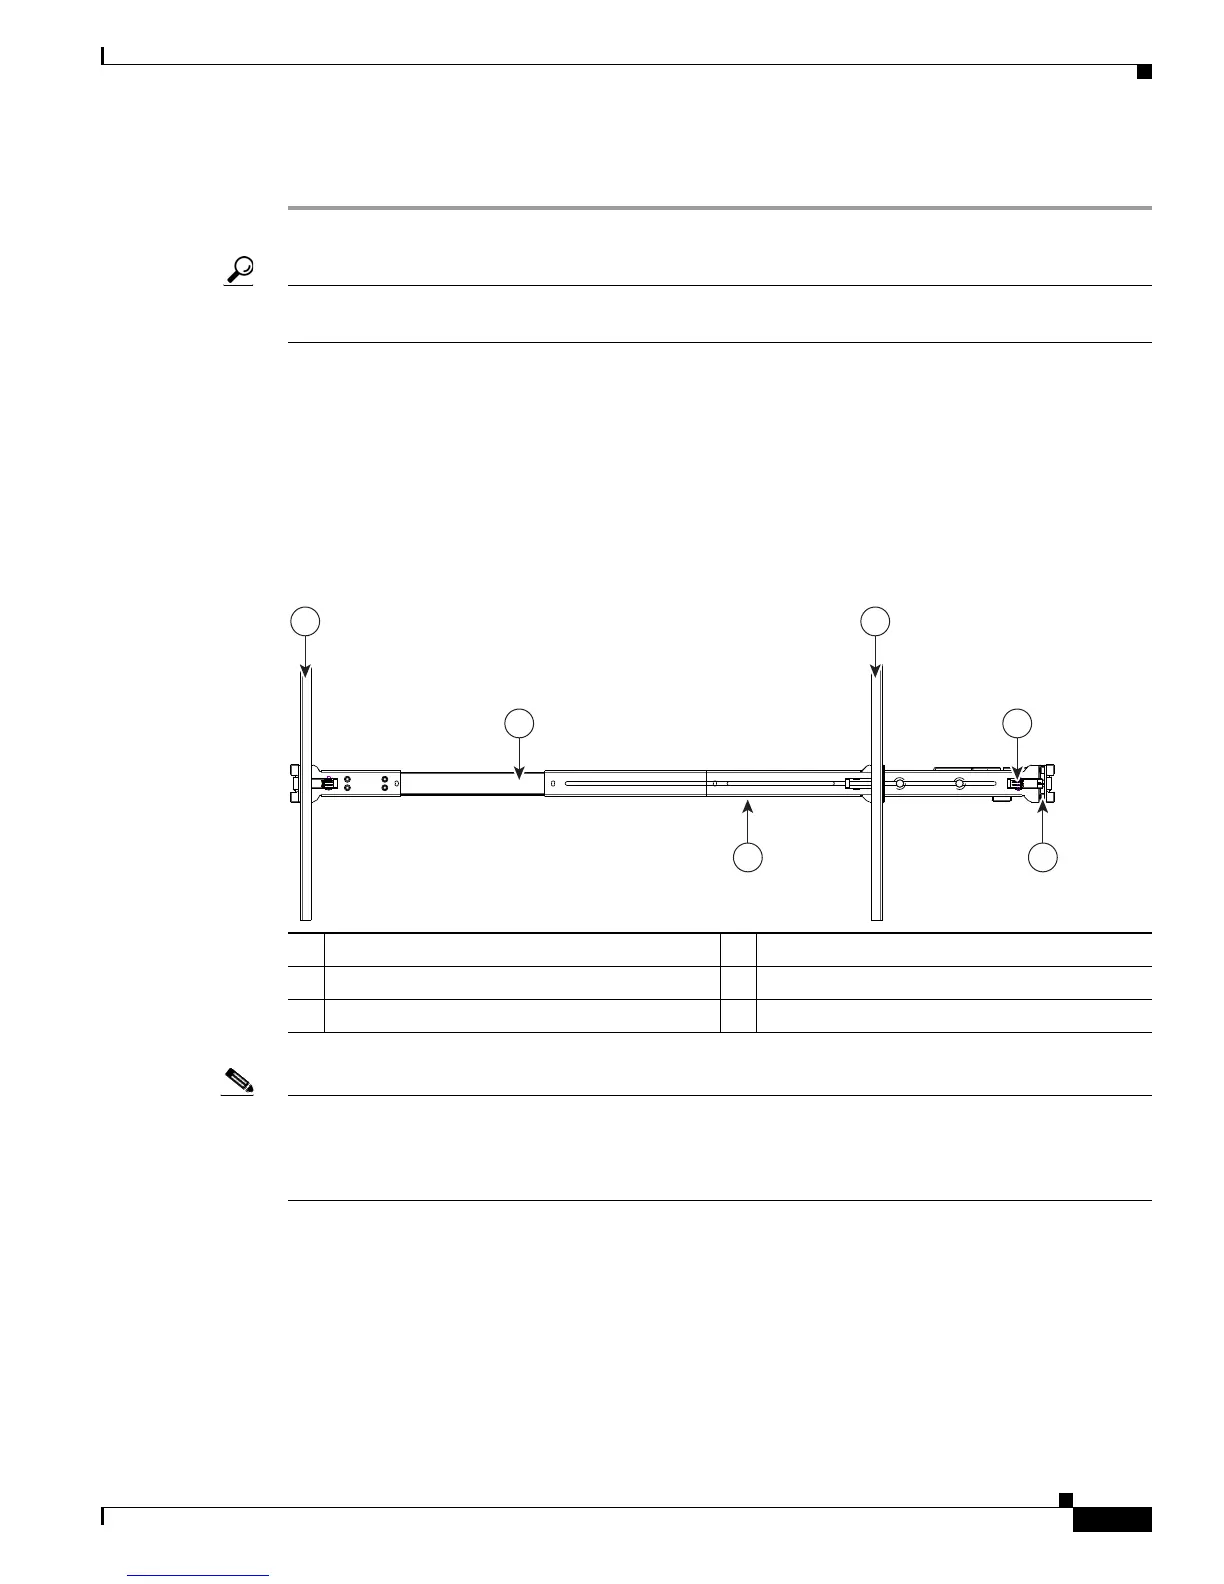
To install the slide rails and the server into a rack, follow these steps:
Step 1 Install the slide rails into the rack:
Tip Use two people to help keep the slide rails and server level during installation. You can use a tape
measure and level or count the holes in the rack posts to ensure that the slide rails and server are level.
a. Align the slide-rail assembly inside the rack posts with the length-adjustment bracket (item 4)
toward the rear of the rack (see
Figure 2-2).
b. Compress the length-adjustment bracket until the mounting pegs (item 6) and locking clips (item 5)
on the slide-rail assembly engage the desired rack holes on the front and rear rack posts.
If your rack has #10-32 rack-post holes, align the mounting pegs with the holes and then compress
the spring-loaded pegs to expose the #10-32 inner peg (see
Figure 2-3).
Figure 2-2 Attaching a Slide-Rail Assembly
Note The mounting pegs that protrude through the rack-post holes are designed to fit round or square #12-24
holes, or #10-32 holes when the mounting peg is compressed (see
Figure 2-3). If your rack has #10-32
rack-post holes, align the mounting pegs with the holes and then compress the spring-loaded pegs to
expose the #10-32 inner peg.
1 Front-left rack post 2 Rear-left rack post
3 Slide-rail assembly 4 Length-adjustment bracket
5 Locking clip (one on each end of assembly) 6 Mounting pegs (two on each end of assembly)