9
Instructions for installer - 9120-25533 - CEX9-U - 801042 - November 2012 v1.00
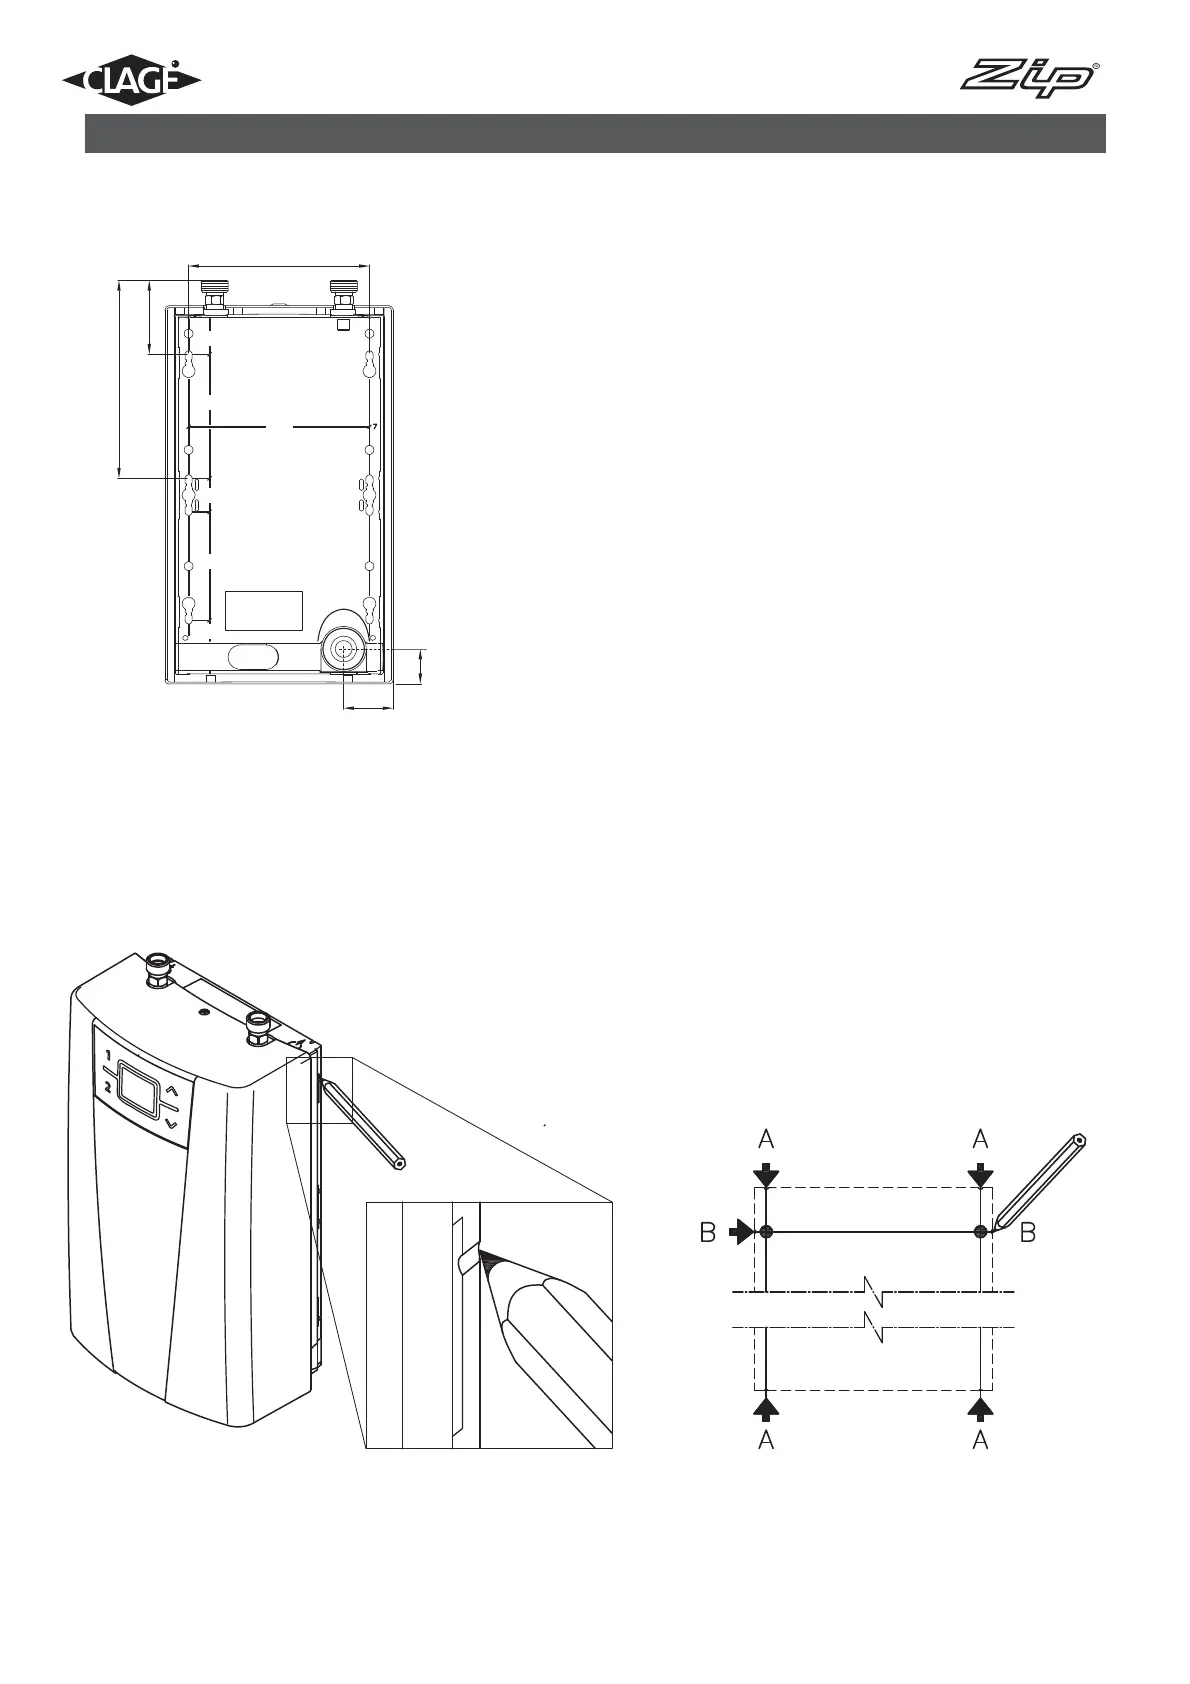
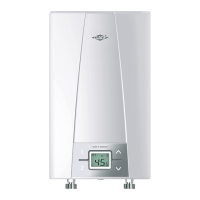
Mounting the appliance
1. Thoroughly rinse the water supply pipes before installation to
remove soiling from the pipes.
2. Hold the appliance on the wall, and mark the drill lines at top and
bottom, right and left, corresponding to the small notches at the
edge of the appliance hood (see bottom figure).
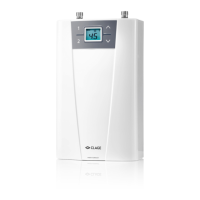
3. Connect the top and bottom marks vertically with each other
(A–A).
4. Connect the right and left marks horizontally with each other
(B–B).
5. The intersections of these lines are the drill points.
6. Drill the holes using a 6 mm drill. Insert the included dowels and
screws. The screws have to protrude 5 mm.
7. Hang up the appliance into the rear hanging openings and slide it
downwards until it clicks into place.
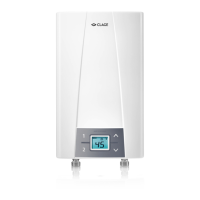
Installing the appliance
1. Attach the water connection pipes to the appliance’s water con-
nection. Use ½“ seal.
2. Open and close the hot water tap until no more air emerges from
the pipe and all air has been eliminated from the water heater.
7. Installation
80
70
140
7
57
153
84
41
26
28
96
140