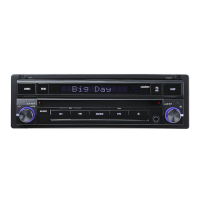
1-10.Installation of VOL PCB ASSY
①
2
② 1
③ 1
1-11.Installation of VOL KONB
①
1
② 1
③ 1
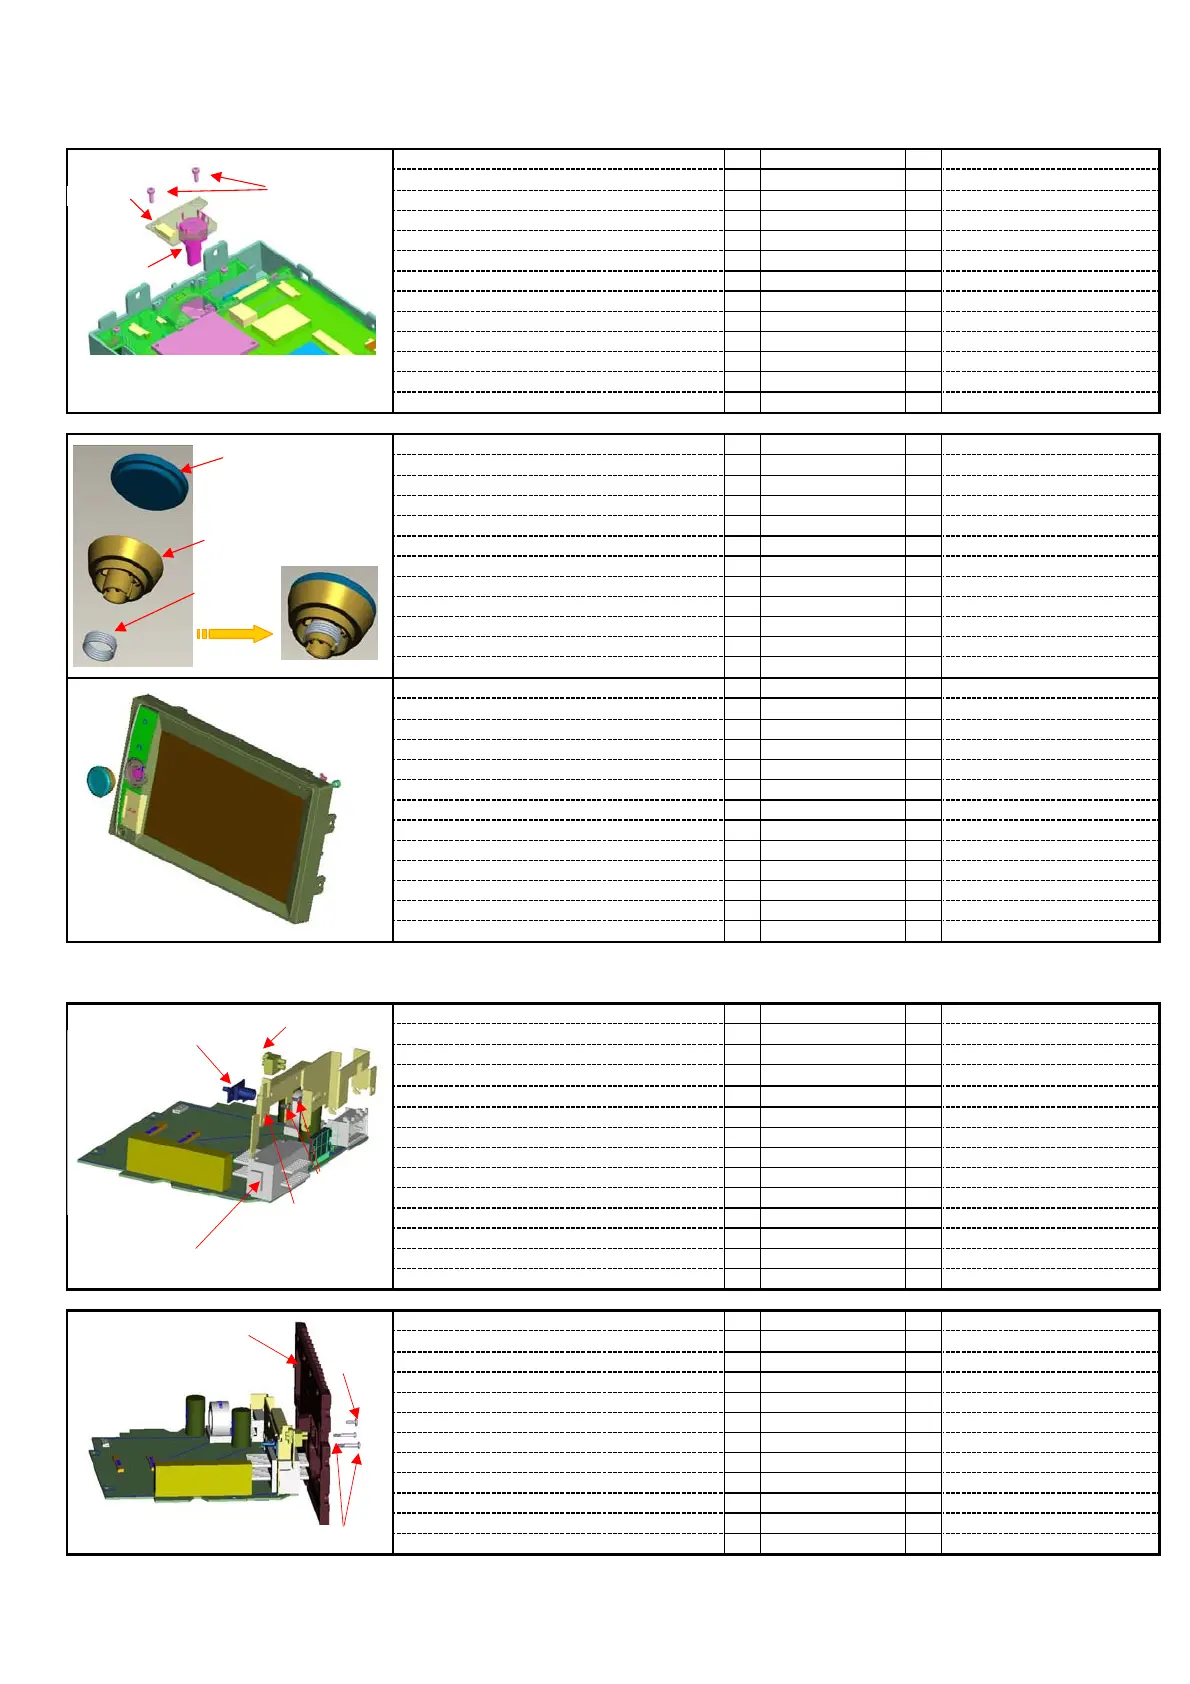
2.Processing of Unit ASSY
2-1.Installation of Rear Bracket
1. Install the GPS socket① onto the rear ① 1
bracket③, and use screw④ to fix it.
② 2
③ 1
④ 2
⑤ 1
⑥ 1
2-2.Installation of Heatsink
①
1
② 1
③ 2121106070007
MB ASSY
123830001358
121100070081
3. Place finished rear bracket onto the MB,
123805000860
123830001305
121000002879
on the rear bracket and AV cables⑥ as well.
to twist the foot of bracket to fix it.
1. Put the heat sink① onto the MB, fasten 141015000210
the screws②&③. 121104070017
2. Insert radio antenna② at the right place
1. Press the knob assembly onto the encoder
pole on the front panel.
1.Press the metal cap① into the knob② 121090000404
2. Install the spring③ onto the knob 141230403230018
121035000569
2. Install the encoder assembly, and use
141658000130
screw① to fix in on the front panel bracket.
1. Place the encoder③ to the PCB② and use 121040000185
iron to fix it. VOL PCB ASSY
use the needle nose plier at the other side
① KNOB CAP
② KNOB
③ Spring
①Scerw×2
③Encoder
②VOL PCB
① Socket GPS
④Scerw×2
⑤MB ASSY
②Radio Cable
③Rear Bracket
⑥AV Cable
Heatsink
③Scerw×2
②Screw
 Loading...