INS TAL L ATION
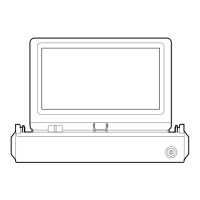
DIN R E A R -MOUNT (Method B )
If your vehicle is a Nissan, Toyota or
S uzuki, follow these mounting instructions.
Use the screw holes marked T (Toyota),
N (Nissan) or S (S uzuki) located on both
sides of the unit to fasten the unit to
the factory radio mounting brackets
supplied with your vehicle.
2. Align the screw holes on the
bracket with the screw holes on the unit,
and then tighten the screws
on each side.
3. F asten with the supplied truss
screws (5x5mm) or flush surface
screws (4x5mm), depending on the
shape of the screw holes in the bracket.
Note: the outer trim ring, sleeve and the
metal strap are not used for method B
installation.
Side View showing
Screw Holes marked
T, N or S
Screw
Dash board or
Console
Hook
Screw
Factory Radio
Mounting Bracket
T
o fas ten the unit to the fac tory radio
mounting brackets .
1. Use a screwdriver to loose the hook•s
screws on the front left and right sides of
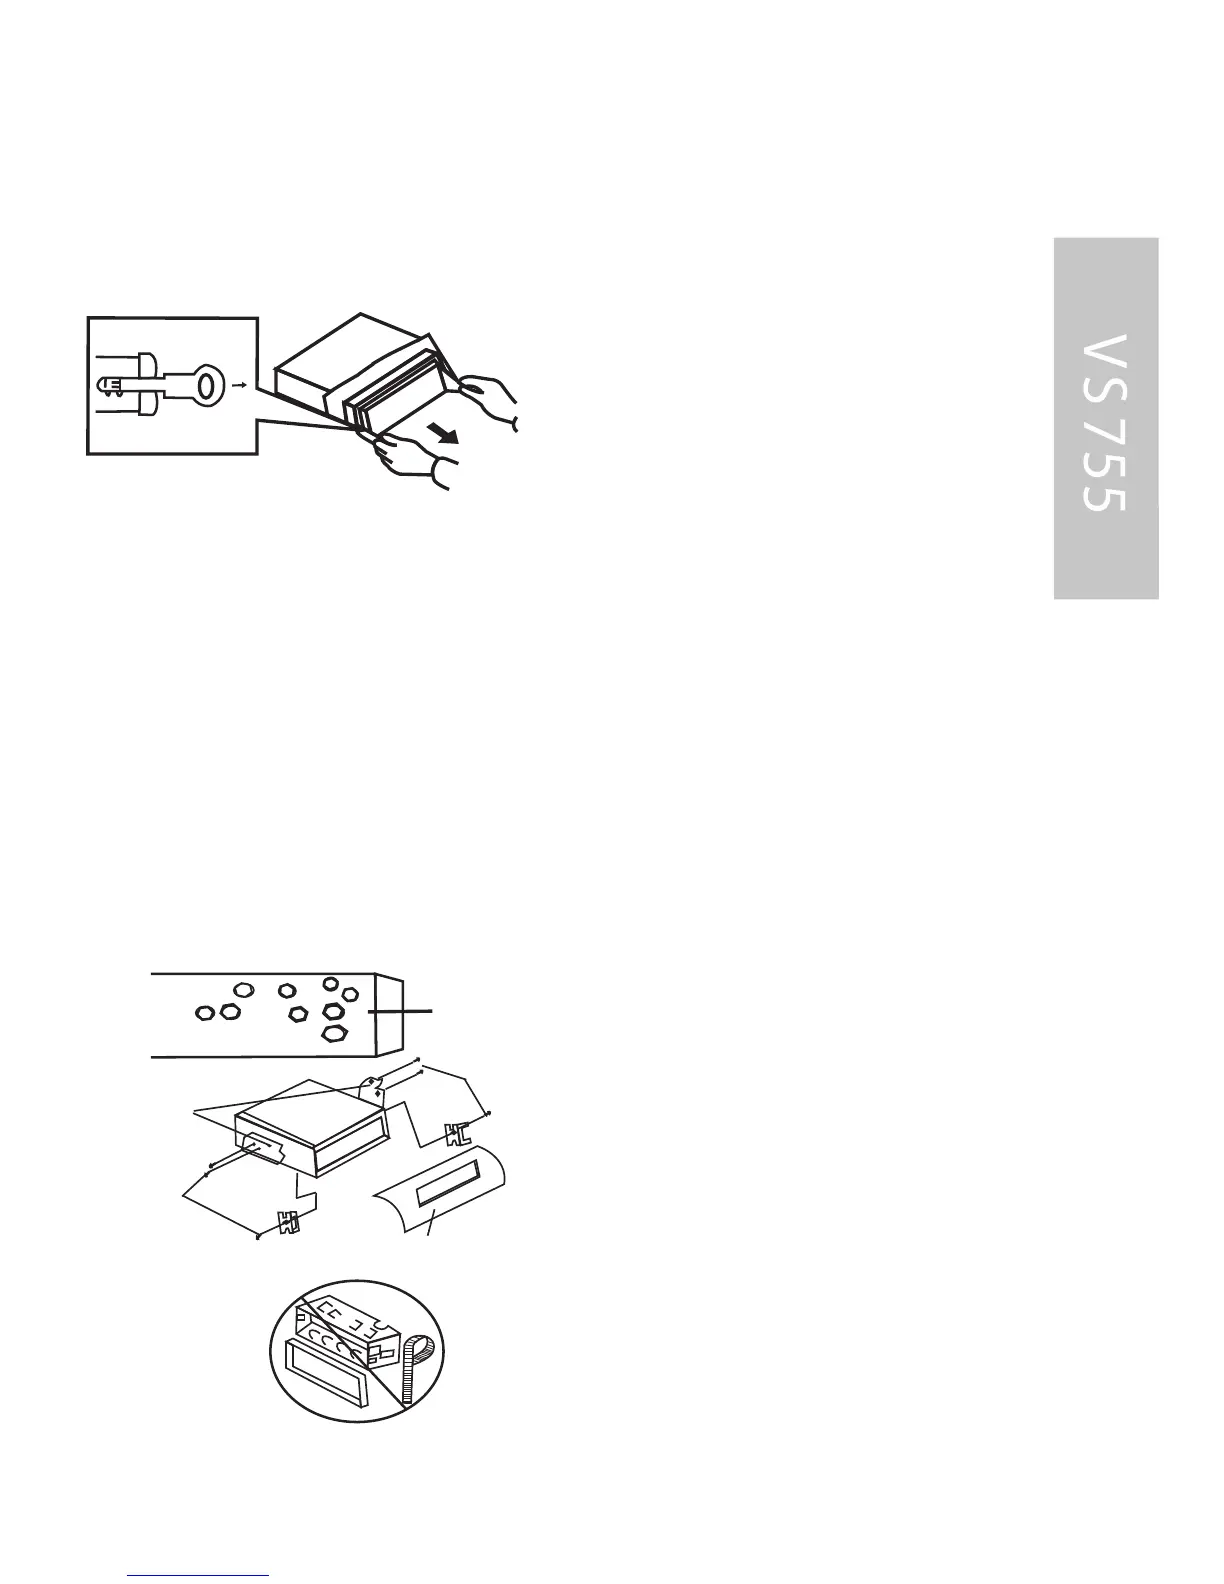
4. T he two supplied keys release
tabs inside the unit•s sleeve so
you can remove it. One key is for
the right side and the other is for
the left side. Insert the keys as
far as they will go (with the
notches facing up) into the appro-
priate s lots at the middle left and
right sides of the unit. T hen slide
the sleeve off the back othe unit.
INS TAL L AT ION
43