12
Step 5. Power On Trilogy
®
Unit
After you’ve completed the wiring, you can
apply power to the unit. The iGate
™
Connect
thermostat receives power from the equipment
and will automatically power on.
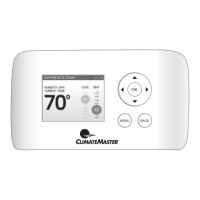
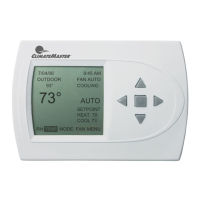
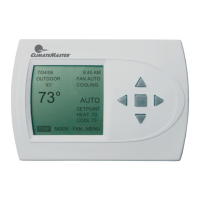
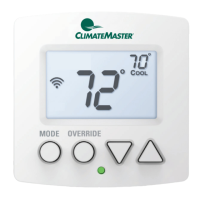
NAVIGATING THE MENUS
The iGate
™
Connect thermostat has an
easy–to–read color screen that displays all
the information you need to con gure the
thermostat. Use the navigation buttons on the
right to quickly change the temperature, access
features, and con gure settings.
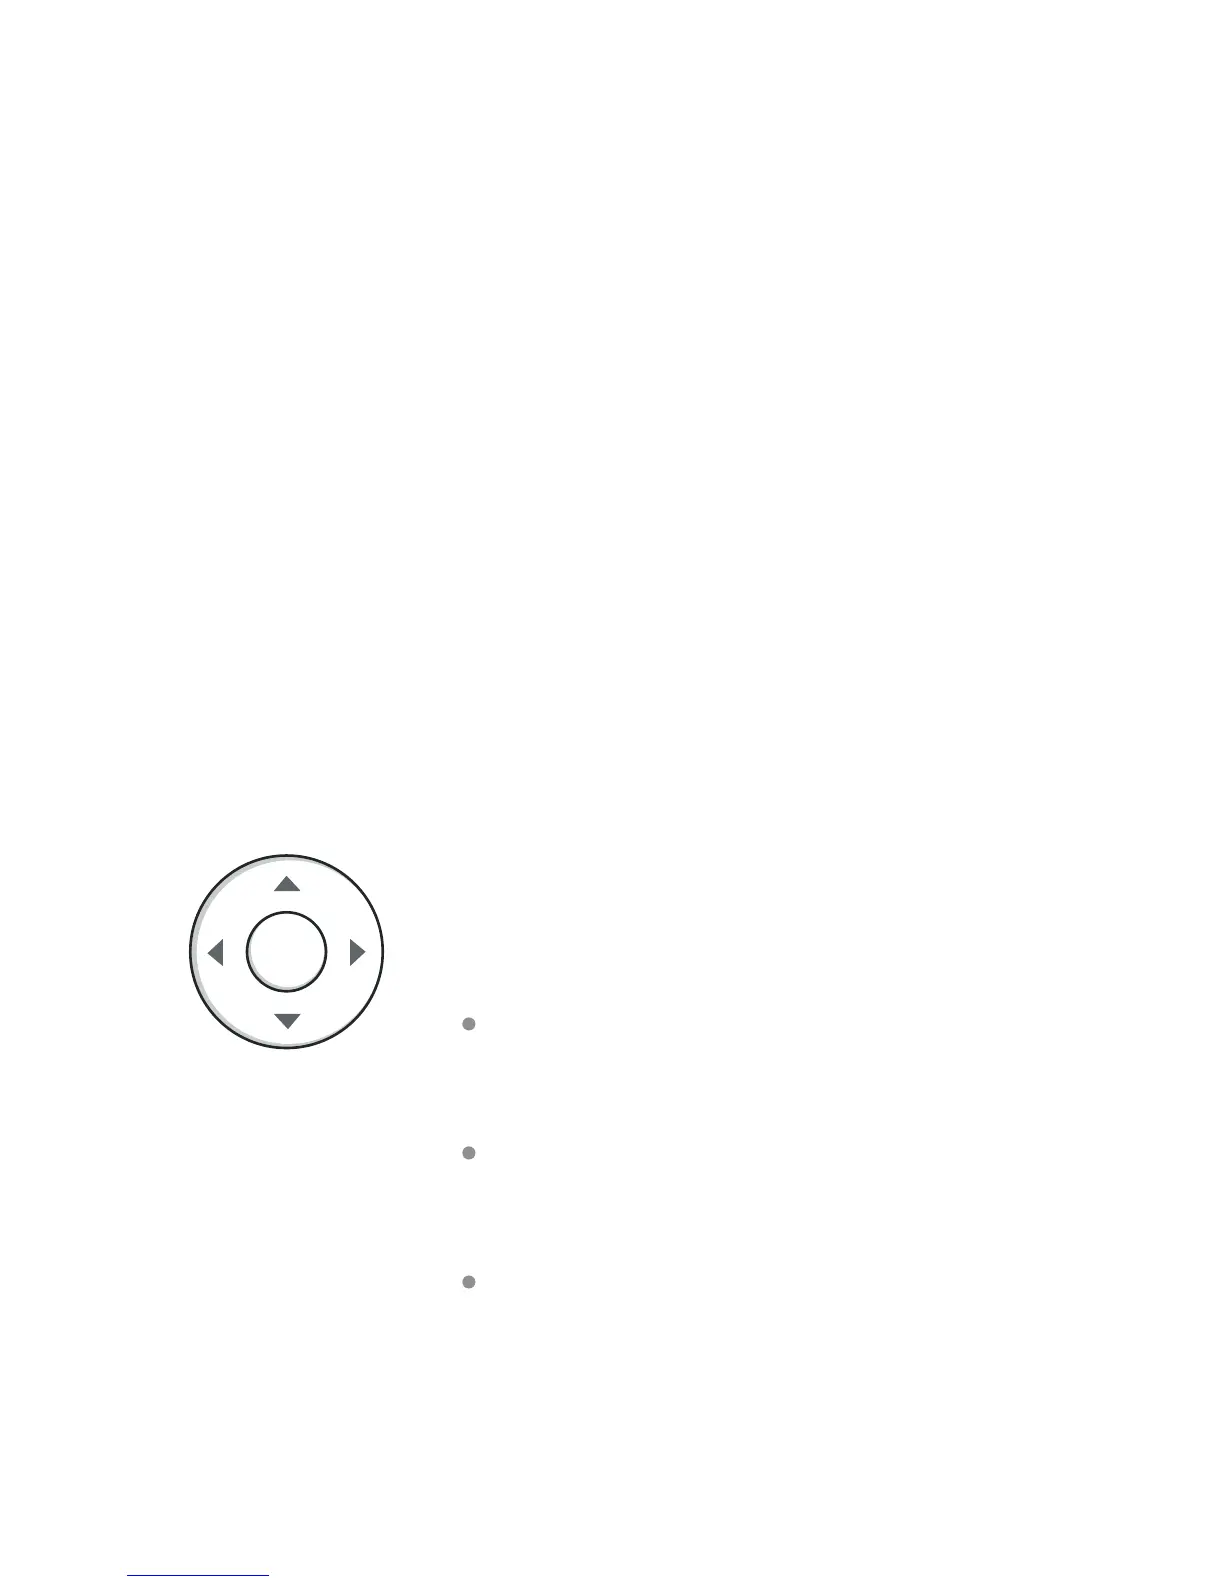
Using the Navigation Buttons
The navigation buttons located on the right
of the iGate
™
Connect thermostat let you
select options and control the iGate
™
Connect
thermostat.
▲ (up) On the Home screen, press ▲ to
increase the temperature set point by 1°F
(0.5°C). For menus, press ▲ to move up.
▼ (down) On the Home screen, press ▼ to
decrease the temperature set point by 1°F
(0.5°C). For menus, press ▼ to move down.
◀ (left) On the Home screen, if Auto mode is
enabled, press ◀ to switch between heat and
cool set points. For menus, press ◀ to go back
to the previous screen.
OK