13
Installation
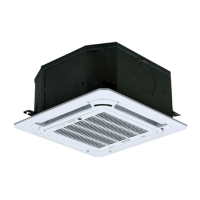
Wood
Place the wooden assembly panel crosswise over the
roof beam, then install the suspension bolts
Wooden assembly panel
Roof beam
Ceiling
Suspension bolts
Fig. 5
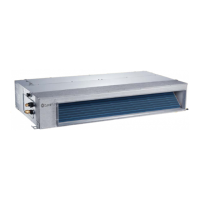
New concrete slab
Embed the anchor bolts.
(Insert with wings) (Sliding insert)
Fig. 6
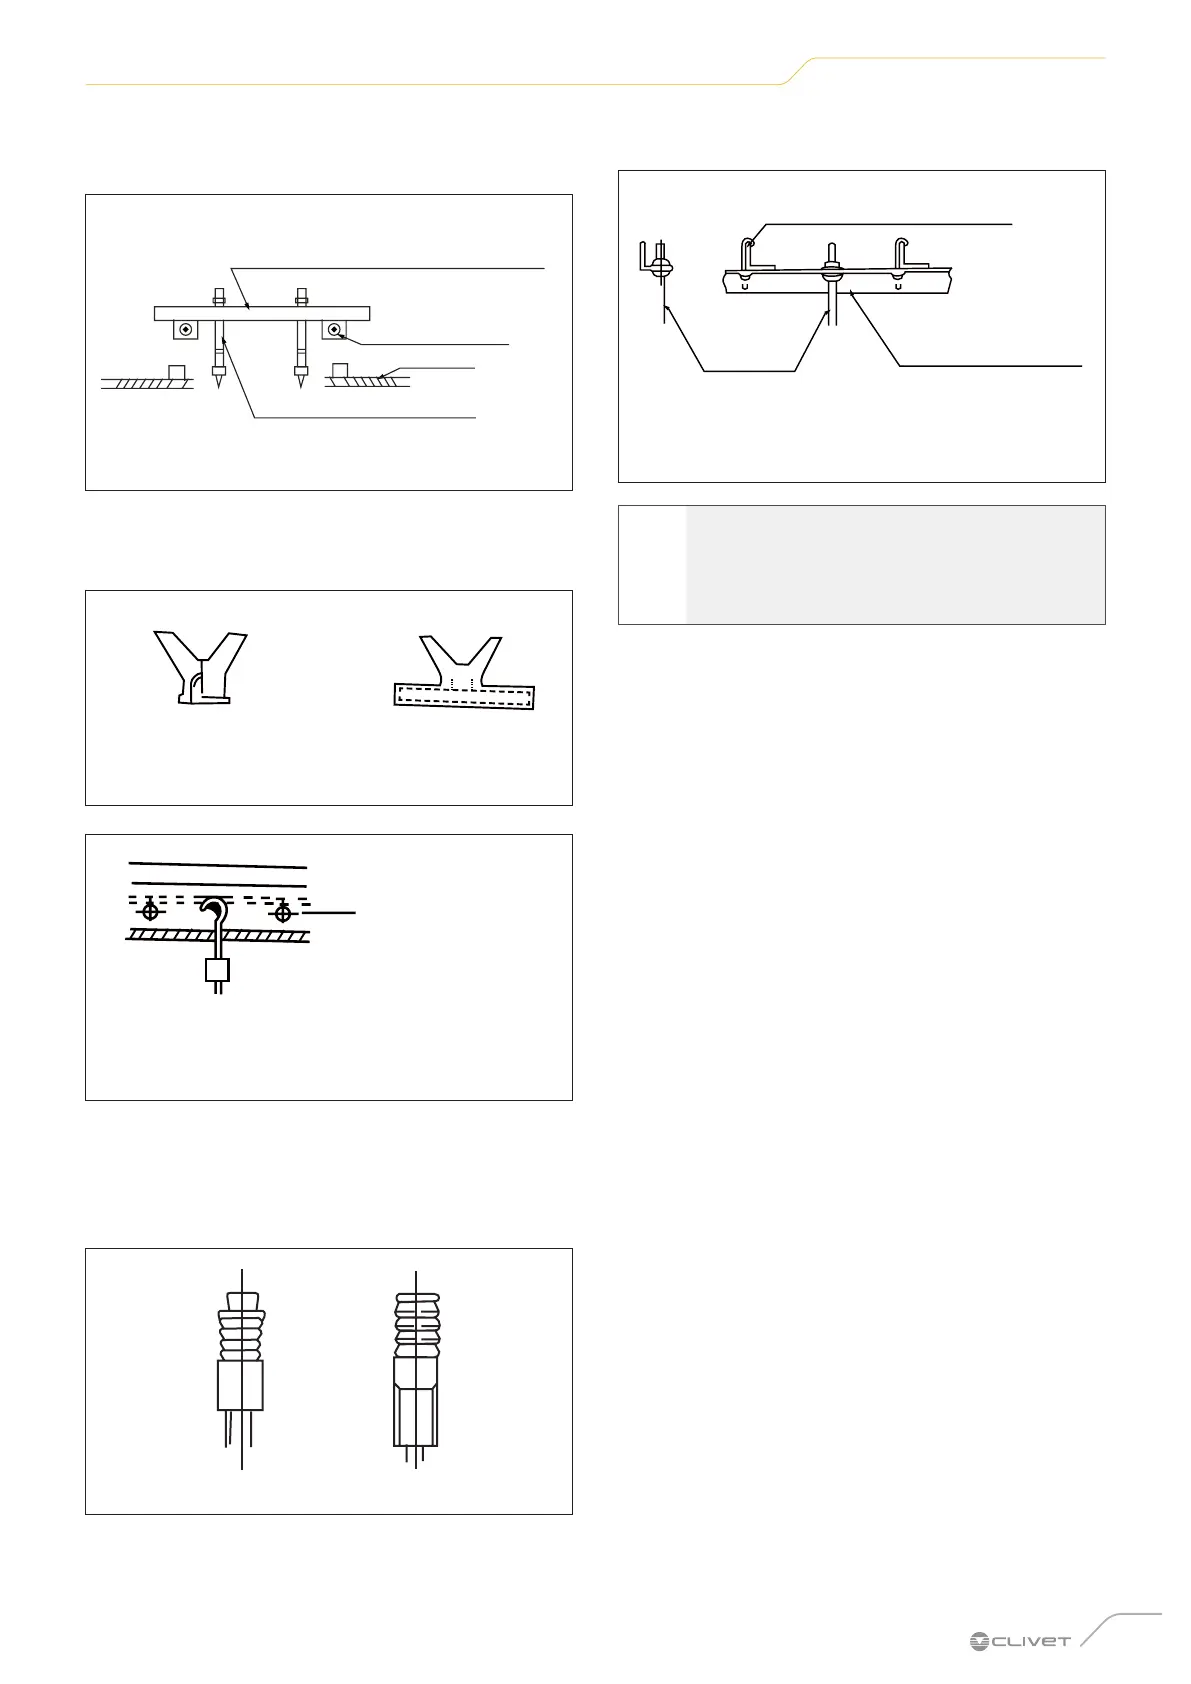
Steel bar
Embedded bolt
(Pipe suspension and embedded bolt)
Fig. 7
Original concrete slab
Install the suspension hook with expansion anchor
45~50 mm deep in the concrete to prevent it from
loosening.
Fig. 8
Roof with steel structure
Install and use the angled steel brackets
Suspension bolt
Suspension bolts
Angled steel support
bar
Fig. 9
a
CAUTION DANGER
The unit body must be aligned exactly with the
hole. Before proceeding, check that the hole
is the same size as the unit.
1 After installing the main body, install and assemble
pipes and electrical cables. To decide where to start,
determine the direction of the pipes to be installed.
Particularly for ceiling installations, put the refrigerant
pipes, the drainage pipes and the internal and external
lines in their respective connection points before
assembling the unit.
2 Installation of the suspension bolts.
– Cut the roof beam.
– Reinforce the cut part and re-join the beam.
3 After choosing the installation position, put the
refrigerant piping, the drainage pipes and the internal
and external electrical lines in their respective
connection points before installing the appliance.
4 Drill 4 10 cm holes in the internal ceiling, in the
positions marked for the hooks. Keep the drill bit at a
90° angle to the ceiling.
5 Fasten the bolt with the washers and nuts provided.
6 Install the four suspension bolts.
7 Assemble the indoor unit. Two people are needed to
lift and fasten the unit. Insert the suspension bolts into
the holes for attaching the unit. Fasten them with the
washers and nuts provided.
 Loading...