39
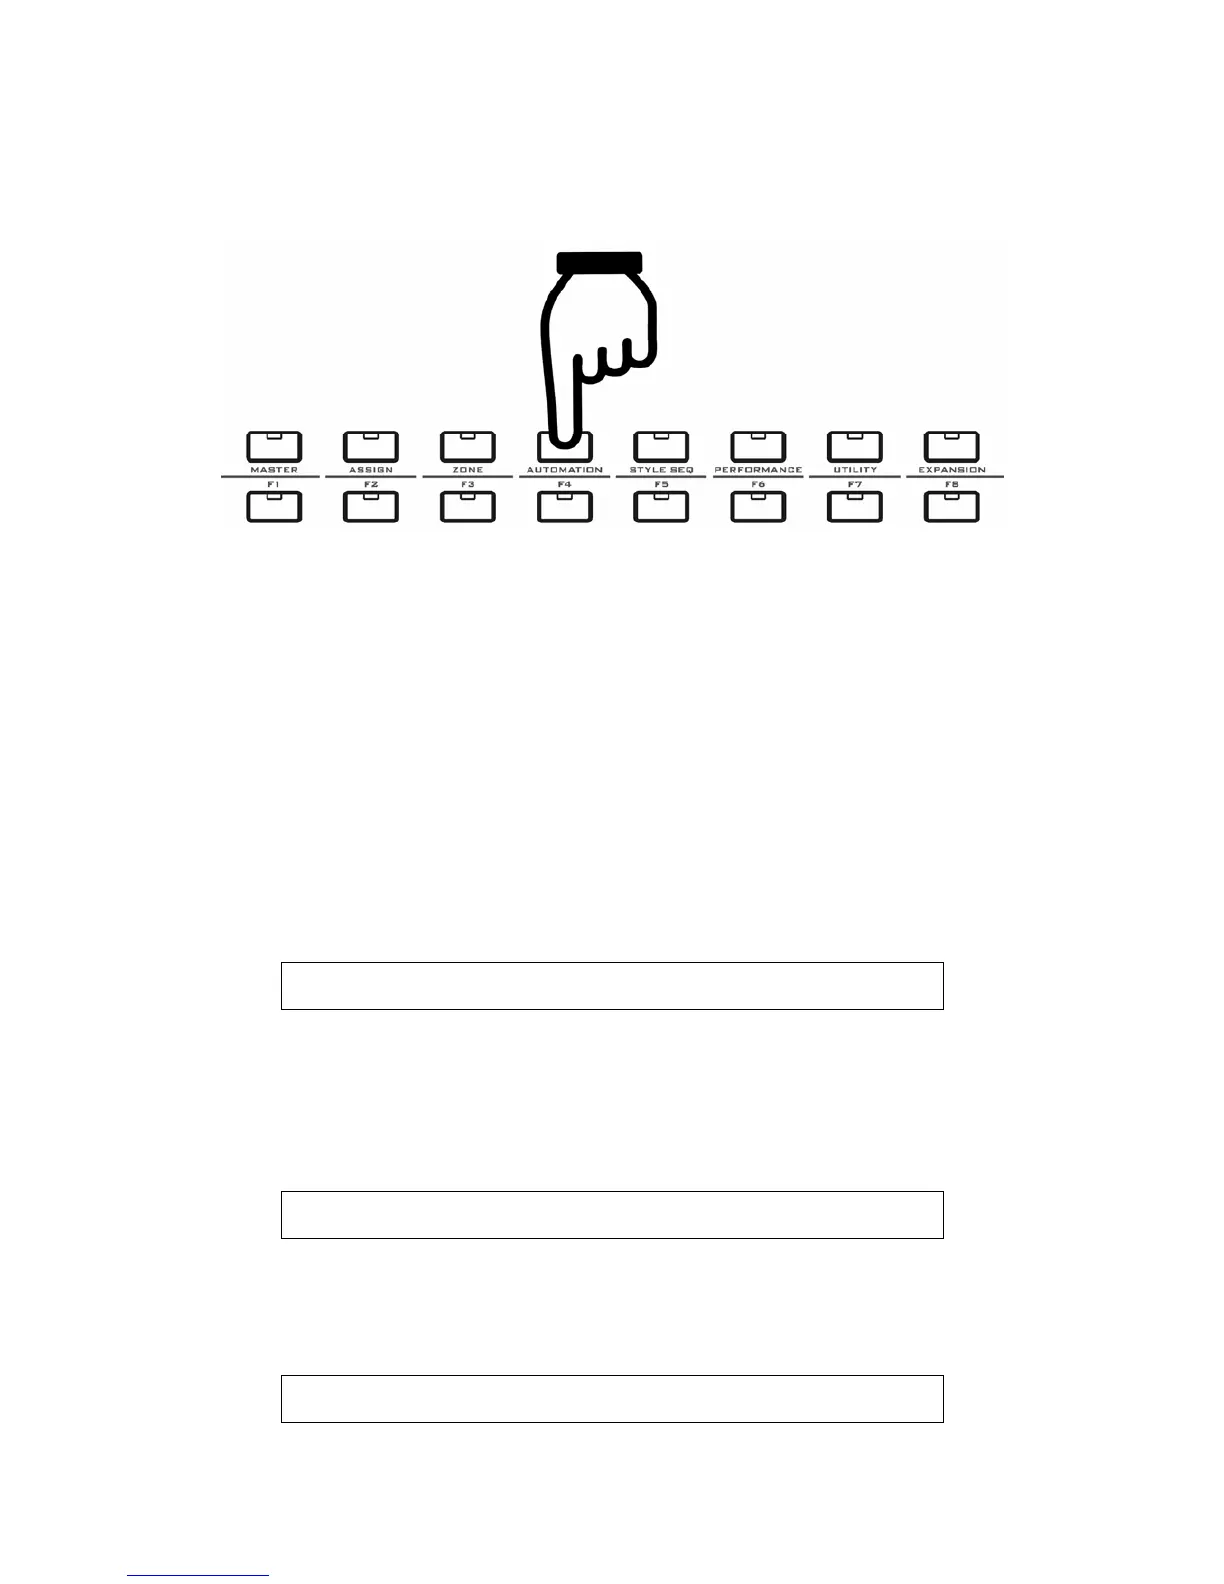
8.4.4 The AUTOMATION Button
Notes for the AUTOMATION function:
z You can use this function to record and play back the fader 1-9 movement, so you
can make the faders move automatically, just like you have a “MIDI Motion Sampler”.
Press the button again to quit to the F1-F8 display, and the fader movement will stop.
z In the AUTOMATION display, you can also press the F1-F8 button or other MENU
buttons to quit.
z Faders 1-9 are map to tracks 1-9, each time you can record the movement of one
fader, and you can play all the faders movement later.
z Move a fader to select it for recording, and auto-display for this fader will be activated.
Press the Record button to start recording. During the recording, the display will be
locked, and all the other auto-display is disabled.
z During the stop, auto-display for pads, faders, potentiometer knobs and encoder
knobs can work properly.
z During the playing, only auto-display for pads, potentiometer knobs and encoder
knobs works, auto-display for faders and the other parts does not work.
z First page of the AUTOMATION display:
S L 1 = 0 9 8 C H : 0 1 P 1
C C : 0 0 7 - V o l u m e
SL1 means current track# is 1 by fader (Slider 1), range is 1-9. You can set it to
another value simply by moving another fader.
CH: 01(Channel 01), you can change it in the ASSIGN mode.
P1: Port 1, you can change it in the ASSIGN mode.
z The recording display:
S L 1 = 0 9 8 C H : 0 1 P 1
Rec
Press the Record button to start recording until you press the Stop button.
During the recording, only one fader can be recorded.
z The playing display:
S l i d e r : 1 - 9
Pl ay
 Loading...