Page 17For technical questions, please call 1-888-866-5797.Item 63890
UPNP: If you want to log in remotely to the DVR
using Web Client, you need to complete the port
forwarding. Enable this option if your router
supports the UPnP. You need to enable UPnP
on both the DVR and router. In this case, you do not
need to manually configure port forwarding on your
router. If your router does not support UPnP, make
sure the port forwarding is completed manually.
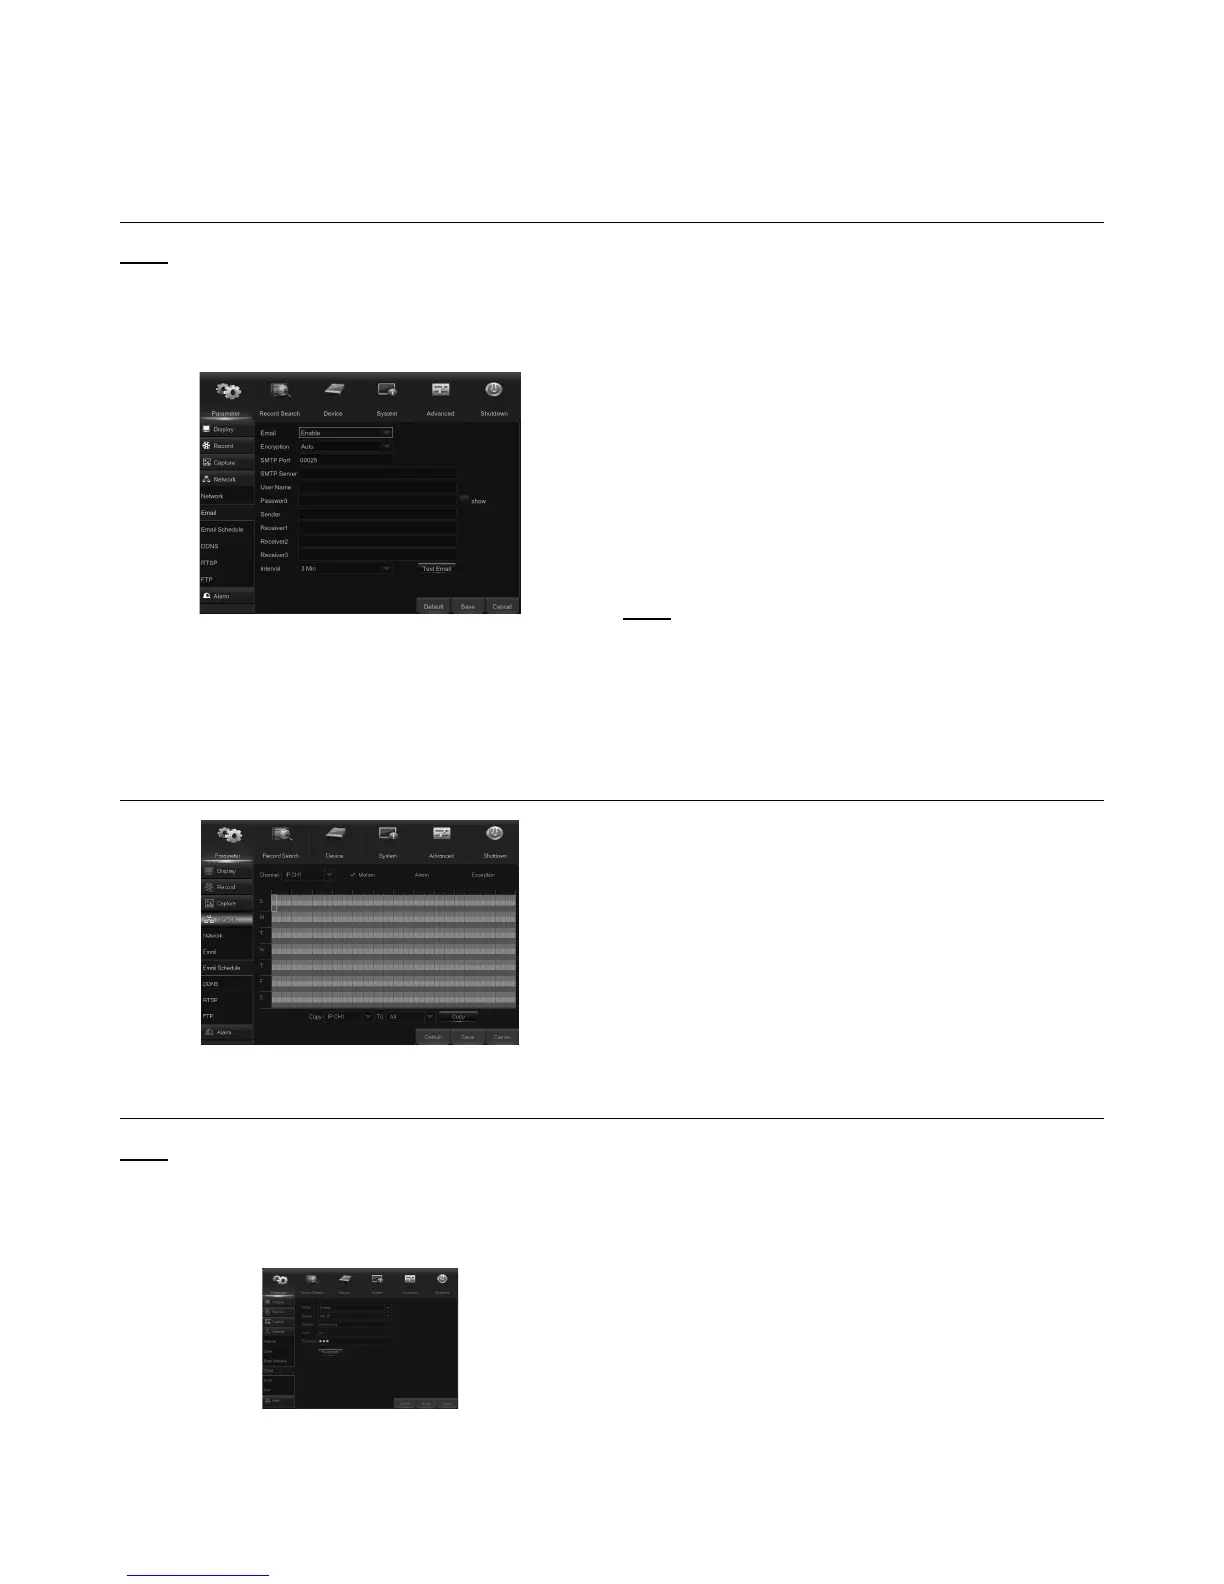
Email
Note: This menu allows you to configure email
settings. Please complete these settings if you
want to receive the system notifications on your
email when a motion is detected, HDD becomes
full, HDD is in error state, or Video Loss occurs.
Figure W
Email: Enable this feature.
Encryption: Enable if your email server requires the
SSL or TLS verification. If you are not sure, set to Auto.
SMTP Port: Enter the SMTP port of your email server.
SMTP Server: Enter the SMTP
server address of your email.
User Name: Enter your email address.
Password: Enter the password of your email.
Receiver 1-3: Enter the email address where you
want to receive the event notifications from the
DVR.
Interval: Configure the length of the time interval
between the notification emails from the DVR.
Note: To make sure all settings are correct, click Test
Email. The system sends an automated email
message to the receiver inboxes. If you received the
test email, it means the configuration parameters are
correct.
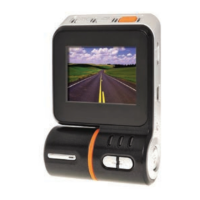
Email Schedule
Figure X
The color codes on email schedule
have the following meanings:
Green: Slot for Motion.
Yellow: Slot for I/O Alarm.
Red: Slot for Exception (HDD full,
HDD error, or Video Loss).
DDNS
Note: This menu allows you to configure DDNS
settings. The DDNS provides a static address
to simplify remote connection to your DVR. To
use the DDNS, you first need to open an account
on the DDNS service provider’s web page.
Figure Y
DDNS: Enable the DDNS service.
Server: Select the preferred DDNS server:
DDNS_3322, DYNDNS, NO_IP, CHANGEIP, or
DNSEXIT.
Domain: Enter the domain name you created on
the DDNS service provider’s web page. This will
be the address you type in the URL box when you
want to connect remotely to the DVR via PC.
For example: dvr.no-ip.org.
User/Password: Enter the user name and password
you obtained when creating an account on
the DDNS service provider’s web page.
After all parameters are entered, click Test
DDNS to test the DDNS settings.