Page 21For technical questions, please call 1-888-866-5797.Item 63890
Record Search & Backup
General
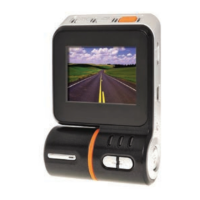
Figure AF
1. Select the channel & the recording type
(All / Normal / Alarm (including preset
point & IO) / Motion / IO / Manual).
2. Determine the recording date.
3. Click Search.
4. Select the recording from the table.
NOTE: Dates marked with orange
triangles have video recordings.
5. Select the channels you want to playback.
6. Modify the start time and end time if
necessary and then click Play.
Events
Note: This section is used to check the
recording file lists and make backup.
2
3
4
1
5
6
7
8
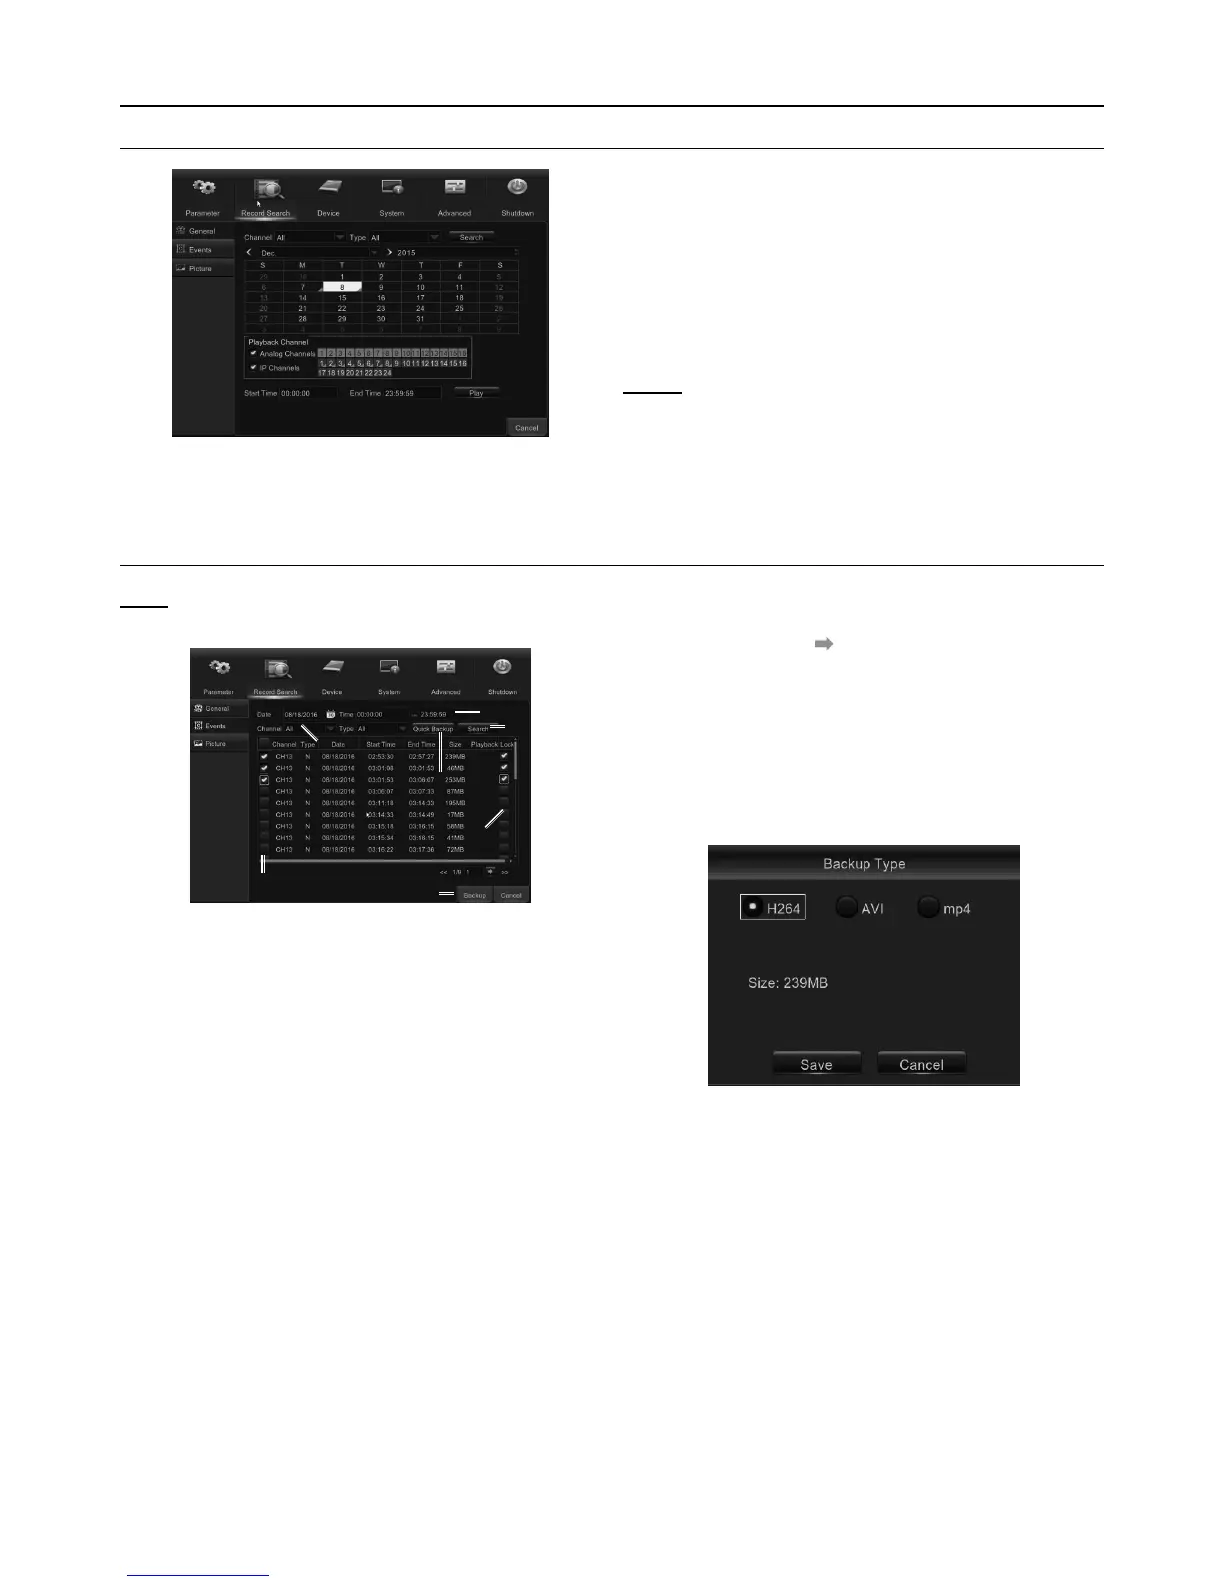
Figure AG
1. Select the recording Date & Time.
2. Select the Channel and Type (All / Normal /
Alarm [including Motion & IO] / Motion / IO).
3. Click Search.
4. If you want to make backup for all recording
files you had searched, click Quick Backup.
5. If you want to make backup for individual files,
select the recording list(s) from the table.
6. If you want to move to a different page,
click << or >>. Or input an individual page
number, then click to jump to the page.
7. After selecting the files, insert the USB drive with
enough free space and click Backup to start the
backup. DO NOT REMOVE THE USB DRIVE
WHILE THE BACKUP IS IN PROGRESS. There
are 3 types of file formats for your backup files:
original H.264, AVI and MP4. The total size of the
backup files will be displayed. See Figure AH.
Figure AH
8. If you want to Lock the recoding files, tick
the checkbox after the files. The locked
files will be protected and unable to be
overwritten by the HDD Overwrite function.

 Loading...