Page 26 For technical questions, please call 1-888-866-5797. Item 63890
Device
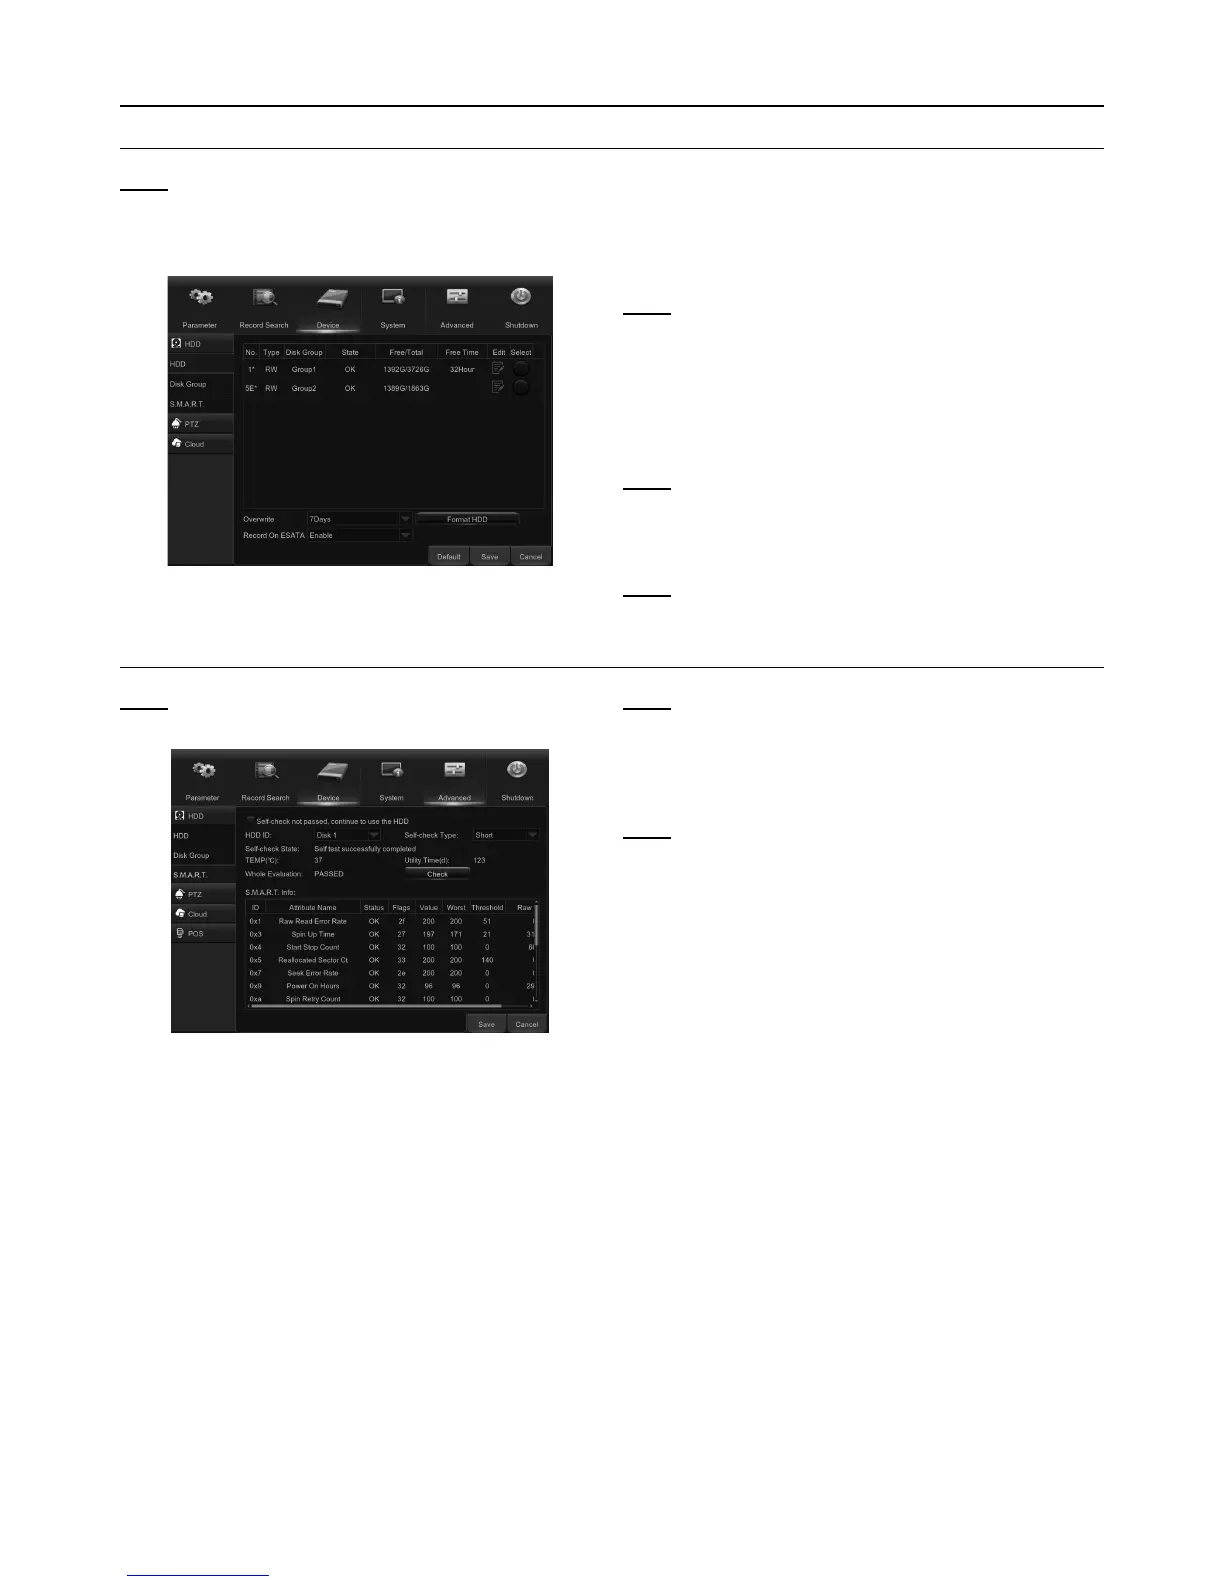
HDD
Note: This menu allows you to check & configure
the internal HDD that the DVR uses for saving
recordings. You need to format the HDD both
at the first startup, and if it is ever replaced.
Figure AY
1. To format HDD: Select the HDD you want to format
and then click Format HDD. See Figure AY.
2. To start formatting, enter your user name and
password and then click OK to confirm.
Note: Overwrite: Use this option to overwrite the old
recordings on the HDD when HDD is full. For example, if
you choose 7 days then only the last 7 days’ recordings
are kept on the HDD. To prevent overwriting any old
recordings, select Disable. If you have disabled this
function, please check the HDD status regularly, to make
sure it is not full. Recording will be stopped if HDD is full.
Note: Record on eSATA: This menu is only
displayed when your DVR has an eSATA port on
the rear panel. It will record the video to an external
eSATA HDD to enhance your HDD capacity.
Note: If the eSATA recording function is enabled,
eSATA backup function will be disabled.
S.M.A.R.T.
Note: This function will help to check the HDD health.
Please note that your DVR may not have this function.
Figure AZ
Note: If you want to continue using the HDD even after
S.M.A.R.T finds an exception, check the box marked
Self-check not passed, continue to use the HDD.
Select HDD ID, then Self-check Type, then Check to
start the test. Self-check State will display the result.
Note: If an HDD S.M.A.R.T error is found, the HDD can
still be used, but at the risk of losing video recording.
Replacing with a new HDD is recommended.