Code Blue
• 259 Hedcor Street • Holland, MI 49423 USA • 800.205.7186 • www.codeblue.com
page 12 of 43 GU-149-Z1
1. Unscrew security screw from bottom of unit. Lift and open unit.
2. Disconnect wire connections from strobe, faceplate light and phone. Lift up on black locking
tab on each connector to separate.
3. Unscrew the nut from the stud to release safety cable from back plate. Place nut back on stud.
4. Lift up on front of unit and remove. Set aside.
5. Using back plate of unit as template, level and mark the four mounting holes.
6. Drill all marked holes with appropriate drill bit.
7. If attaching to concrete or brick, insert one 3/8” anchor into each drilled hole.
8. If attaching to wood, 3/8” lag bolt is required.
9. On one 3/8x3” lag bolt, add one 3/8” flat stainless steel washer followed by one 3/8” flat
rubber washer.
10. Slide lag bolt through top left mounting hole.
11. Add one 3/8” flat rubber washer, followed by one 3/8” flat stainless steel washer to end of
screw.
12. Drill lag bolt into mounting hole.
13. Repeat previous steps for three remaining mounting holes.
14. Slide front of unit back onto bottom tabs of back plate.
15. Reattach safety cable.
16. Reconnect strobe, faceplate light and phone to power system.
17. Connect incoming power to appropriate tap (high voltage or low voltage).
18. Connect incoming communication line (CAT6) to phone using its WAN port.
19. Close unit.
20. Replace security screw into bottom of unit.
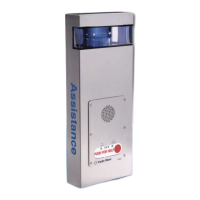
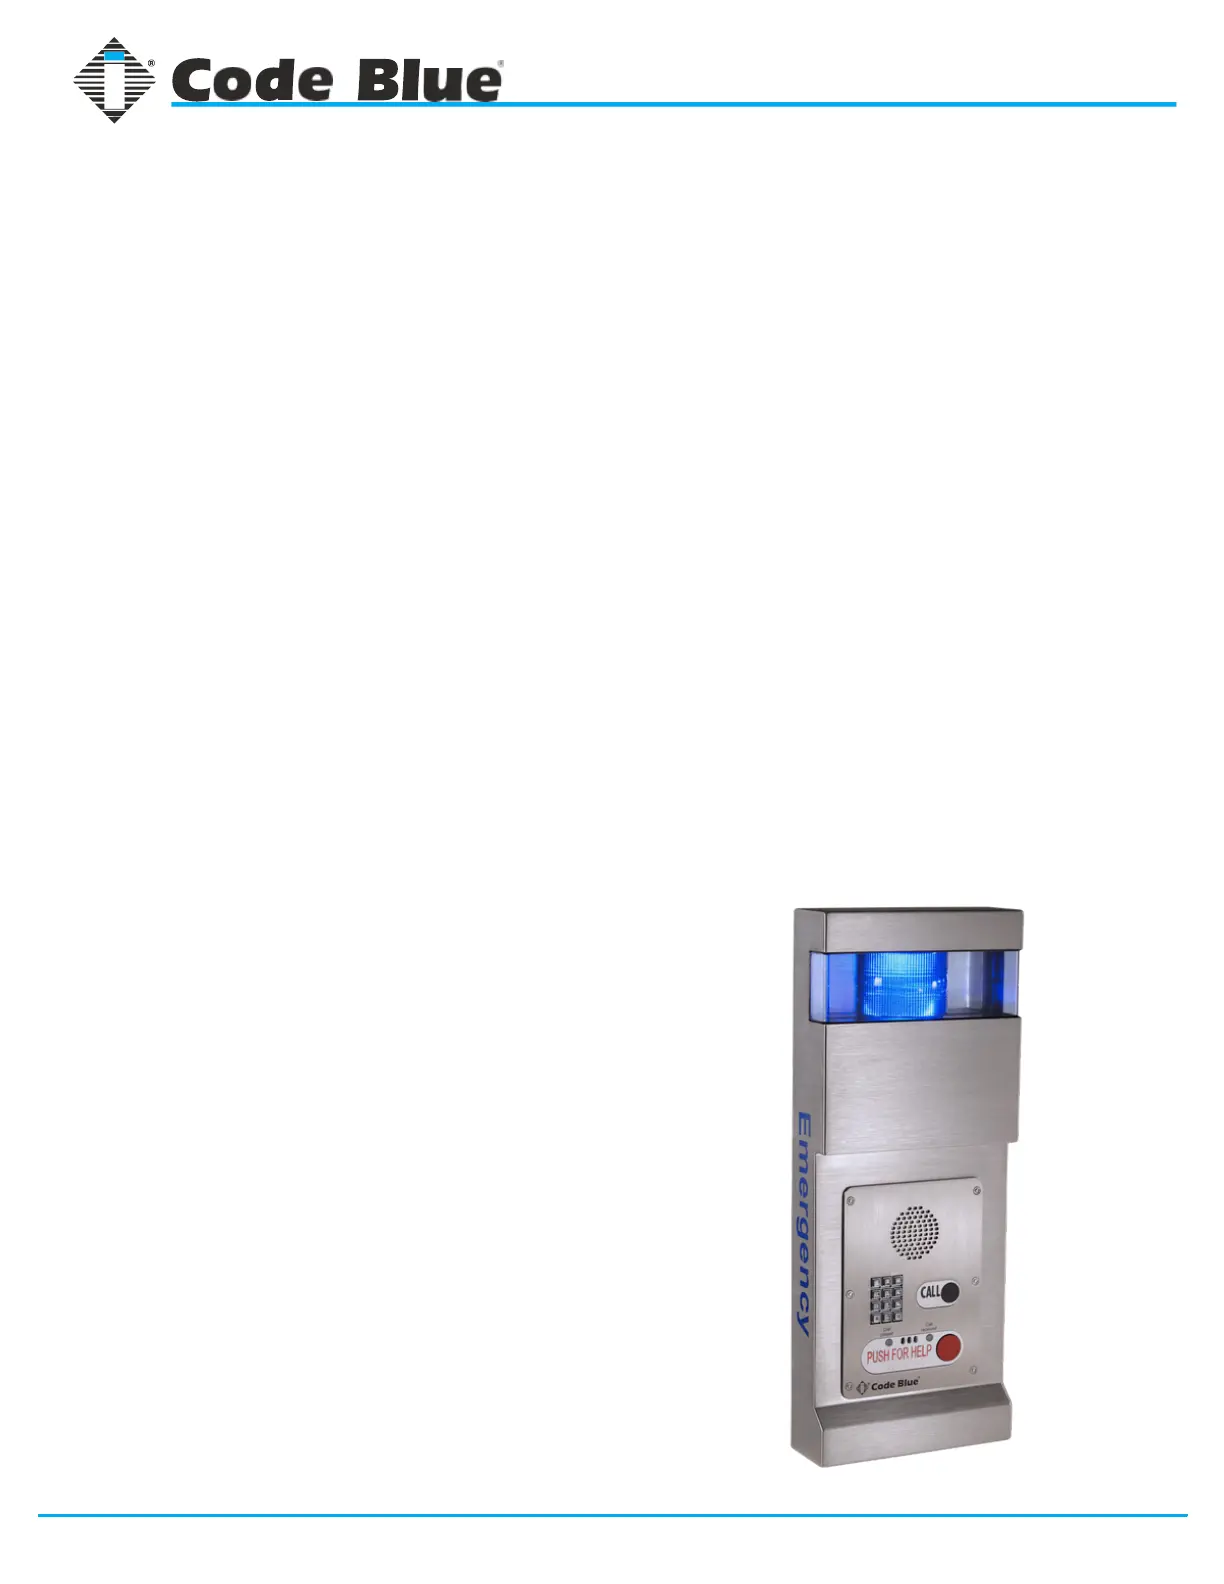
CB 2 Series
Administrator Guide
CB 2-a Installation Instructions