DX-80 INSTALLATION AND MAINTENANCE MANUAL
P7290 IMM 3-16
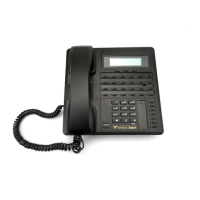
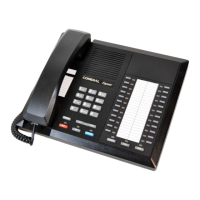
Programming via the DET (Digital Extension Terminal)
Note: [back], [next], [show], [chg], [bksp], and [save] are interactive LCD button operations. Use the
three buttons below the LCD display to actuate the associated operation.
• Enter Database Administration using the feature code !#* and then enter the DB Admin password
“########.” (Note: This eight-character password can be changed.)
• Press [show ]. The DB Item Select screen displays.
• Input 04-14-01-01 to program the Owner of DSS Console #1.
• Press [save ]. The current programming of the DSS Console #1 Owner displays.
• To change the designated DSS Console Owner press [chg] (change).
• Enter the extension number to be assigned as the DSS Console Owner.
Note: Only valid (equipment installed) extension directory numbers can be assigned as DSS Console
Owners.
• Press [save ].
• Press [next ]. The current directory of the DSS Console is display (“NULL” if empty).
• Press [chg] to enter the new DSS Console directory number (the extension number of the digital port to
which the DSS Console is connected).
• Press [save ].
• Press [next ]. The display prompts you for the next DSS Console # to program. Valid entries are 1-12.
• Enter the number of the next DSS Console to program or press the Hold button to return to the previous
programming menu for other programming requirements. Or, press the On/Off button twice to exit
programming mode.
Programming via PC-DBA
Note: PC-DBA is a DOS-based programming utility.
• Enter PC-DBA by typing “DX-80” at the DOS prompt in the PC-DBA working directory and then pressing
«. The program title page displays.
• Press any key at the program title page to enter the Main Menu.
• Select PC-DBA from the Main Menu. The PC-DBA menu is then shown.
• Select Programming from the PC-DBA menu.
Program DSS Console Owner/Port:
• Use ¢£¤¥ to highlight “System Resource” and then press «.
• The cursor is now positioned on the database item - “Attendant.”
• Use ¢£¤¥ to highlight the database item “DSS Allocation.” The cursor is positioned on the database
item “DSS Unit 1, DIR No.”
• Press « to select this data item for change. The data item is ready for input.
• Input the directory number of the digital port to which the DSS Console is connected.
• Press «. The data is stored.
• Use ¢£¤¥ to highlight the DSS Unit 1, DSS Owner database item.
• Press « to select this data item for change. The data item is ready for input.
• Enter the extension directory number of the extension with which this DSS will operate.
• Press «. The data is stored.