Atena Easy Addressable Fire Alarm Panel – Installation and Programming Manual
48
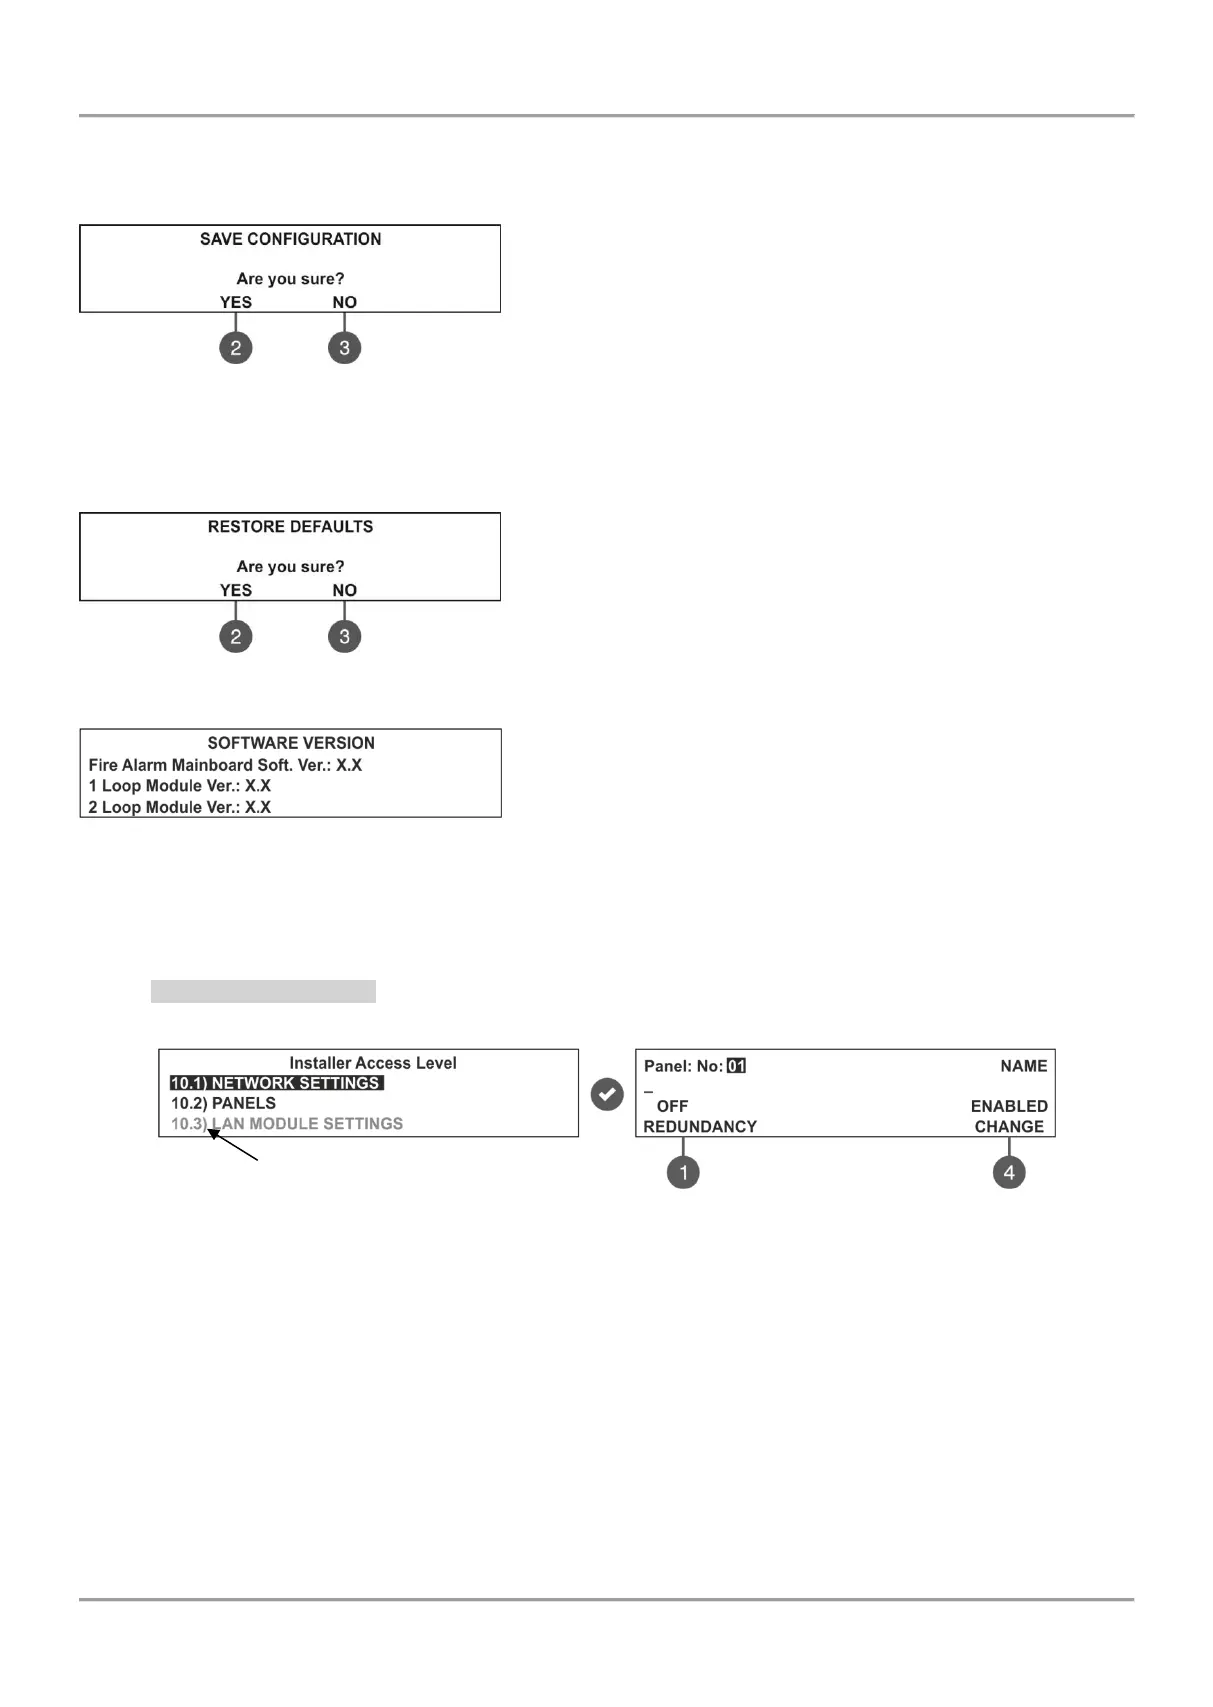
7.7. Save Configuration Menu
Attention: Saving the system configuration is available only from access level 3!
In this menu the installer performs saving of the new found devices in the system configuration. The panel will ask for
confirmation of the action. The screen displays.
Use the functional buttons to confirm or reject the save configuration.
You can also escape from this menu with ‘CANCEL’ button.
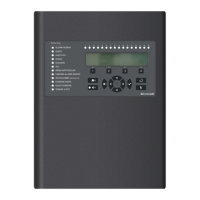
7.8. Restore Defaults Menu
Attention: The restore defaults menu is available only from access level 3!
In this menu the installer performs reset to default settings of the system configuration. The panel will ask for
confirmation of the action. The screen displays.
Use the functional buttons to confirm or reject the restore defaults
settings. You can also escape from this menu with ‘CANCEL’ button.
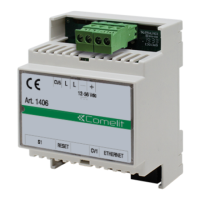
7.9. Software Revision
In this menu the installer can review the software versions of the
main board and used loop modules and also has possibility for
firmware update of the main processor unit. The screen displays:
7.10. Network
(supported for Soft. Revision 2.8 and higher)
In this menu the installer can make the settings for the redundant network between fire panels.
7.10.1 Network Settings
To access the NETWORK settings, enter in the installer’s menu - 10. NETWORK – 10.1) SETTINGS. The screen
displays:
In this submenu the installer enters a number, name and sets the status of the panel in the redundant network. Use the
up/ down arrow buttons to set the panel number. Move on the second row with right arrow button and enter a specific
name up to 40 symbols, including intervals.
(1) – REDUNDANCY - Use the button to set an option for ignoring a fault message for broken connection in the
redundant network. Set OFF if you do not want to monitor the status of the connection in the redundant network; set
ON if you want to monitor the continuity of the redundant network.
(4) – CHANGE - Use the button to set the status of the panel in the redundant network - ENABLED (the panel is
enabled for operation in the network) / DISABLED (the panel is disabled for operation in the network). When the panel
is DISABLED from the network it will not receive messages from other panels and will be visualized as FAULT.
Confirm the setting with ‘ENTER’ button. You can also escape from this menu with ‘CANCEL’ button.