13
SET UP & ADJUSTMENTS
3
21
BACK SUPPORT ADJUSTMENTS
The following instructions are for using the adjustable support features on Acta-Series back supports.
All support systems can be adjusted for changes in condition at any time.
Acta-Relief™ setup: Ideally, the lowest Boa
®
cable should be
located at the user’s PSIS. With increased tension, it will capture
the user’s pelvis. The next cable up should support the lumbar
region. The top one or two cables (whichever is applicable) can
then be adjusted to the user’s needs and comfort.
Using Moldable Support Stays on all Acta-Back
®
&
Acta-Embrace
®
back supports:
Adjusting wings on Acta-Embrace
®
back supports:
Please contact Customer Service for additional wings if needed.
Using the Boa
®
Closure System on Acta-Relief™ back supports:
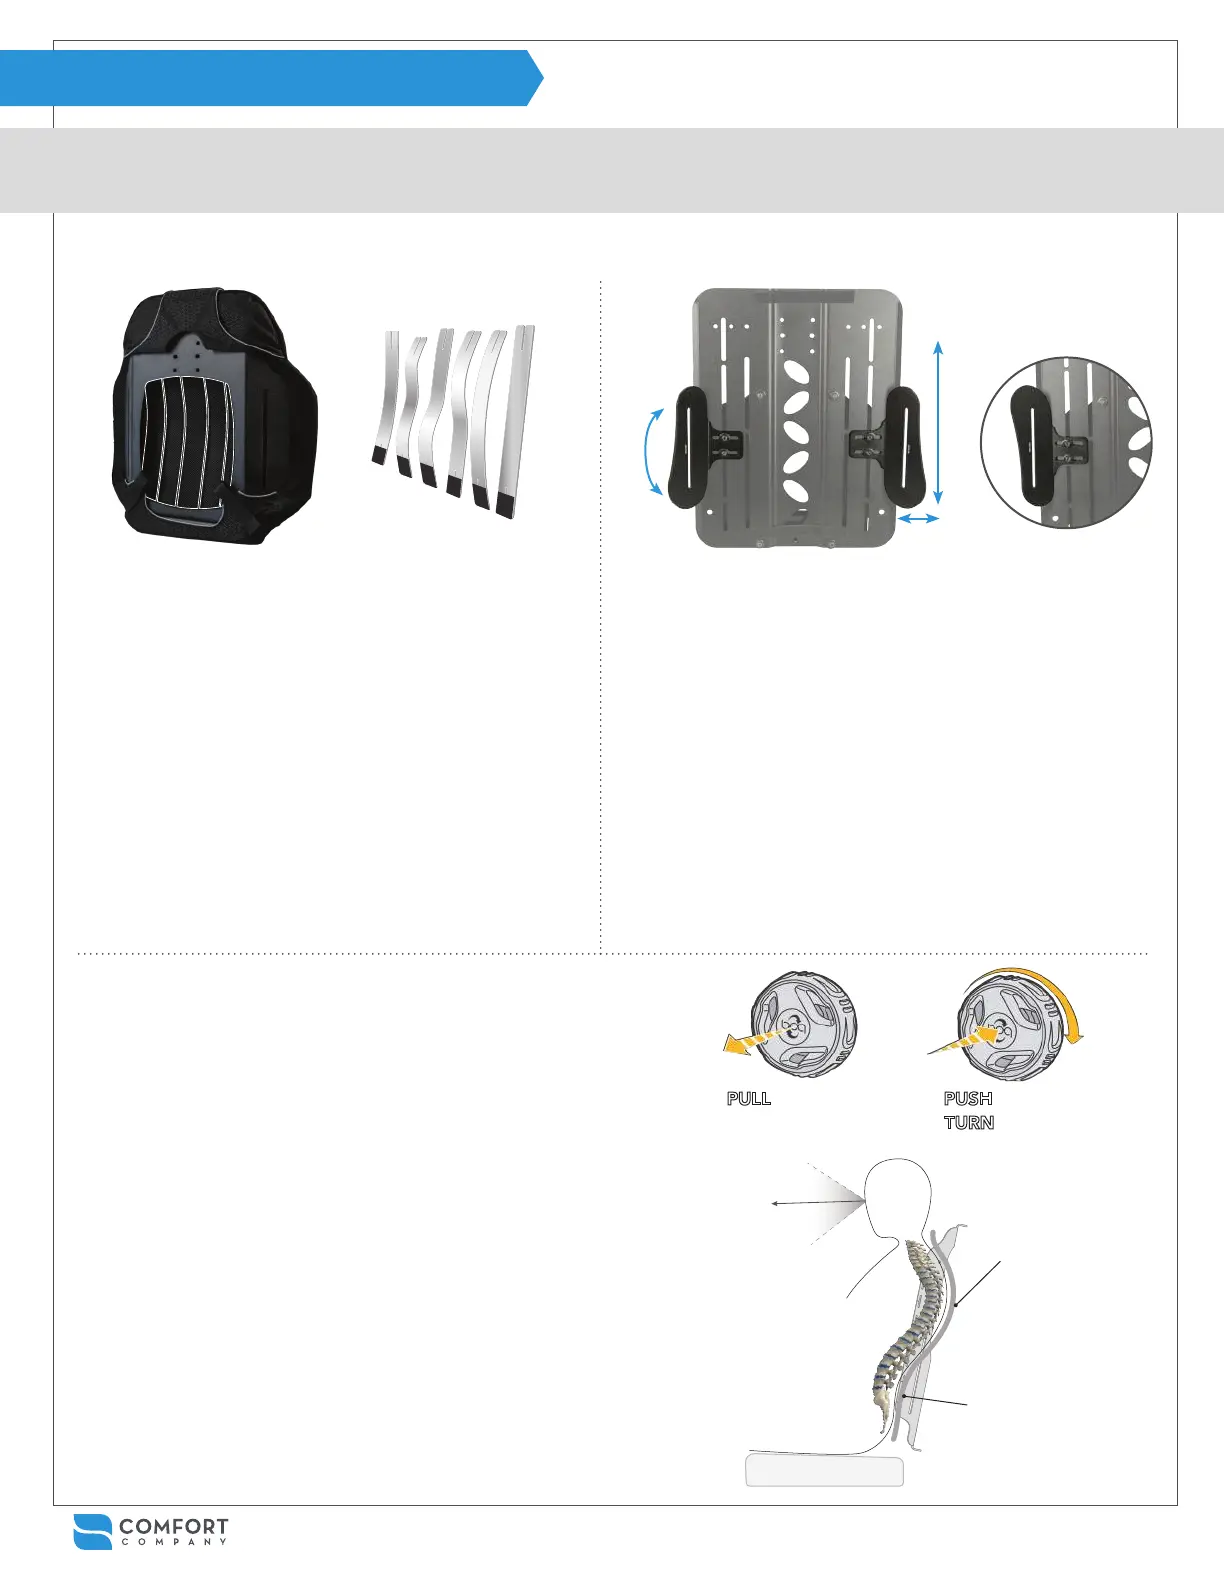
Rear view to show stay pockets
(Acta-Back
®
shell)
Front view Acta-Embrace
®
shell Flipped wing orientation
Samples of various ways
stays may be molded
1
With the user seated, identify gaps between them and the
back support or areas that require positioning. Tip: Use
stays in an offset placement to accommodate for rotation.
2
Unzip the top of the cover and remove the stays from the
inner pockets.
3
Mold the stays with hands or rm surface. Keep in mind
that the black end is the bottom when molding.
4
Reinstall stays in the inner pockets appropriate for the
shape desired and have the user rest against the back
support.
5
Repeat process as needed to achieve desired goals.
Tip: Adjust regularly with changing condition and
positioning needs over time.
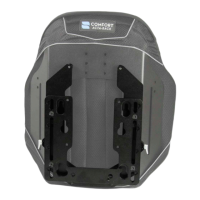
1
When using Compass
®
Power Mount Hardware, wings are
attached to the anterior side of the shell. Remove the back
support cover to access the wing fasteners.
2
Loosen fasteners for height and medial-lateral adjustments
or to rotate the wings. Lateral trunk supports are attached to
the wings and have additional adjustments available.
3
Additional slots are available on most Acta-Embrace
®
shells
for greater range of adjustment or offset positioning. Remove
fasteners and move wings to the desired slot when needed.
Tips: Use wings in the ipped orientation by removing
fasteners and moving them to the opposite side of the shell.
Additional wings may be added to achieve a 3-point lateral
support. Mix and match wing sizes as desired.
1
With the user seated, pull the reel to release tension.
Tip: Pop the Boa
®
reels open from the side like a bottle opener
using an index nger hooked under the reel while the thumb
pushes on the top of the opposite side of the reel.
2
Let the user sink into the back support so the cables form
around them then push the reel in to engage the system.
3
Turn each reel until the desired shape is achieved. The cables
will pull with even tension and conform to the user’s shape.
4
Repeat process as needed to achieve desired goals.
Tip: Also adjust regularly with changing condition and
positioning needs over time.
PULL to release PUSH to engage
TURN to tighten
Create even pressure
along the entire back
by accommodating
deformities and allowing
for immersion through
the back support shell.
Use the Boa
®
Closure
System to open up the
chest cavity, bring the
user’s line of sight up,
and increase comfort
and stability.
Increase tension in areas
that need additional
support and encourage
proper positioning.