Customised-display management
One of the most distinctive innovations introduced by C-Pilot EVO, together with the variometer
customisation, is the possibility to design the navigation page.
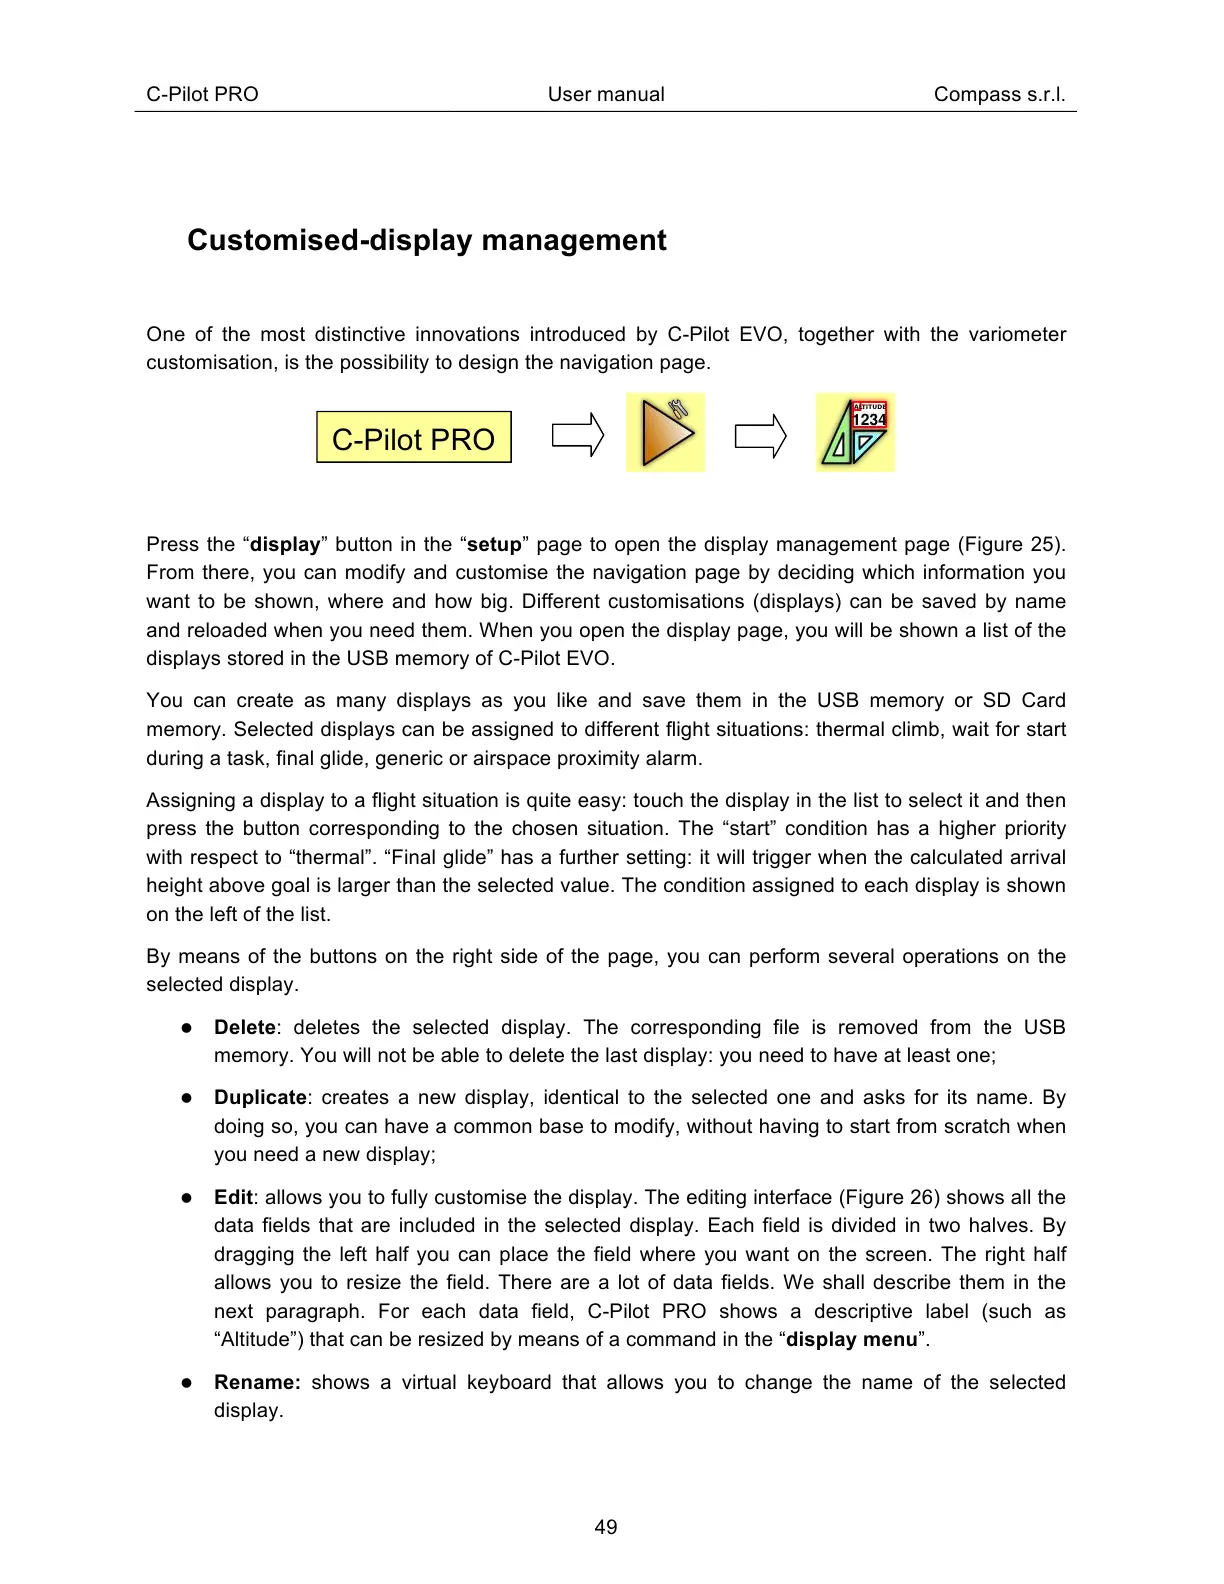
Press the “display” button in the “setup” page to open the display management page (Figure 25).
From there, you can modify and customise the navigation page by deciding which information you
want to be shown, where and how big. Different customisations (displays) can be saved by name
and reloaded when you need them. When you open the display page, you will be shown a list of the
displays stored in the USB memory of C-Pilot EVO.
You can create as many displays as you like and save them in the USB memory or SD Card
memory. Selected displays can be assigned to different flight situations: thermal climb, wait for start
during a task, final glide, generic or airspace proximity alarm.
Assigning a display to a flight situation is quite easy: touch the display in the list to select it and then
press the button corresponding to the chosen situation. The “start” condition has a higher priority
with respect to “thermal”. “Final glide” has a further setting: it will trigger when the calculated arrival
height above goal is larger than the selected value. The condition assigned to each display is shown
on the left of the list.
By means of the buttons on the right side of the page, you can perform several operations on the
selected display.
Delete: deletes the selected display. The corresponding file is removed from the USB
memory. You will not be able to delete the last display: you need to have at least one;
Duplicate: creates a new display, identical to the selected one and asks for its name. By
doing so, you can have a common base to modify, without having to start from scratch when
you need a new display;
Edit: allows you to fully customise the display. The editing interface (Figure 26) shows all the
data fields that are included in the selected display. Each field is divided in two halves. By
dragging the left half you can place the field where you want on the screen. The right half
allows you to resize the field. There are a lot of data fields. We shall describe them in the
next paragraph. For each data field, C-Pilot PRO shows a descriptive label (such as
“Altitude”) that can be resized by means of a command in the “display menu”.
Rename: shows a virtual keyboard that allows you to change the name of the selected
display.