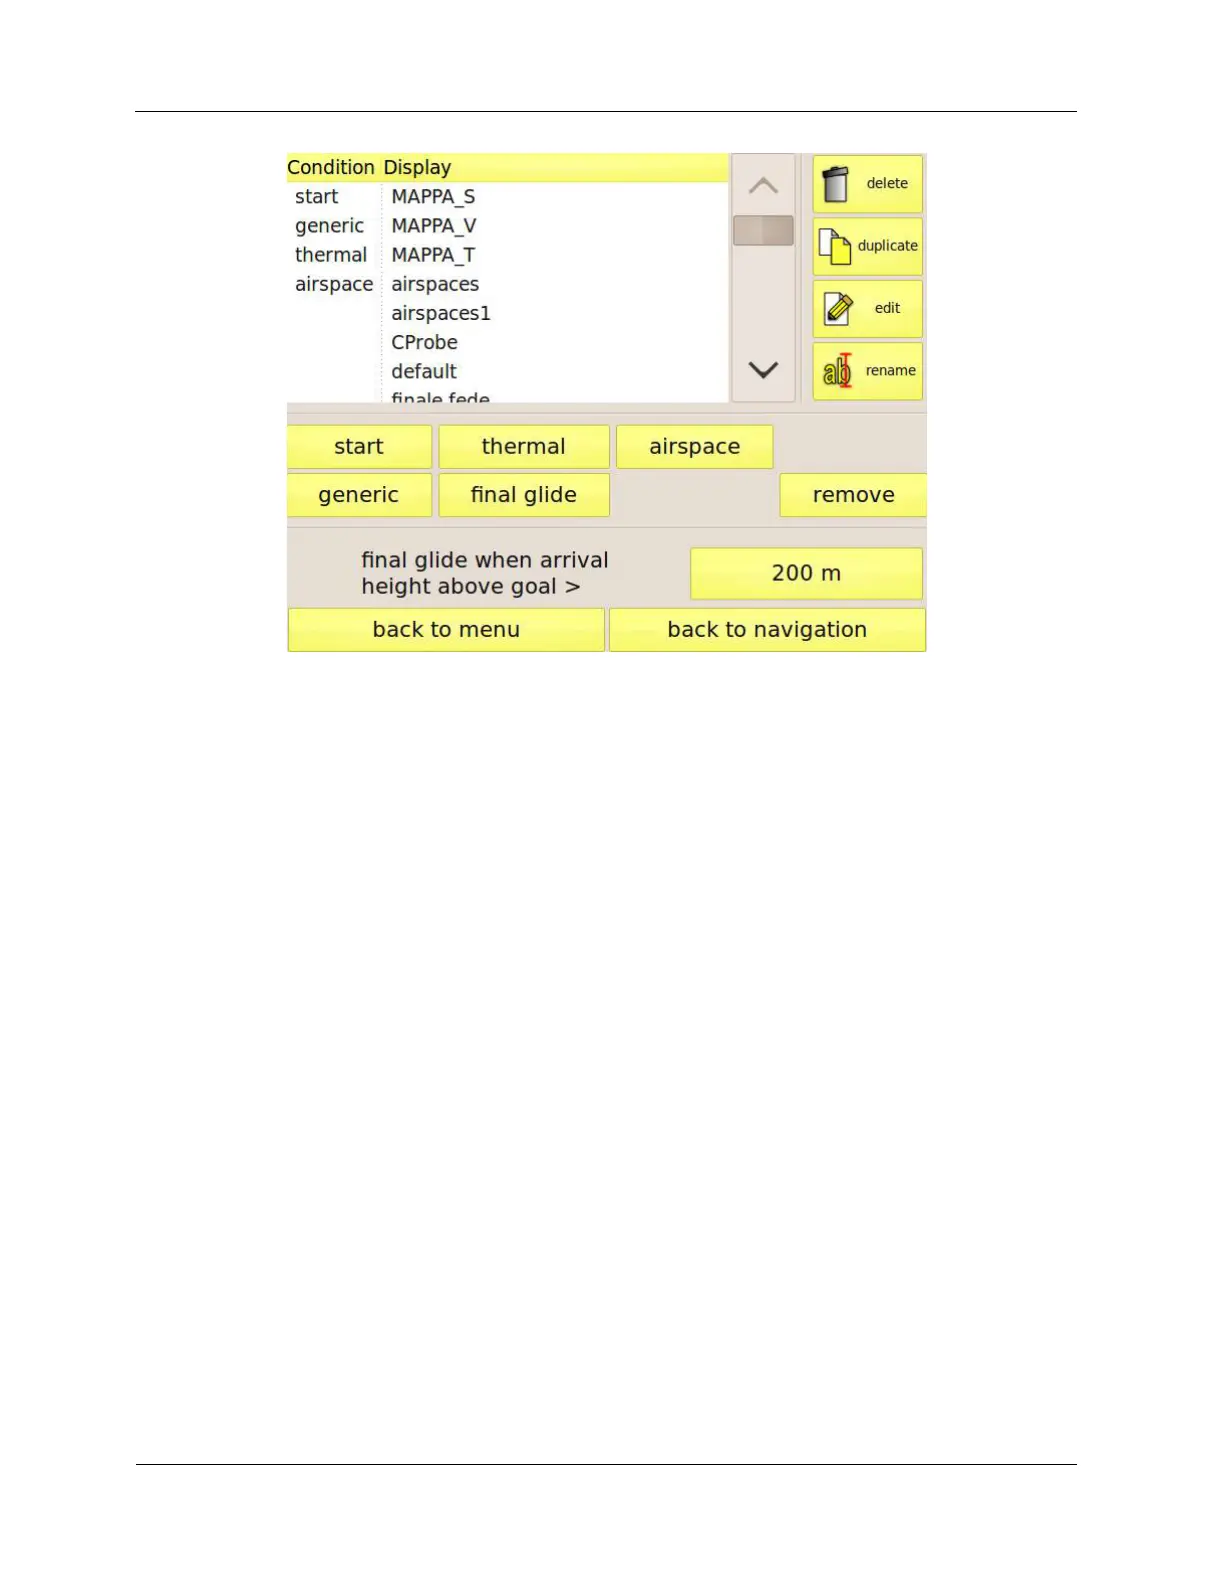
Figure 25: display-management page
Editing a display
Editing a display is fast and easy. Select it from the list and press the “edit” button to start the editor.
You will be shown the data fields as they would appear in the navigation window, but with a gray
border. When you touch a field, its border turns red, meaning that it is active and you can modify it.
Each field is divided in two halves. By dragging the left half you can place the field where you want
on the screen. The right half allows you to resize the field. For example, to move a field in a different
position on the screen, you just have to touch its left side with your finger and drag it where you
want. The “properties” button in the top right corner of the screen may be used to change the colour
of the characters or to make the background of the field opaque, so that you can see it very clearly
even if it is above other fields, such as the map.
The “display menu” button allows you to save the changes and to go back to the display
management page, by pressing the “done” button. You can also choose the size of the field labels
(small, medium, or large). This setting affects only the display that you are editing.
By means of the “discard changes” you can restore the previous version of the display, discarding
the changes that you have done. “Revert to default” discard all your changes and restore the
default display. Press “cancel” to close the menu and continue editing the display.