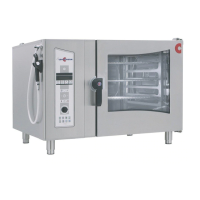
Service Handbook OEB/OES/OGB/OGS
AS/11-2011 / Item 7016557 6_21e_Convection Heater removal and replacement_d.doc
Page 1 / 1
6.21 Convection Heater removal and replacement
Safety:
When working on the unit, make sure that the main power supply is disconnected
(an all-pole isolation switch with a minimum contact opening of 3 mm must be
located close to the unit – on site) and ensured against switching on again.
Instructions – Removing the convection heater:
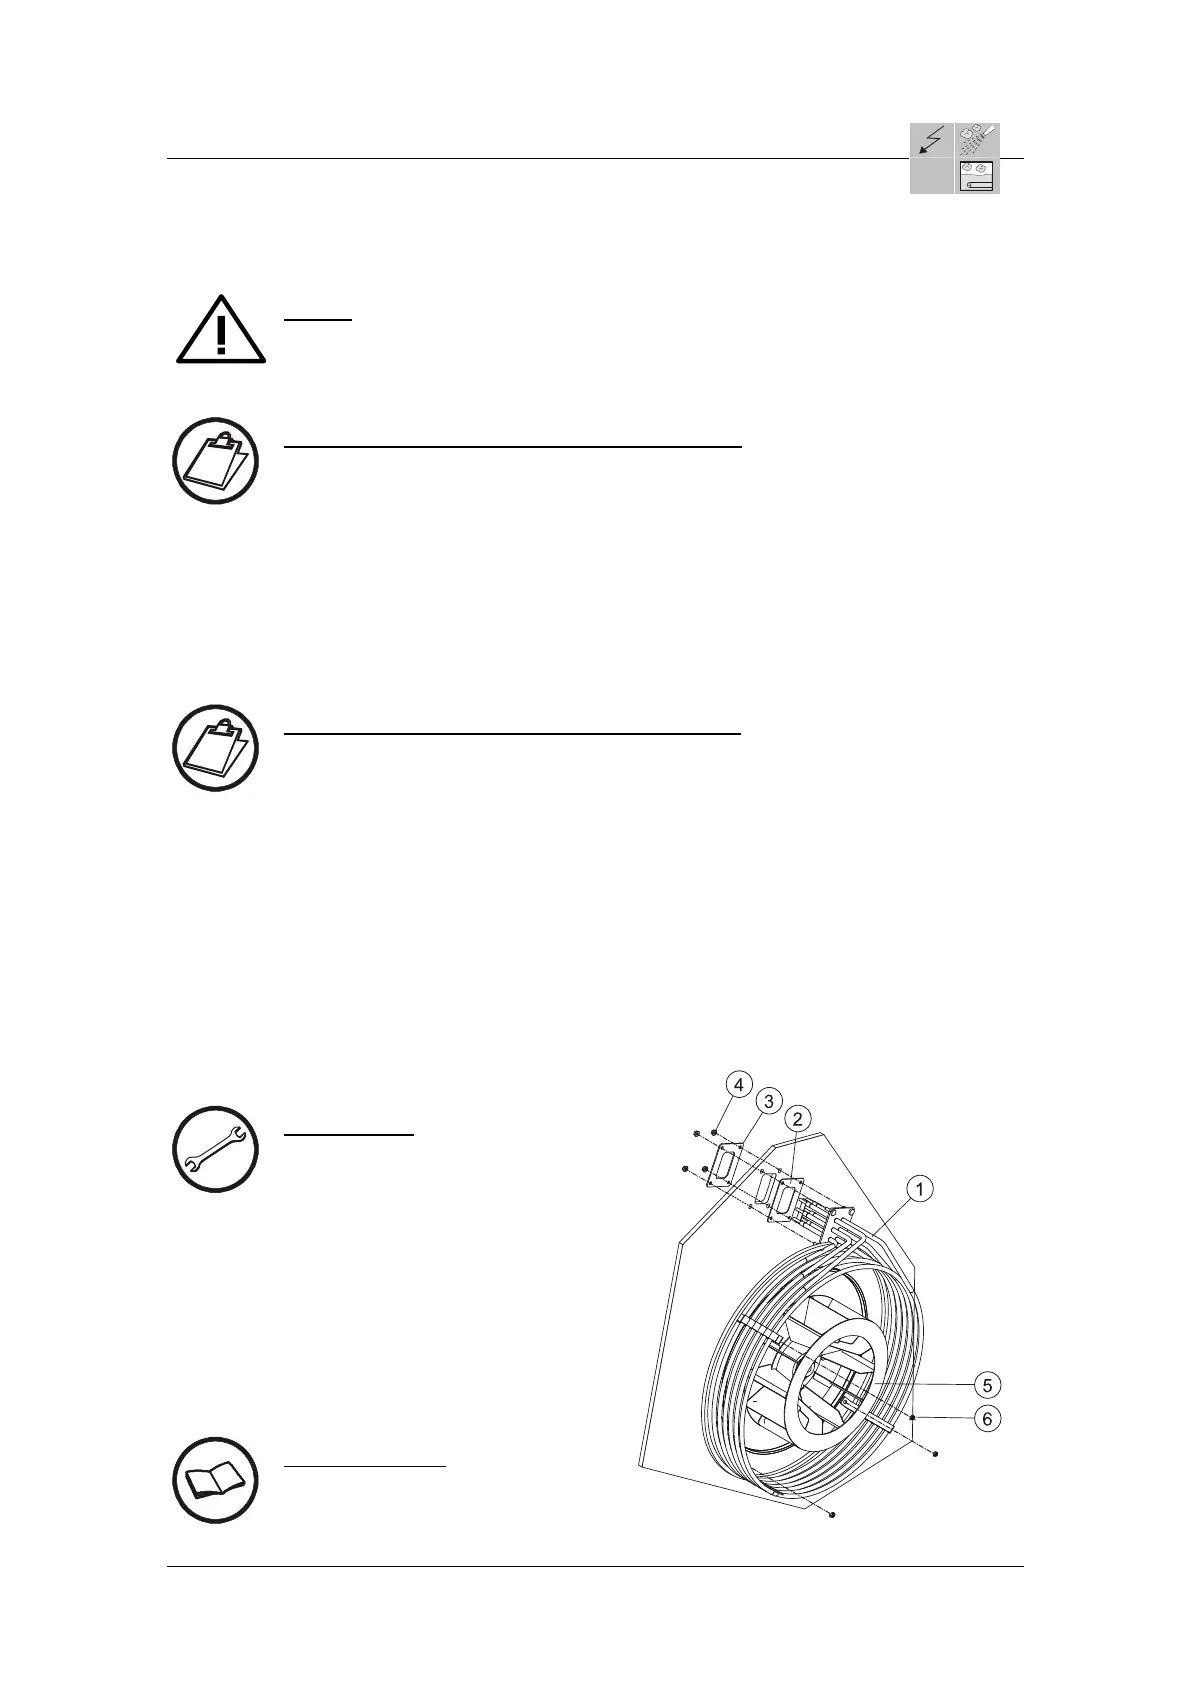
Remove heating terminals from the crimp connections.
Remove suction panel from the oven.
Disassemble the fan wheel 5 (see Service instructions 6.8).
Remove the fastenings 3 with seal 2 for the heating element in the electrical
connections area. Remove the hexagon nuts 4 M 5 – pipe spanner 8 mm.
Remove the fastenings 6 for the heating element in the oven area (3 x hexagon
nuts M 5).
Remove the heating element 1 from the oven.
Instructions – Replacing the convection heater:
Line up the new heating element 1, when necessary (ensure equal distancing
between the heating coils).
Slide the seal 2 onto the heating coils all the way to the fastening plate of the
heater.
Bring the new heater 1 in the oven in the old position and screw in the heating
coils with the 3 hexagon nuts M 5 and washers 6.
Fasten the heater fastenings 3 in the electrical connection area with the 4
hexagon nuts M 5 pipe wrench 8 mm 4.
Check that the distancing between the fan wheel and the heating element are
correct.
Refasten heating terminals to the crimp connections and make sure the cable
connections are correct (star or triangle).
Special tools:
Pipe spanner 8 mm
Adjustable wrench 8 mm
1 = Convection heater
2 = Seal Part.-No.: 6015025
3 = Heater fastening
4 = Hexagon nuts M 5 pipe spanner 8 mm
5 = Fan wheel
6 = Hexagon nuts M 5 pipe spanner 8 mm
Cross reference:
Service Handbook
6.8 Motor removal and installation
 Loading...