41
Be sure that there is sufficient air circulation across the processor’s heat sink, and
CPU cooling FAN is working correctly; otherwise, it may cause the processor and
motherboard to overheat and damage. You may install an auxiliary cooling FAN, if
necessary.
Installing HEAT SINK/FAN
The processors supported by the Q77AX require the use of a heat sink/fan. Make sure to install it
properly, to avoid overheating. Recommended heat sink/fans require a screwdriver to attach it to a
metal bracket installed underneath (solder side) of the board.
Installing FAN(s)
Although the Q77AX was designed for lower power operation, some temperature conditions or
requirements may need additional fans. The SYSFAN connectors support cooling fans of up to
350mA (4.2 Watts). Connect the fan’s plug to CPU_FAN and/or SYSTEM_FAN, taking into
consideration the polarity of connector.
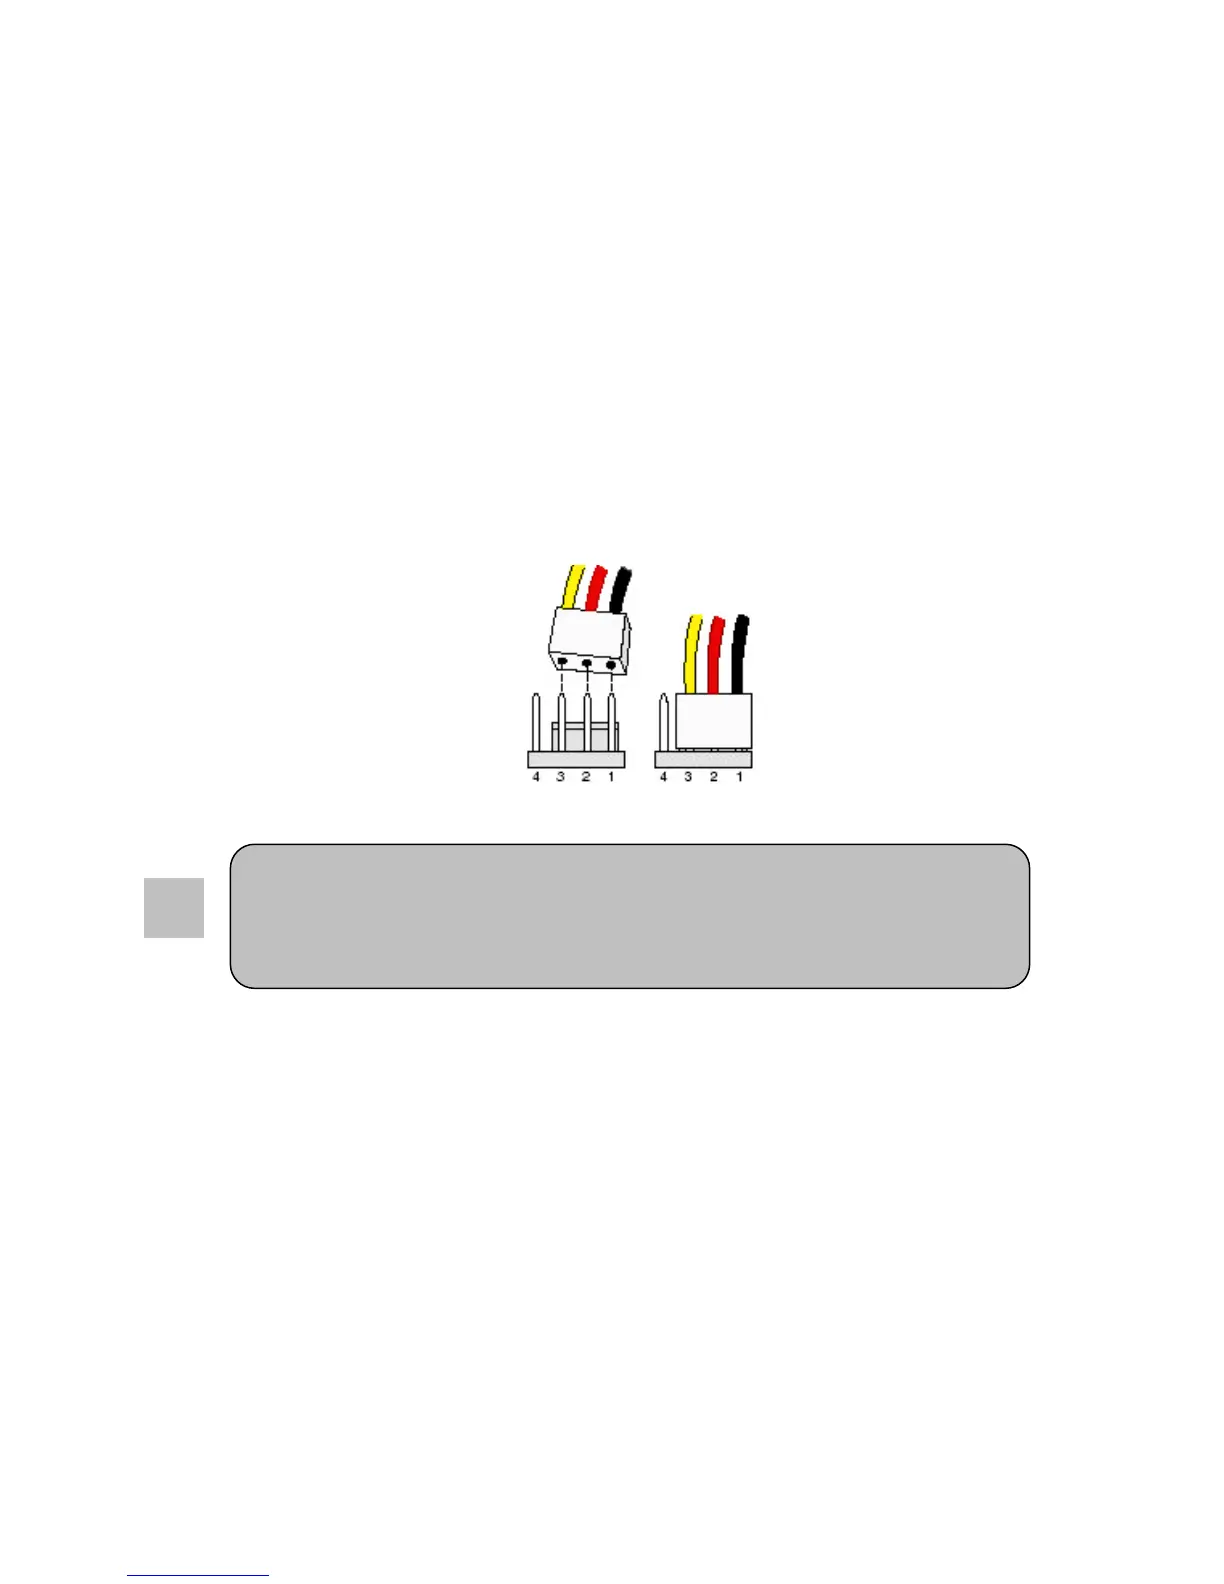
3 pin FAN(s) will not be controllable when connected to the 4 pin CPU_FAN header and will be on at
full speed. Connect the fan’s plug to the board observing the polarity of the connector.
Installing Power Cables
The Q77AX is powered through a standard 2x12 ATX connector, which is backwards compatible to
2x10 ATX connectors, and a 2x2 ATX12V. It is recommended to use a power supply with a 24 pin
ATX connector if a PCI-E x16 video card is installed.