20
STEP SEVEN:
ASSEMBLING THE FENCE
Parts required (with part#): Qty: Tools required:
F1: fence body 1 Allen key
F11: scale (tape measure) 1
F12: large fence rail 1
F15: L-type plates (brackets) 2
F16: knobs , 5/16” x 5/8” 2
F18: small fence rail 1
separate hardware pack 1
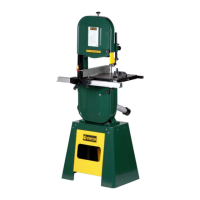
1. Attach the two fence brackets (part #F15) to the left side of the saw table using
cap screws and an Allen key. Loosely screw in the knobs (#F16) into the
brackets from below, attaching with a square nut.
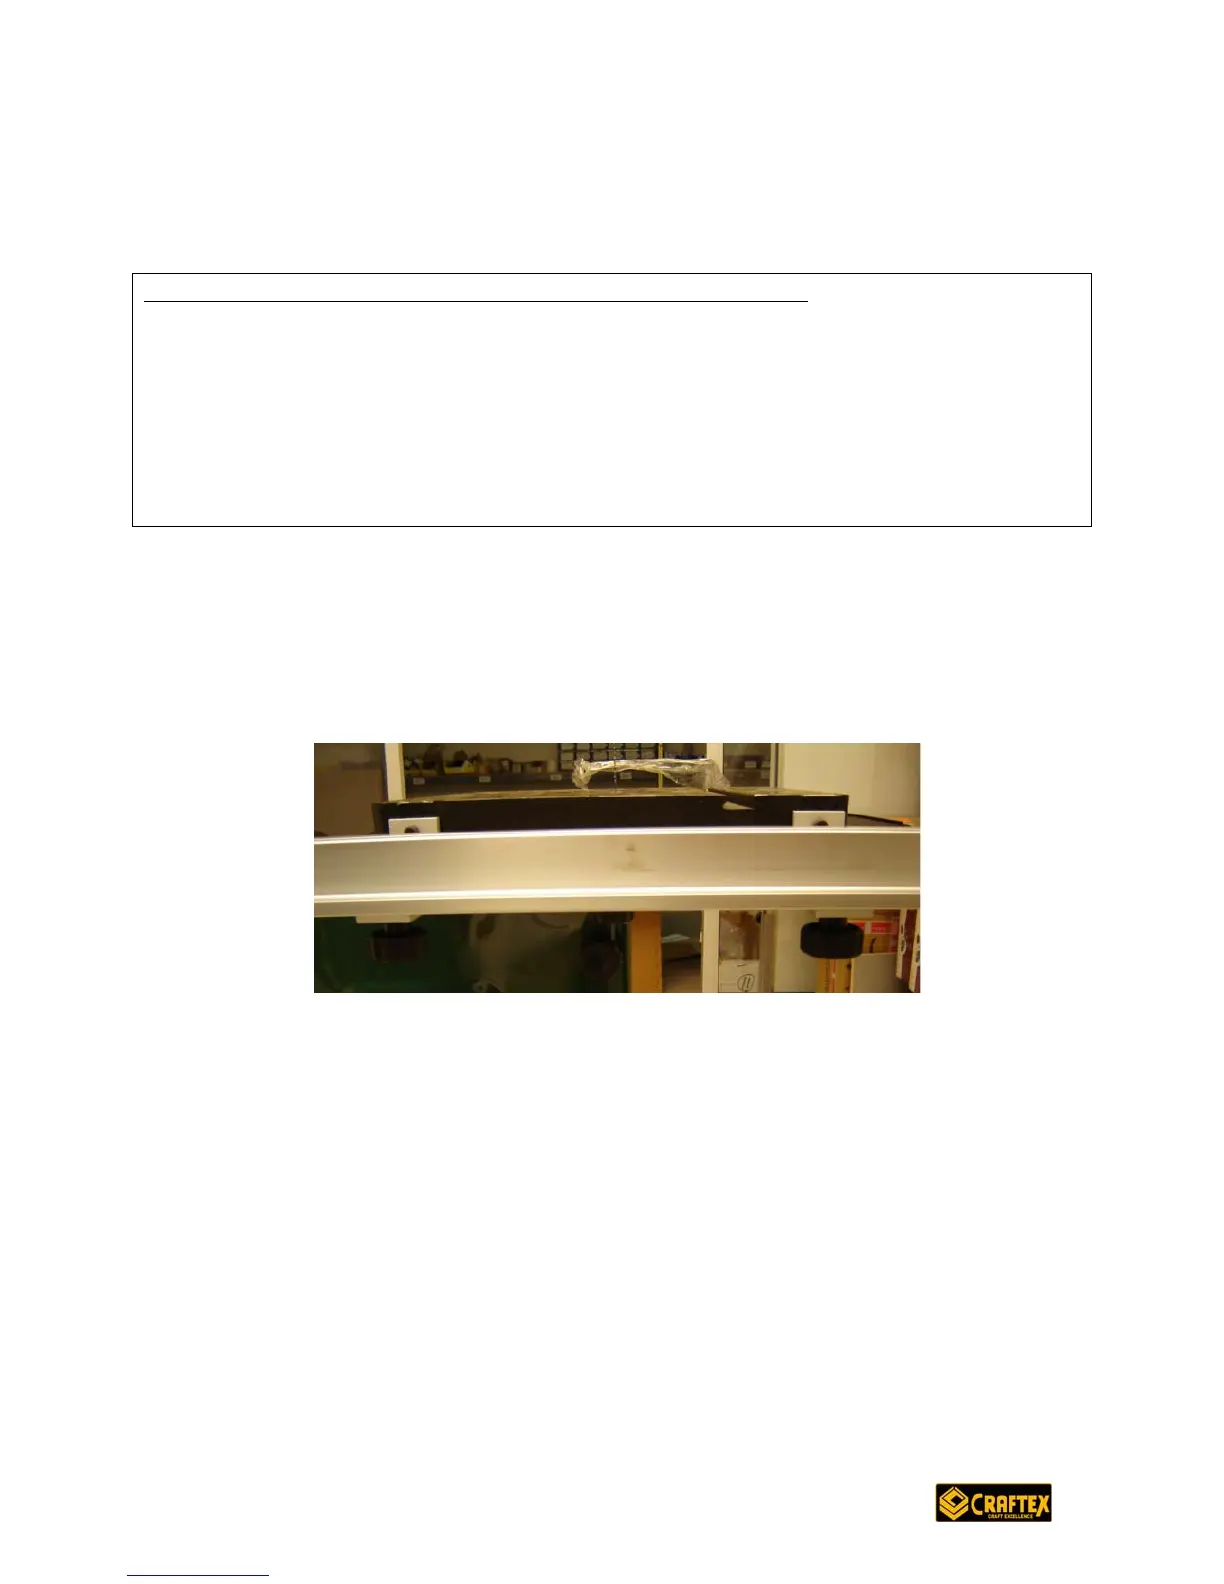
2. Slide on the front rail (#F12) along the track; tighten the knobs (#F16) according
to where you prefer to position the front rail.
3. Using the Allen key, attach the back rail (#F18) directly to the table (on the right
side). Tighten.
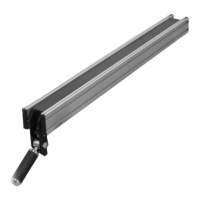
4. With the locking handle in the raised position, slip on the fence body (#F1).
5. Check that all parts are aligned as they should be:
• the fence should be precisely perpendicular (90°) to the front rail; and
• the front rail should be precisely parallel to the band saw table edge.
If necessary, adjust and retighten the Allen screws on the fences and the rail to
ensure these measurements. Periodically check the fence for accuracy (ensure
the locking handle is up before adjusting any screws).
6. Apply the measuring tape (#F11) to the top of the front rail.


 To Next Page