13
Figure 13
Blade Guard Installation
The blade guard assembly is made up
of clear two polycarbonate split shields
the rest on both sides of the blade and
is equipped with a spreader and anti
kickback pawls on each side to help
prevent kickback or binding from
occurring during cutting operations.
1.) Always make sure to disconnect your
machine from its power source.
2.) Remove the table insert or throat
plate from the table saw.
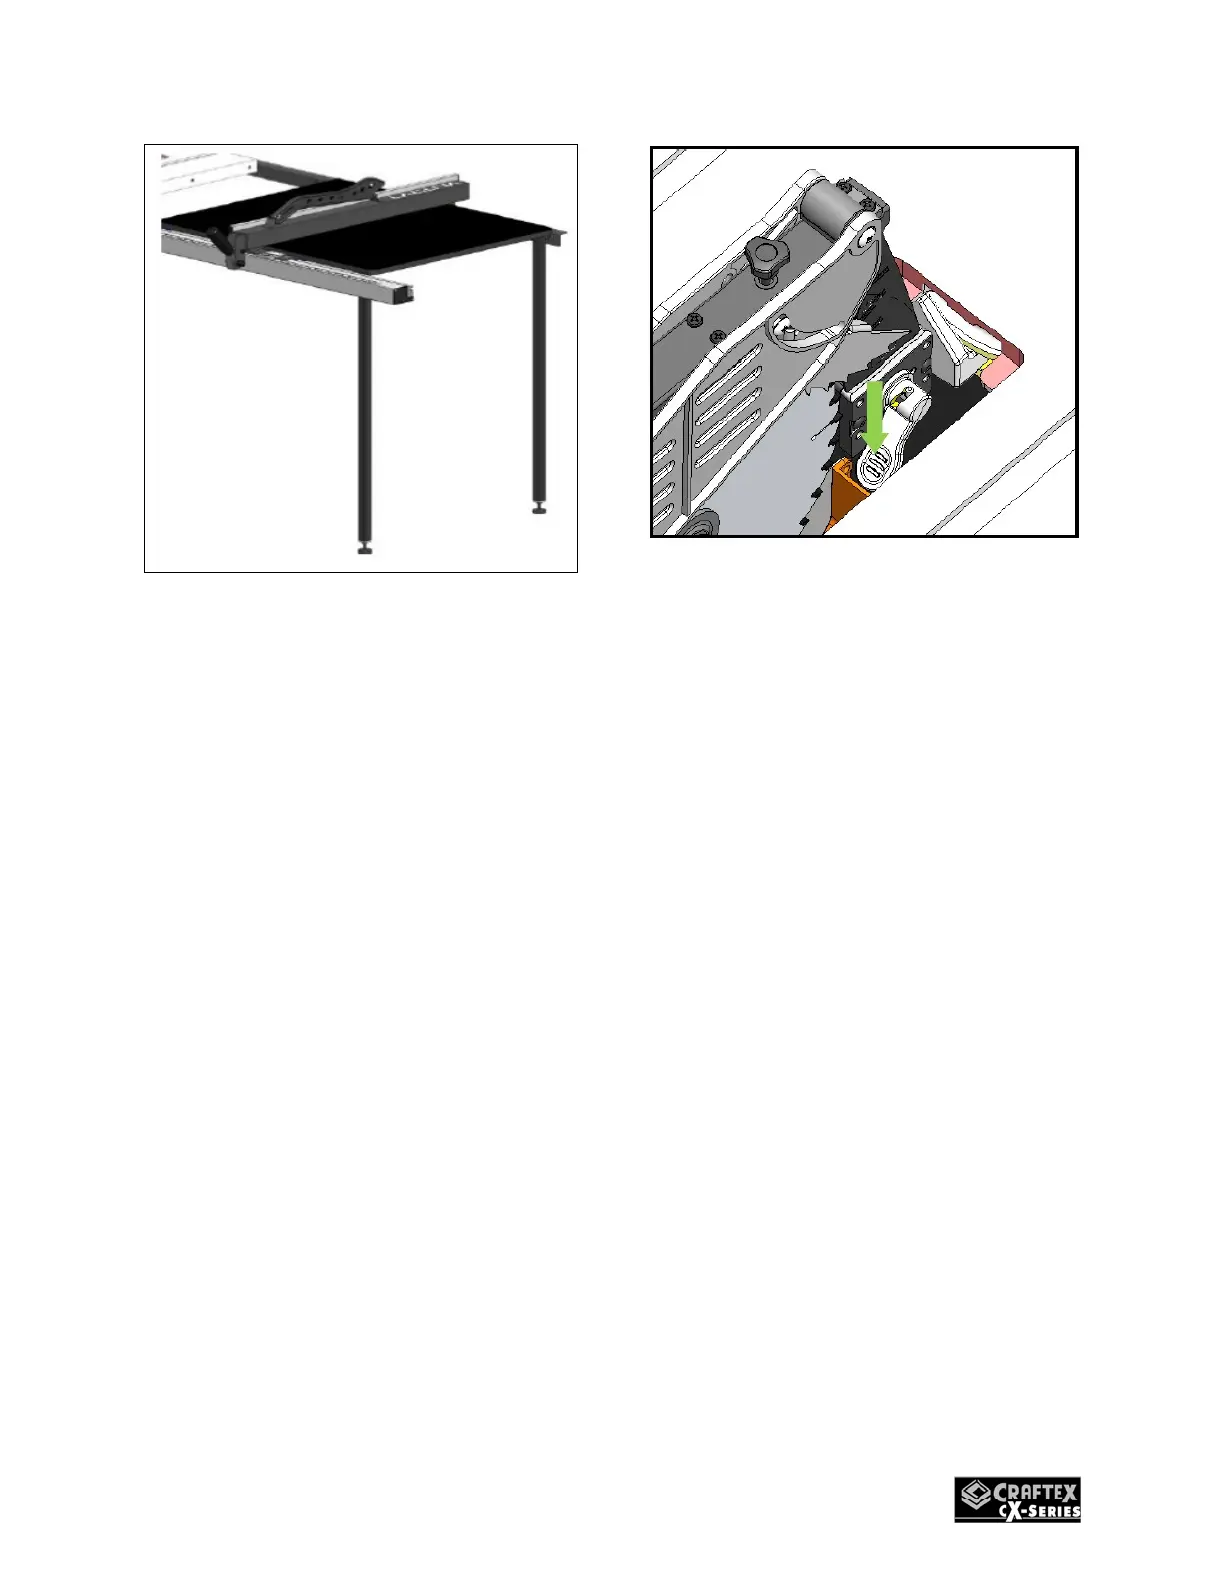
3.) Insert the spreader into the bracket
slot and push down the locking lever
to lock the spreader in place. See
figure 14 below.
Figure 14
4.) Give the spreader a tug to insure that
it is securely locked into place.
5.) Lift the blade guard cover just high
enough so that you can slide the
table insert in to place over the
blade. Now lock the insert or throat
plate into place by turning the knob
located at the front of the insert. The
guard should move high enough to
accommodate your work piece.
6.) Lifting up the spreader pawl place a
straightedge against the blade and
the spreader to insure that they a
properly aligned.
7.) Once they are properly aligned the
spreader/riving knife will be within
the alignment zone and parallel with
the blade as shown in figure 15.
 Loading...


