18
Figure 25
Adjusting the Rip Fence Pointer
Set the blade at 90° than raise it to its
maximum height. Now move the fence
until it lightly makes contact with the
right side of the blade and then push
down on the locking lever to secure the
fence in place. Now with the fence
locked into place gently resting against
the blade loosen the pointer screws A
and line up the pointer with the zero
mark on the tape. Once the pointer has
been lined up with the zero mark on the
tape retighten the pointer screw. See
figure 26 below.
Figure 26
NOTE:
When changing blades you may need to
realign the pointer on the tape to
account for thinner or thicker blades.
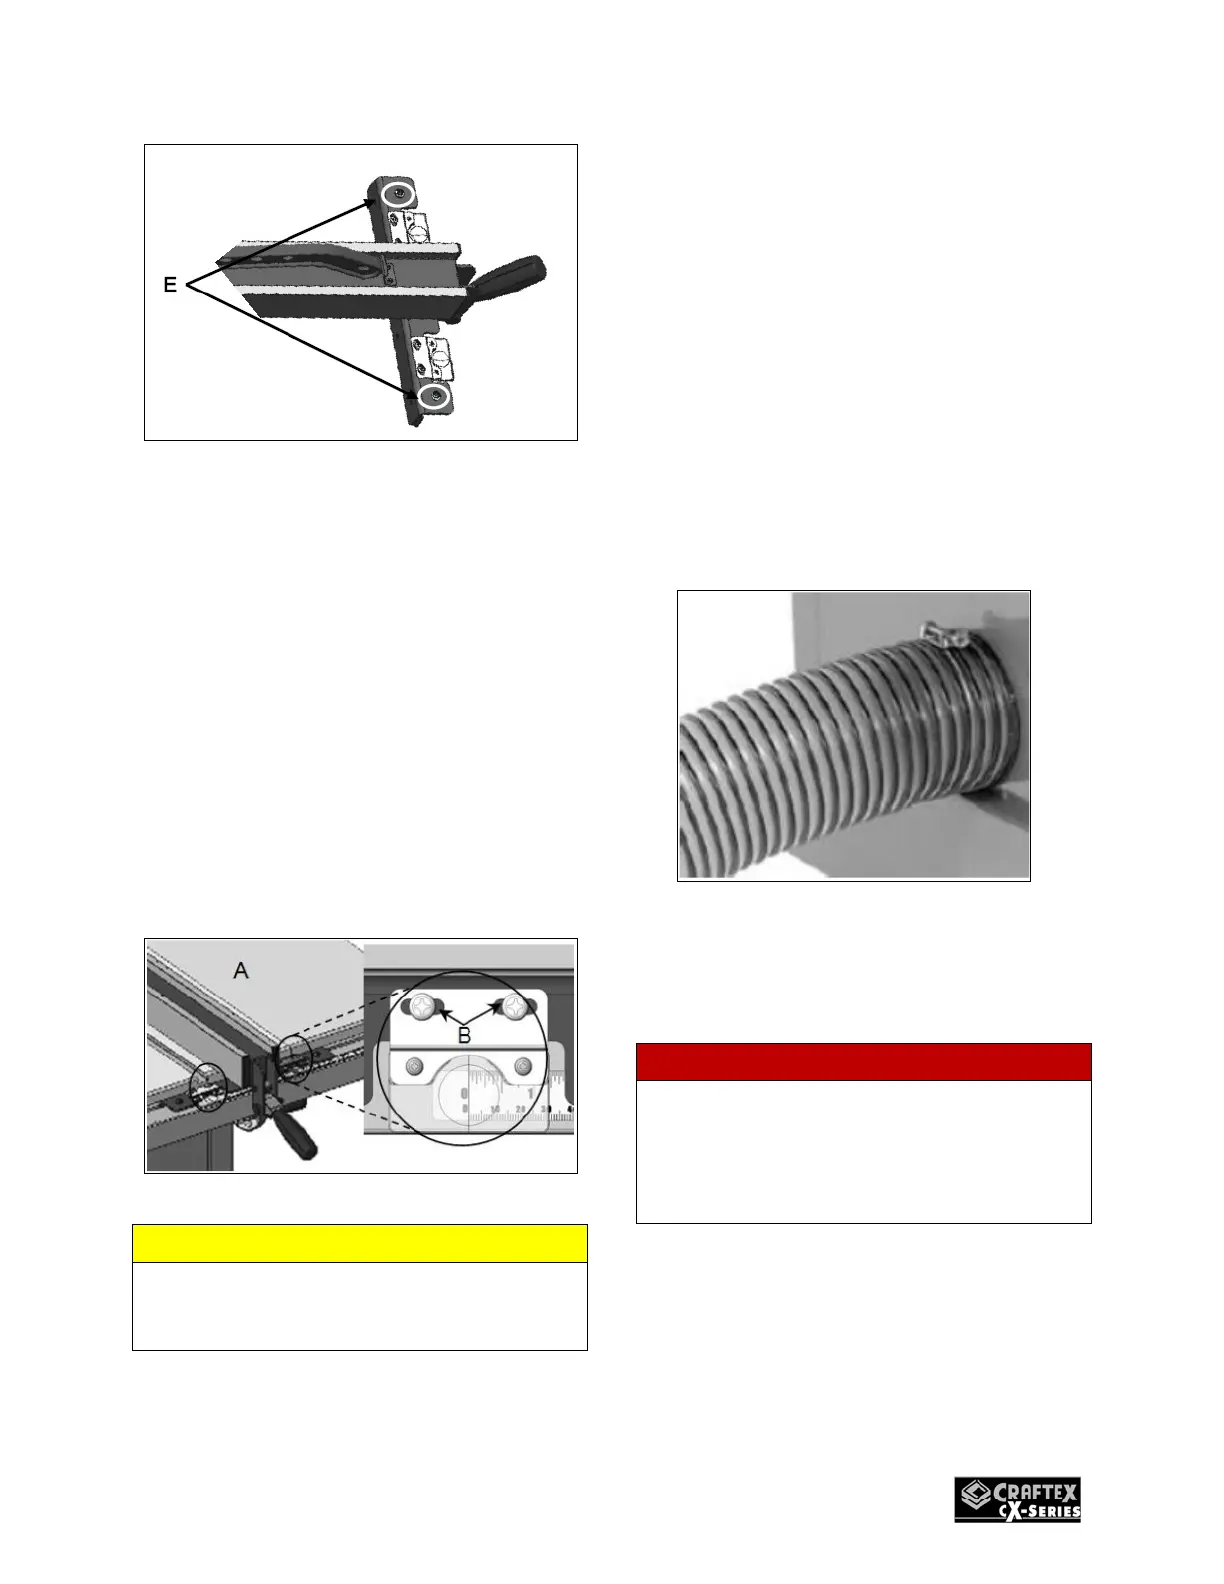
Dust Collection Hook Up
There is a 4” dust collection port located
at the back of your CX213 and CX214
allowing your machine to be connected
to a dust collector. (dust collector in not
included)
How to Connect to a Dust Collector:
1.) Fit 4” dust hose over the dust port
located on the lower left of the table
saw and secure it place using a 4”
hose clamp. (hose clamp not
included). See Figure 27
Figure 27
2.) Make sure the hose is secure so that
it does not come off during
operation.
WARNING!!!
Always turn the dust collection system
on first before starting the table saw and
turn the table saw off before the dust
collection system when you have
finished all cutting operations.
Push Stick
It is always wise you use a push stick as
seen in figure 28 as they reduce the risk
of injury by keeping your hands away
from the blade during cutting operations.

 Loading...


