USING YOUR SAW
A. CONTROL DEVICES
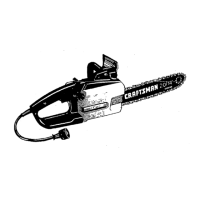
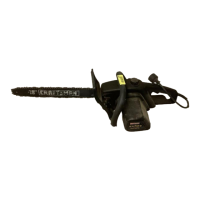
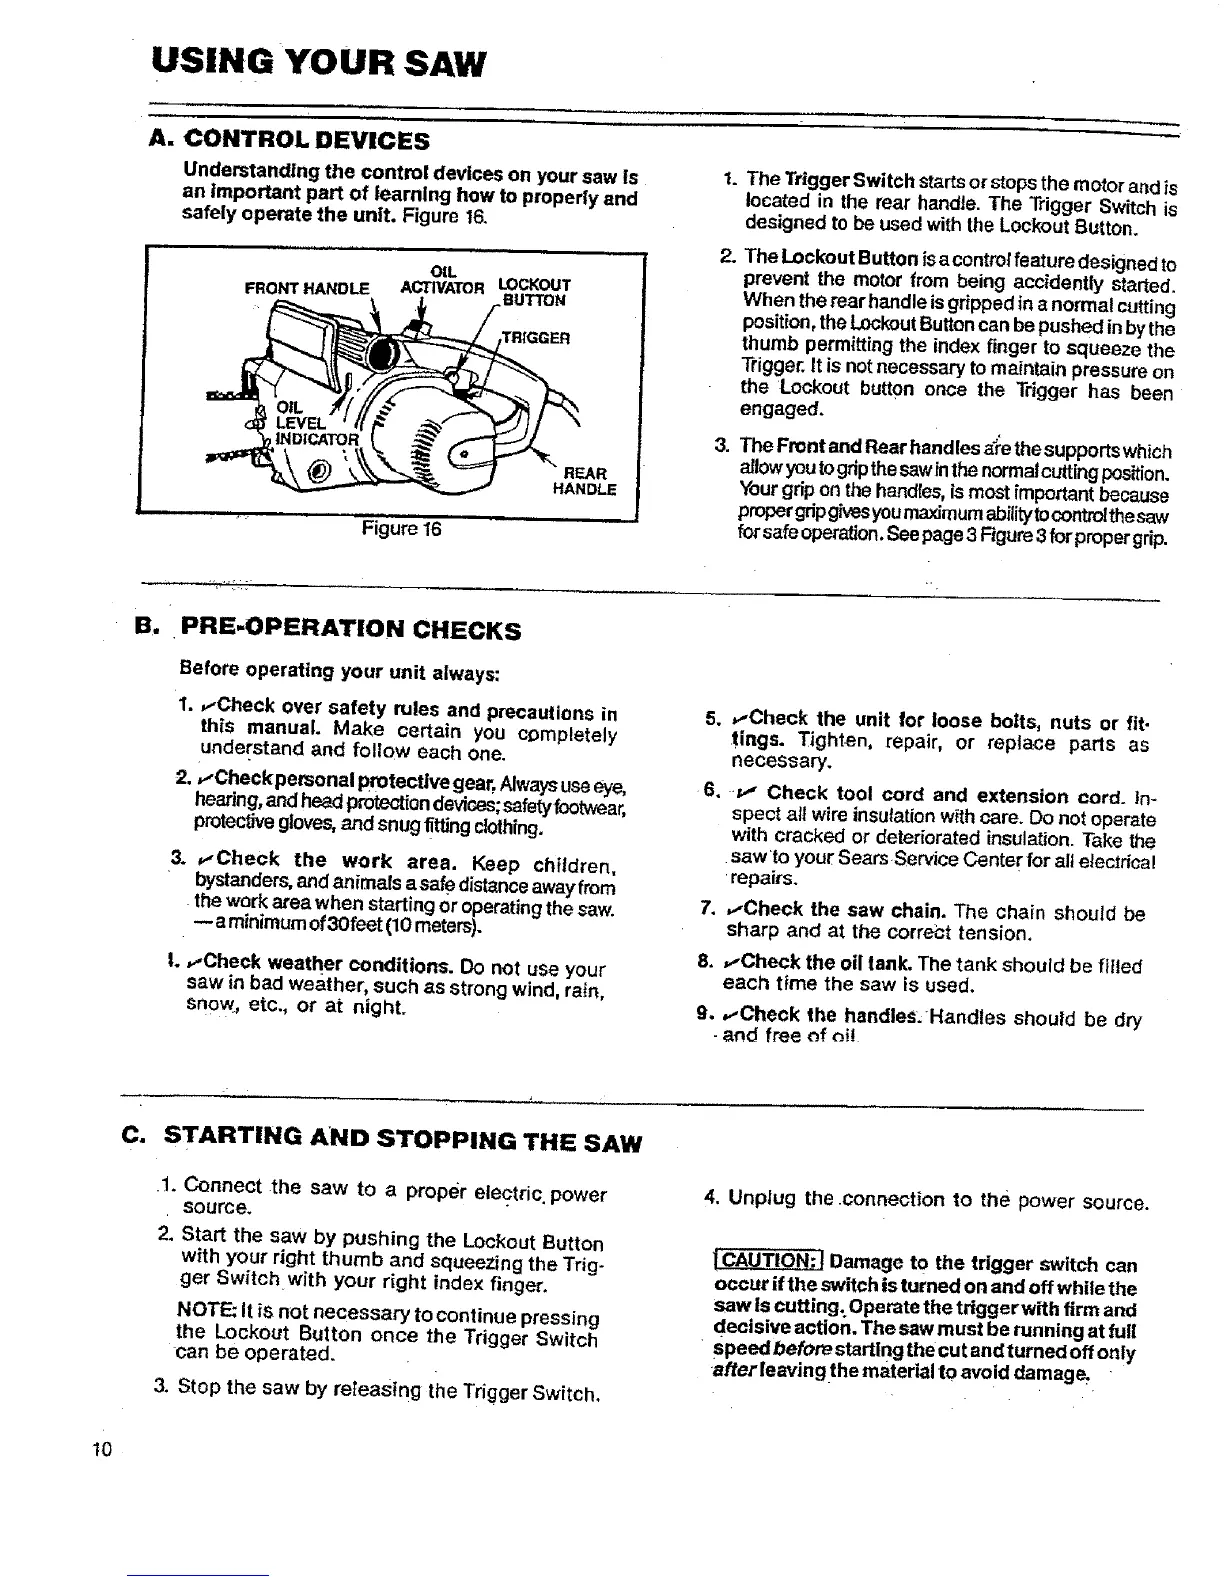
Understanding the control devices on your saw [s
an Important part of learning how to properly and
safely operate the unit. Figure 16.
OIL
FRONT HANDLE ACTWATOR LOCKOUT
BUTTON
TRIGGER
,,,,,i =ll
Figure 16
REAR
HANDLE
The Trigger Switch startsor stops the motor and is
located in the rear handle. The Trigger Switch is
designed to be used with the Lockout Button.
2. TheLockout Button isa controlfeature designed to
prevent the motor from being acefdently started.
When the rear handle isgdpped in a normal cutting
position,the LockoutButtoncan bepushed inbythe
thumb permitting the index finger to squeeze the
Trigger.It is notnecessary to maintain pressure on
the Lockout button once the Trigger has been
engaged.
3. The Front and Rear handles _'e the supports which
allowyoutogripthesawin the normalcuttingposition.
Yourgrip on the handles,ismost important because
proper gdpgivesyoumaxfmumabilitytocontrolthesaw
forsafe operation,See page3 Figure3for propergrip.
_._._,.
B. PRE=OPERATION CHECKS
Before operating your unit always:
1..-Check over safety rules and precautions in
this manual. Make certain you completely
understand and follow each one.
2. ,,-Checkpersonal protective gear,Always useeye,
hearing,and head ptotectfondevices;safetyfootwear,
protectivegloves,and snug titling clothfng.
3. _-'Check the work area. Keep children,
bystanders,andanimals a safedistance awayfrom
thework area when starting or operatingthe saw.
-- a minimumof3Ofeet(10 meters).
|. ,.-Check weather conditions. Do not use your
saw in bad weather, such as strong wind, rain,
snow, etc., or at night.
5. _-Check the unit for loose bolts, nuts or fit-
tings. Tighten, repair, or replace parts as
necessary.
6. -P,, Check tool cord and extension cord. In-
spect all wire insulation w{thcare. Oo not operate
with cracked or deteriorated insulation. Take the
saw to your Sears Service Cente r for all electrical
repairs.
7. ,.-Check the saw chain. The chain should be
sharp and at the correct tension.
8. ,,-Check the oil tank. The tank should be filled
each time the saw is used.
9.
,.-Check the handles.Handles should be dry
and free of _i!
C. STARTING AND STOPPING THE SAW
.1. Connect the saw to a proper electric, power
source.
2. Start the saw by pushing the LOckout Button
with your right thumb and squeezing the Trig-
ger Switch with your right index finger.
NOTE: it is not necessary to continue pressing
the Lockout Button once the Trigger Switch
can be operated.
3. Stop the saw by re_easlng the Trigger Switch,
4, Unplug the connection to the power source.
!CAUTION:J Damage to the tdgger switch can
occur if the switch is turned on and off while the
saw Is cutting: Operate the tdggerwith firm and
decisive action. The saw must be running at full
- speedbefore starting the cut and turned off only
afterleavingthe material to avoid damage.
10