Do you have a question about the Creality BL Touch and is the answer not in the manual?
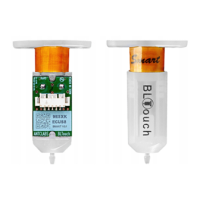
The main BL Touch sensor unit included in the kit.
Lists connectors, ties, and mounting screws provided.
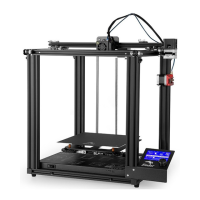
Identifies printer models supported by the BL Touch.
Wiring diagram for 32-bit mainboards and the 5-pin connector.
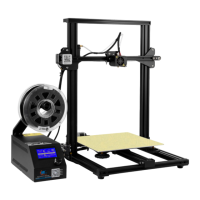
Lists printer models compatible with this circuit setup.
Steps to format the SD card for firmware installation.
Instructions on obtaining the correct firmware for your printer.
Process of transferring firmware files onto the SD card.
Inserting the SD card and powering on the printer to start the update.
Monitoring the firmware update process until completion.
Attaching the BL Touch connector to the mainboard's 5-pin port.
Securing the BL Touch sensor to its mounting bracket.
Attaching the BL Touch assembly to the printer's frame.
Organizing and securing the BL Touch cables for neatness.
Illustrates connecting the BL Touch to the mainboard.
Instruction to unplug the original Z endstop switch.
Procedure to measure the Z probe offset against the print bed.
Setting the measured Z offset value in the printer's firmware.
Initiating the automatic bed leveling process on the printer.
Using a test print to confirm the success of bed leveling.
Adjusting Z offset if test prints indicate leveling issues.
Launching the Creality Slicer software.
Accessing and configuring printer-specific settings.
Editing the G-code to include auto-leveling commands.
Resolving problems indicated by the BL Touch LED status.
Fixing issues with the probe not deploying or retracting correctly.
Troubleshooting Z-axis not responding after probe activation.
Addressing physical errors like bent probes or failed self-checks.
| Brand | Creality |
|---|---|
| Model | BL Touch |
| Category | 3D Printers |
| Language | English |