DigitalMedia Presentation Systems Crestron DMPS-100/200/300-C/300-C-AEC
54 • DigitalMedia Presentation Systems: DMPS-100/200/300-C/300-C-AEC Operations Guide – DOC. 7219D
Network Setup
The network settings of the DMPS-100/200/300-C can be configured from the front
panel using the “Network Setup” menu.
NOTE: Some changes to network settings may require a reboot to take effect. The
system automatically reboots when necessary.
Access the “Network Setup”
Menu
To access the “Network Setup” menu:
1. Access the “Setup Menu” as described on page 39. Press the k or j
buttons until Network Setup is displayed on the LCD.
2. Press ENTER to display the “Network Setup” menu.
3. To exit the “Network Setup” menu, press MENU.
Set the IP Address
The DMPS-100/200/300-C uses TCP/IP for communications between network
devices, a PC, and RoomView Help Desk software. The IP address can be manually
set or obtained from a DHCP server. For information on using DHCP to obtain an IP
address, refer to “Set the DHCP Status” on page 55. To manually set an IP address:
1. Access the “Network Setup” menu as described above.
2. Press the k or j buttons until IP Address is displayed on the LCD and
press ENTER to display the “IP Address” menu. The current IP address is
shown.
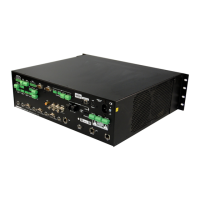
“IP Address” Menu
IP Address
[000] 000. 000. 000
3. Turn the VOLUME control clockwise or counterclockwise to select a
number in the left-most section of the IP address. Numbers can also be
selected by pressing the k or j buttons.
4. Press ENTER to move the cursor to the next section of the address. To
change a different section, press the button under the section to be changed.
5. Repeat the previous two steps until the entire IP address is set.
6. To save the new address and return to the “Network Setup” menu, move the
cursor to the right-most section and press ENTER. To cancel the operation
and return to the “Network Setup” menu, press MENU.
Set the Subnet Mask
The DMPS-100/200/300-C can be set up to use an IP subnet mask for TCP/IP
communications. To set the address of the IP subnet mask:
1. Access the Network Setup menu as described above.
2. Press the k or j buttons until Subnet Mask is displayed on the LCD and
press ENTER to display the “Subnet Mask” menu. The current subnet
mask IP address is shown.
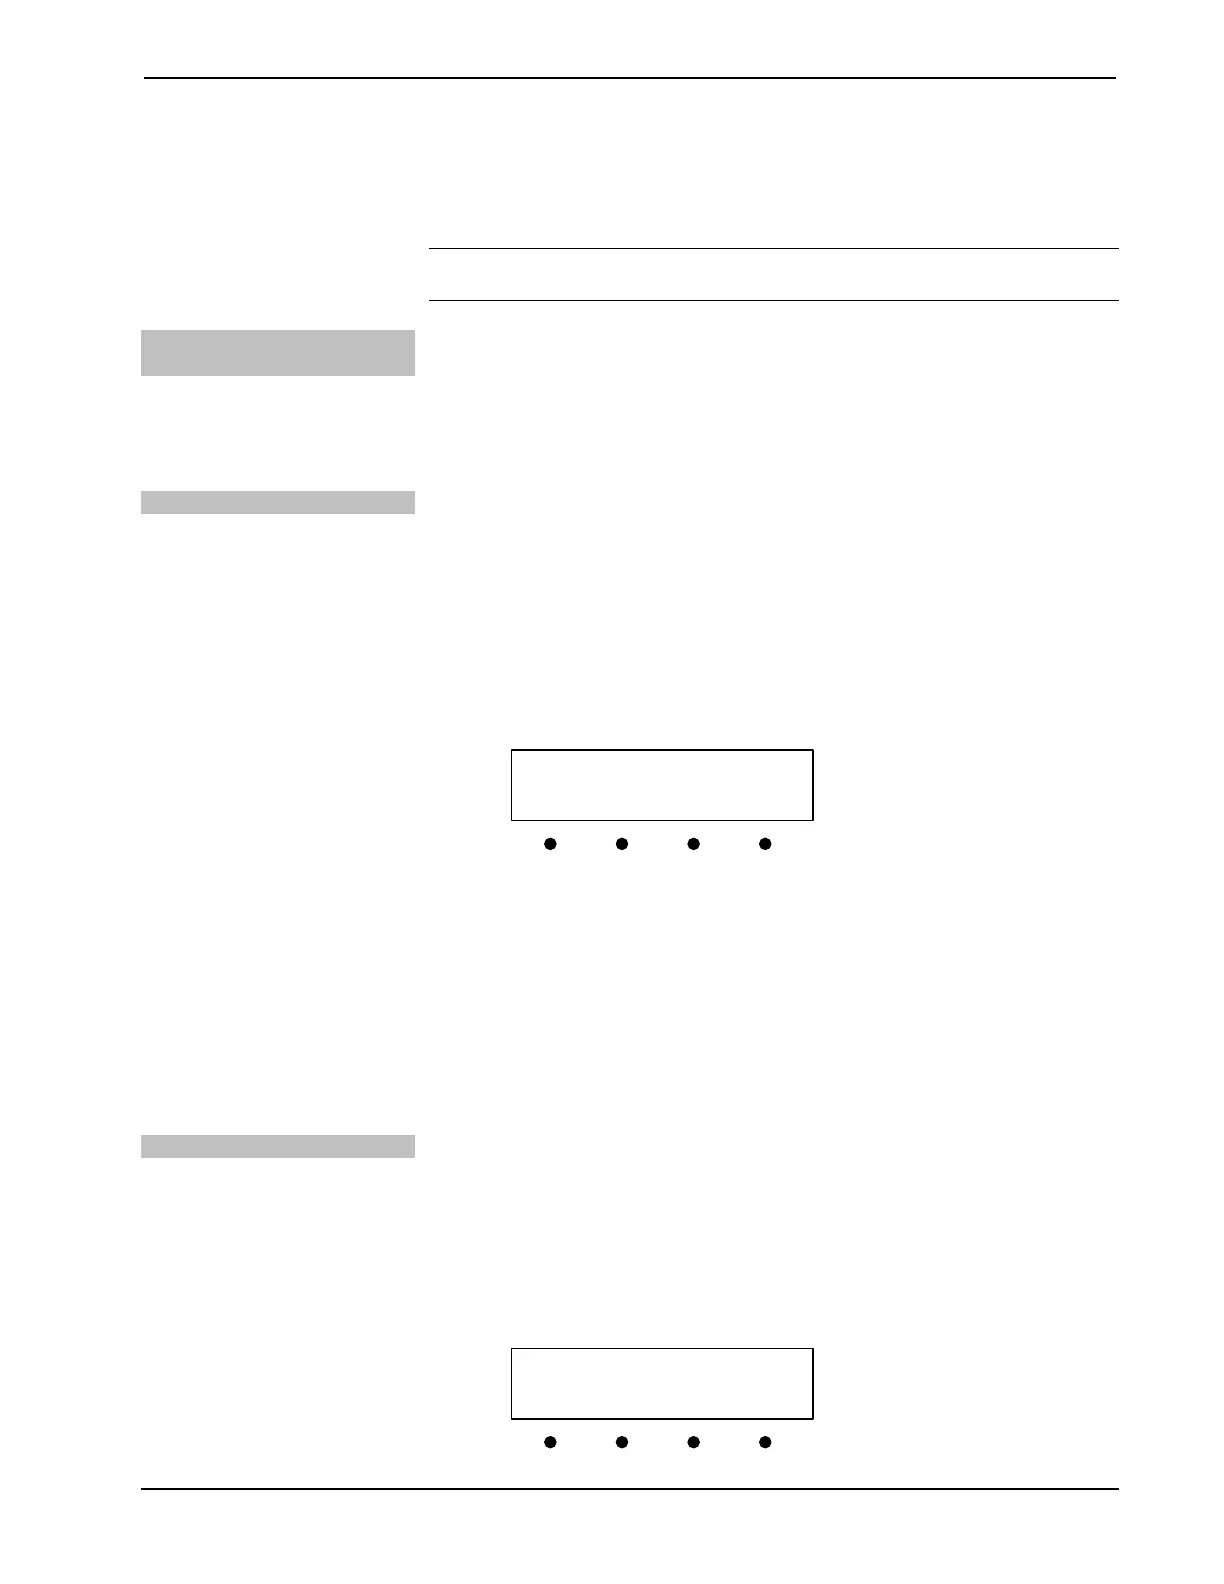
“Subnet Mask” Menu
Subnet Mask
[000] 000. 000. 000