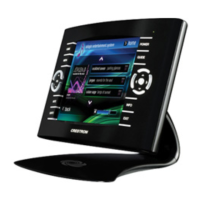
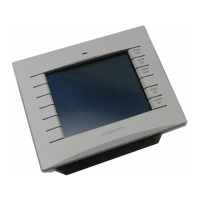
Crestron Isys™ TPS-6000 15 Inch Tilt Touchpanel
2. Select the Return button in the lower right corner of the Preset Menu
to display the RGB Menu.
3. While viewing the sample of the input signal, use the double arrow
buttons to the left and then the other set of double arrow buttons to
position and compress/expand the sample so that it fills the entire
screen.
NOTE: The Recenter button only needs to be used if the sample disappears from
the screen while making adjustments in step 3.
4. While viewing the sample of the input signal, use the Phase Rev and
Phase Fwd buttons to adjust the timing of the sample.
5. If visually satisfied with the sample at this point, select the Save Menu
button. Otherwise use the buttons on the screen to make additional
adjustments.
6. If necessary, select the More Controls button to show additional
controls for RGB. At any time, the Return button can be selected to
return to the Preset Menu.
7. If visually satisfied with the sample, select the Save Preset button to
store the values of the input into the preset assigned in step 1.
Otherwise repeat steps 3, 4, and 6 to make additional adjustments.
There are two buttons on the Preset Menu that influence the storage of format
presets. Use the Erase Selected Preset button to eliminate the stored format for the
highlighted preset. The Clear All Presets button eliminates the formats for all
presets. The touchpanel prompts the user for confirmation.
NOTE: If no presets are stored or the input does not closely match a stored preset,
the panel makes a 'best guess' for image settings.
Select the Return button, located at the lower right corner of the RGB Menu, after
RGB parameters have been set.
Video Menu
NOTE: The Video button is displayed on the Setup Menu only if the TPS-VID-1 is
properly installed. If the TPS-VID-2 is installed, two Video buttons labeled Video 1
and Video 2 will be displayed. Selection of a Video button opens the Video Menu
from which the user can adjust video settings.
The TPS-6000 can have up to four different composite video sources connected to
either the 6-pin connector or the BNC connectors on the TPS-IMPC when equipped
with the TPS-VID-2. However, only two composite video channels can be selected
for viewing. Refer to the latest revision of the TPS-VID-1/VID-2 Operations &
Installation Guide (Doc. 6059) for details.
Operations Guide - DOC. 5864A 15 Inch Tilt Touchpanel: Crestron Isys™ TPS-6000 • 17
 Loading...