5.4.2 Editing a working template
5.5.1 Follow the soware instrucons
5.5 Device Operang Instrucons
5.4.3 Adding a TIFF file job
5.5.2 Placing plate
5.5.3 Set the media output parameters
Figure 1 Figure 2
5.5.4 Outpung
Chapter 5: Operaon Instrucons
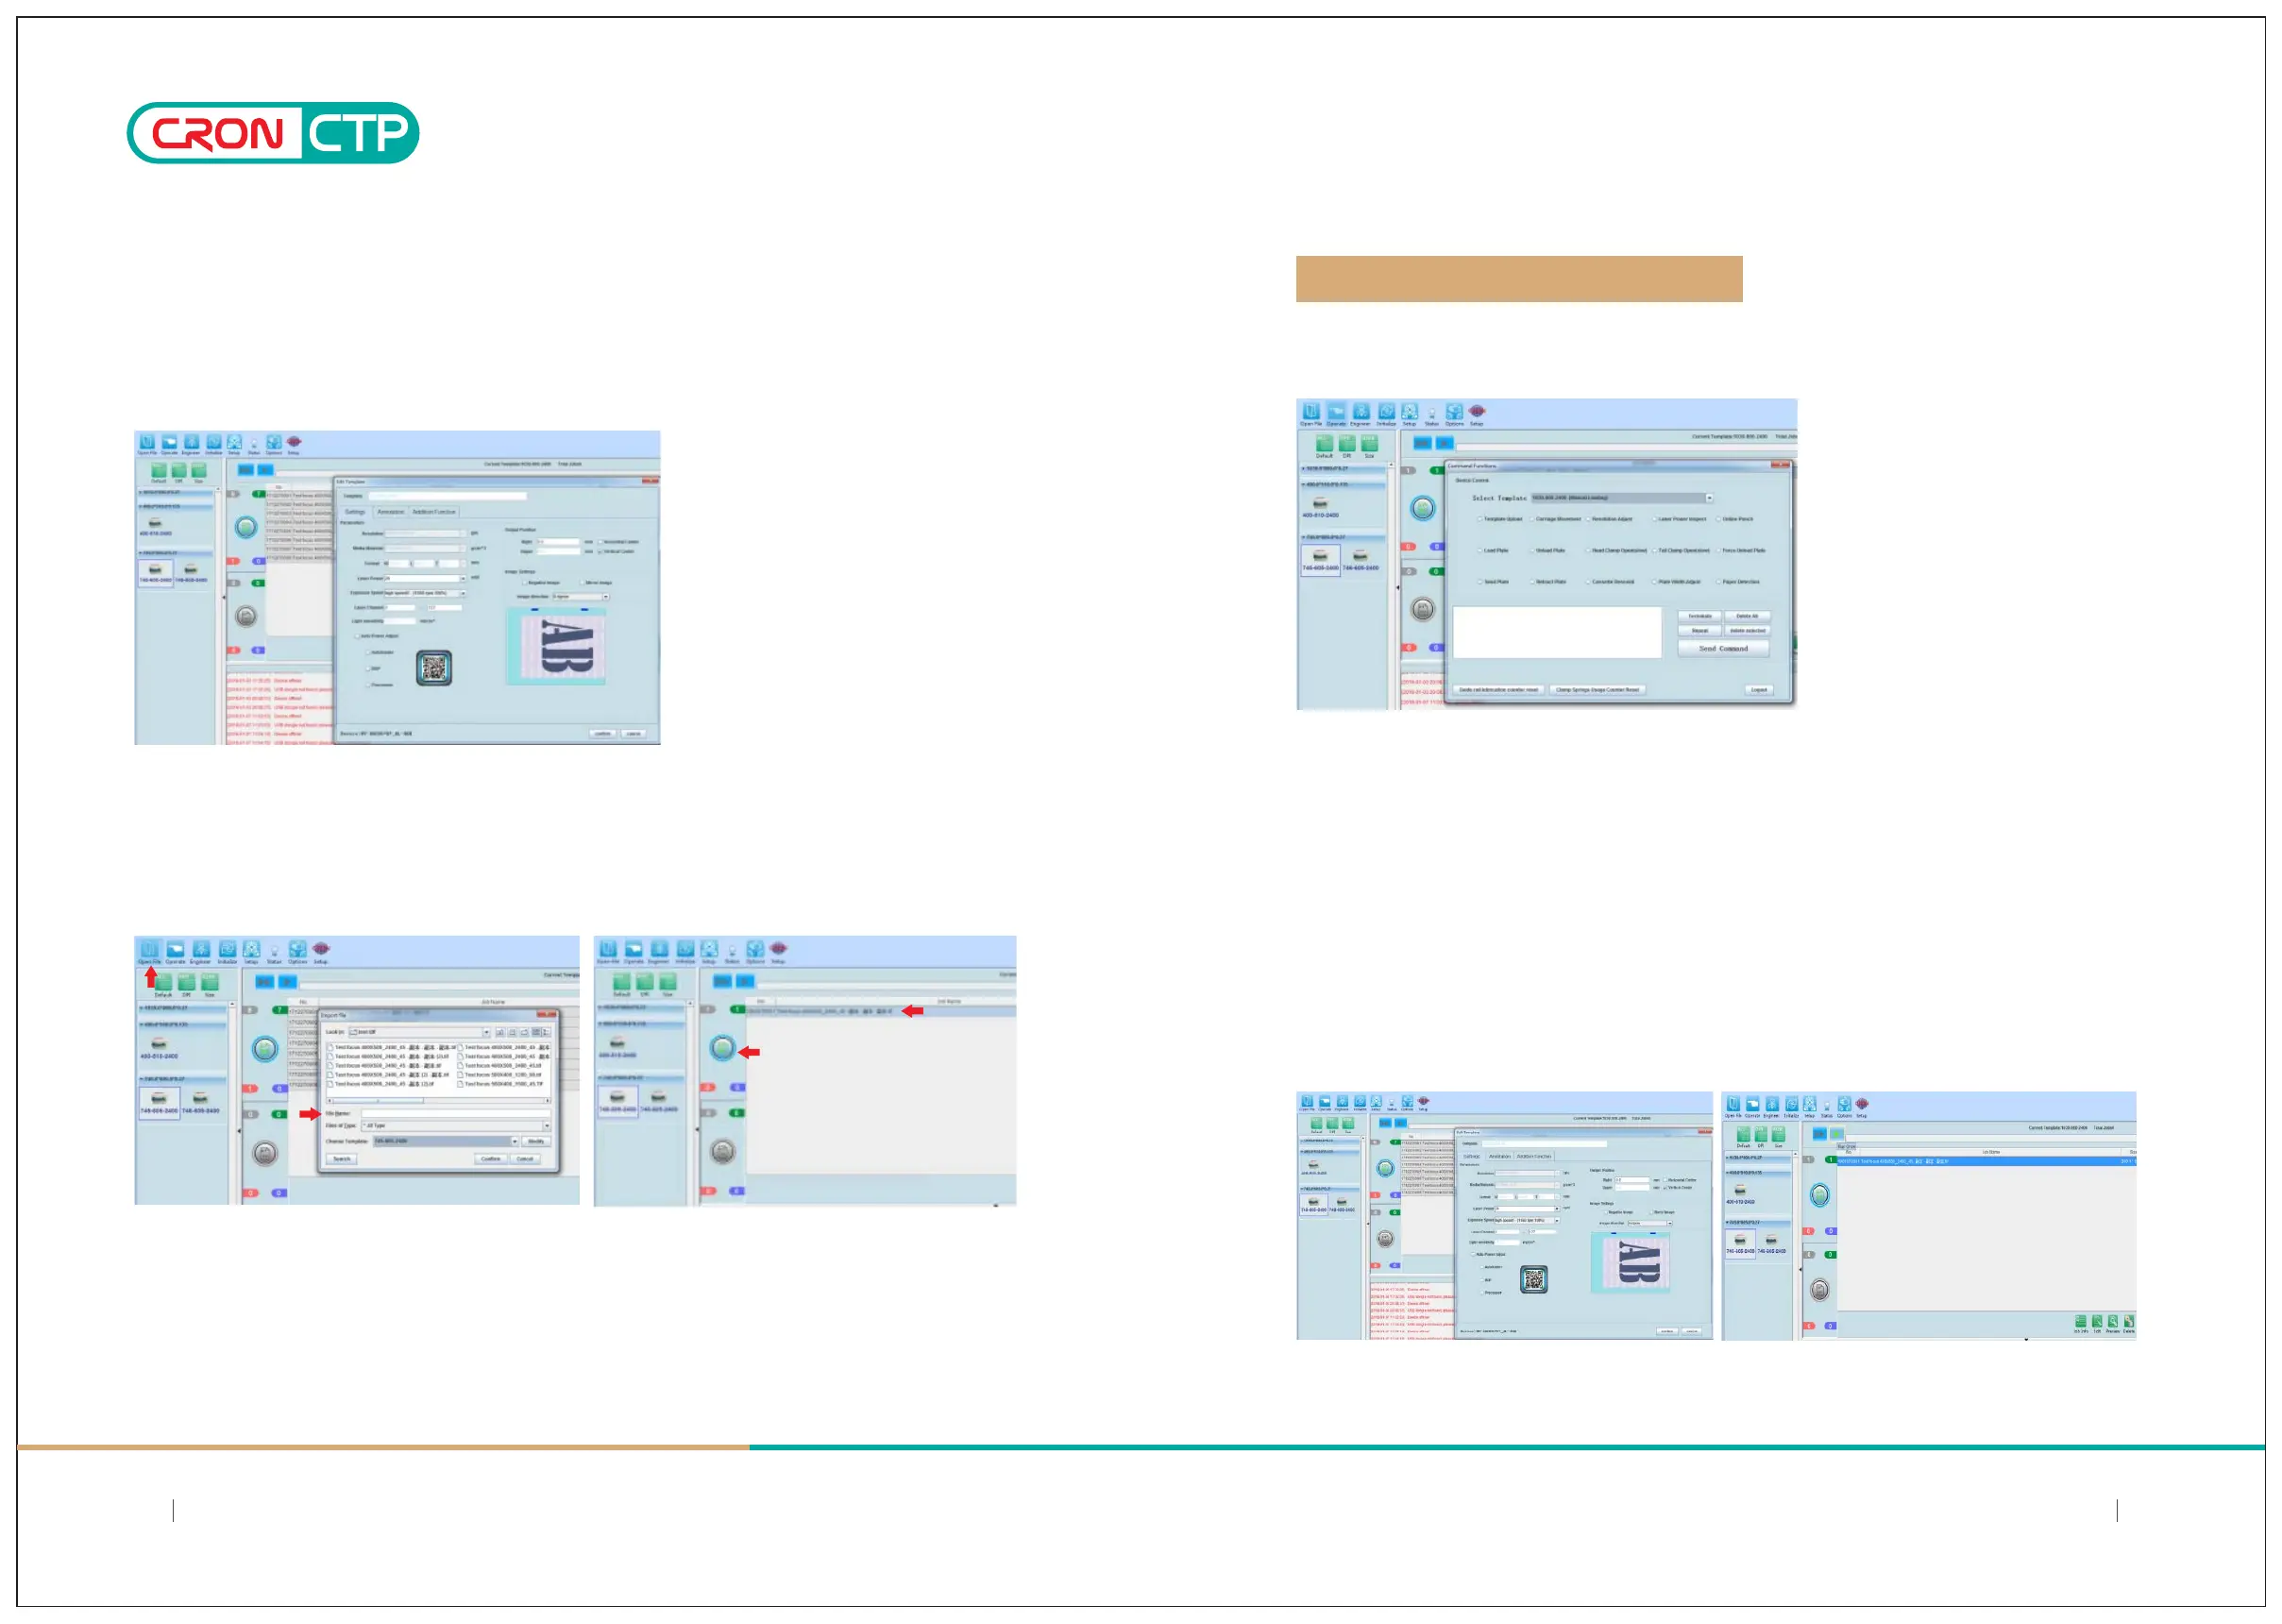
Aer the working template is setup, you can edit the template again for changes. When eding a template, the
Template name, Media material, Resoluon parameters arenot allowed for changes.Other parameters are allowed
for changes or adjustment.
Click the "Open File" button, select the * .Tiff and * .PPG file jobs in the corresponding
directory, select the file to be used and the corresponding template below (ensure that the
parameters are the same).After confirmation, the file appears in the output list of the software.
Note: Please refer to the LaBoo "User's Manual" for detail soware operaon.
a) Place the plate accordingly on the loading table, align plate to right side to be close to the plate centering
gauge and leave about 1mm distance.
b) Place a batch of plates (up to 50sheets) onto the device loading table. Make sure plate front is aligned to
upper edge of the loading table, then align plates to right side to be close to the plate centering gauge and
leave about 1mm distance.
select the desire Template, ck on the “Template Upload”, and then click on “Send Command” to have the
device adjusted to the corresponding template size and posion;
Set and apply the actual laser power, drum speed and image rotaon and others relevant parameters needed
for plate output.(Figure 1)
Click the Single output or Connuous output aer completed seng the parameters, file will be transfer to
the device for plate making(imaging).(Figure 2)
2726
SIMPLE AND DIRECT 丨 STEADY 丨 MAJOR
SIMPLE AND DIRECT 丨 STEADY 丨 MAJOR