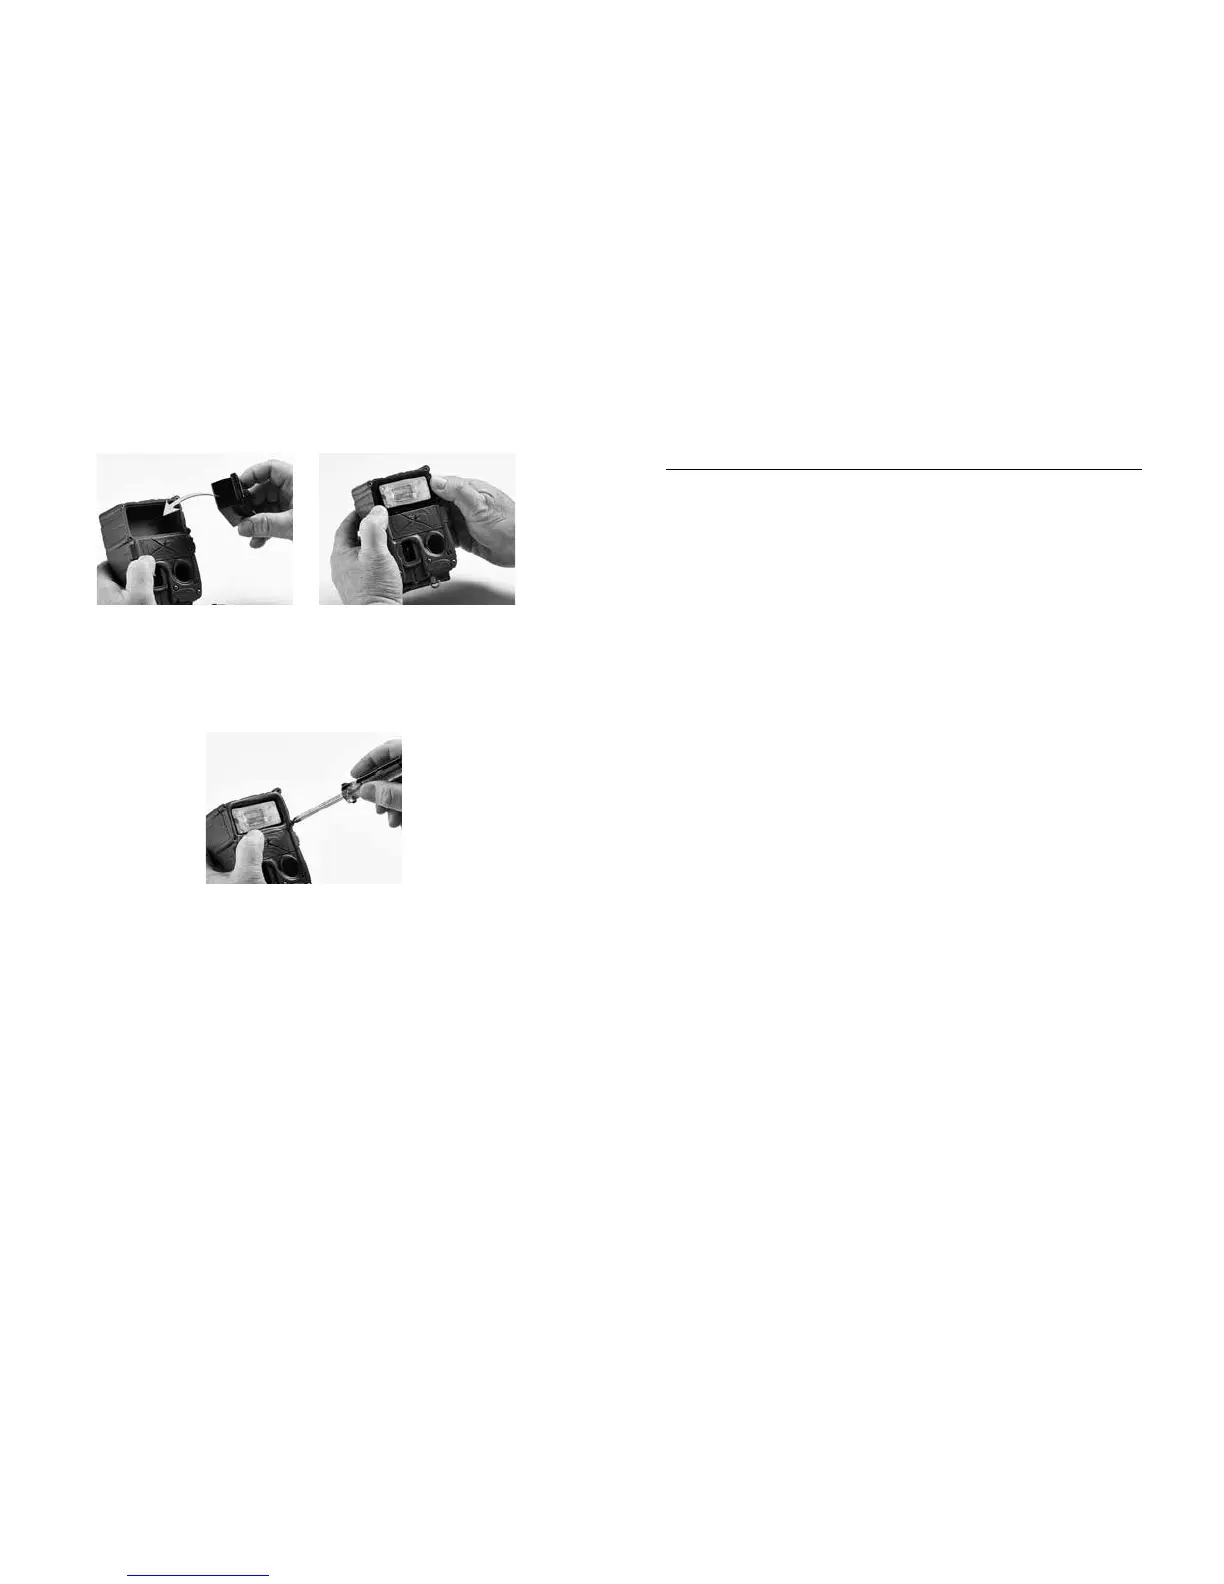
4. Insert into camera 5. Assure gasket and
(it only ts one way)
module are seated
correctly
6. Replace bezel and secure with screws
(do not over tighten, but make sure
screws are snug)
Appendix D: Troubleshooting, Service & Support
If you suspect your Cuddeback is not functioning
correctly, follow these simple steps:
Press MODE until the TESTS LED is illuminated.
Press MORE and TEST CAM will be displayed.
Diagnose allows you to test your camera for proper
operation. Follow these instructions to test your camera:
1. Press UP to enable test commands. Press UP
again to CONFIRM. Aer each test press
MORE to continue to the next test.
2. RESET is the rst command. Pressing UP
will reset the camera to factory settings. is
command is useful if you think the camera
settings are incorrect. We always recommend
resetting the camera before performing
additional diagnostic steps. Press UP and
conrm and reset the camera.
3. BATTERY level will be displayed next. If
Battery level is LOW or DEAD we recommend
you replace the batteries. Press UP to view the
Battery Image and Battery Day counters.
46 47