Page 43 - Revision:EU-2020-10-13
Always install indoors and place the Culligan C100 Water Treatment System on a firm, flat and
stable surface.
1. Attach the water supply line to the 1/4” feed water inlet bulkhead fitting on the back of the unit.
Culligan requires the use of a water pressure regulator. Water feed pressure must be between
2.7-4bar. Turn on the water supply and check for leaks.
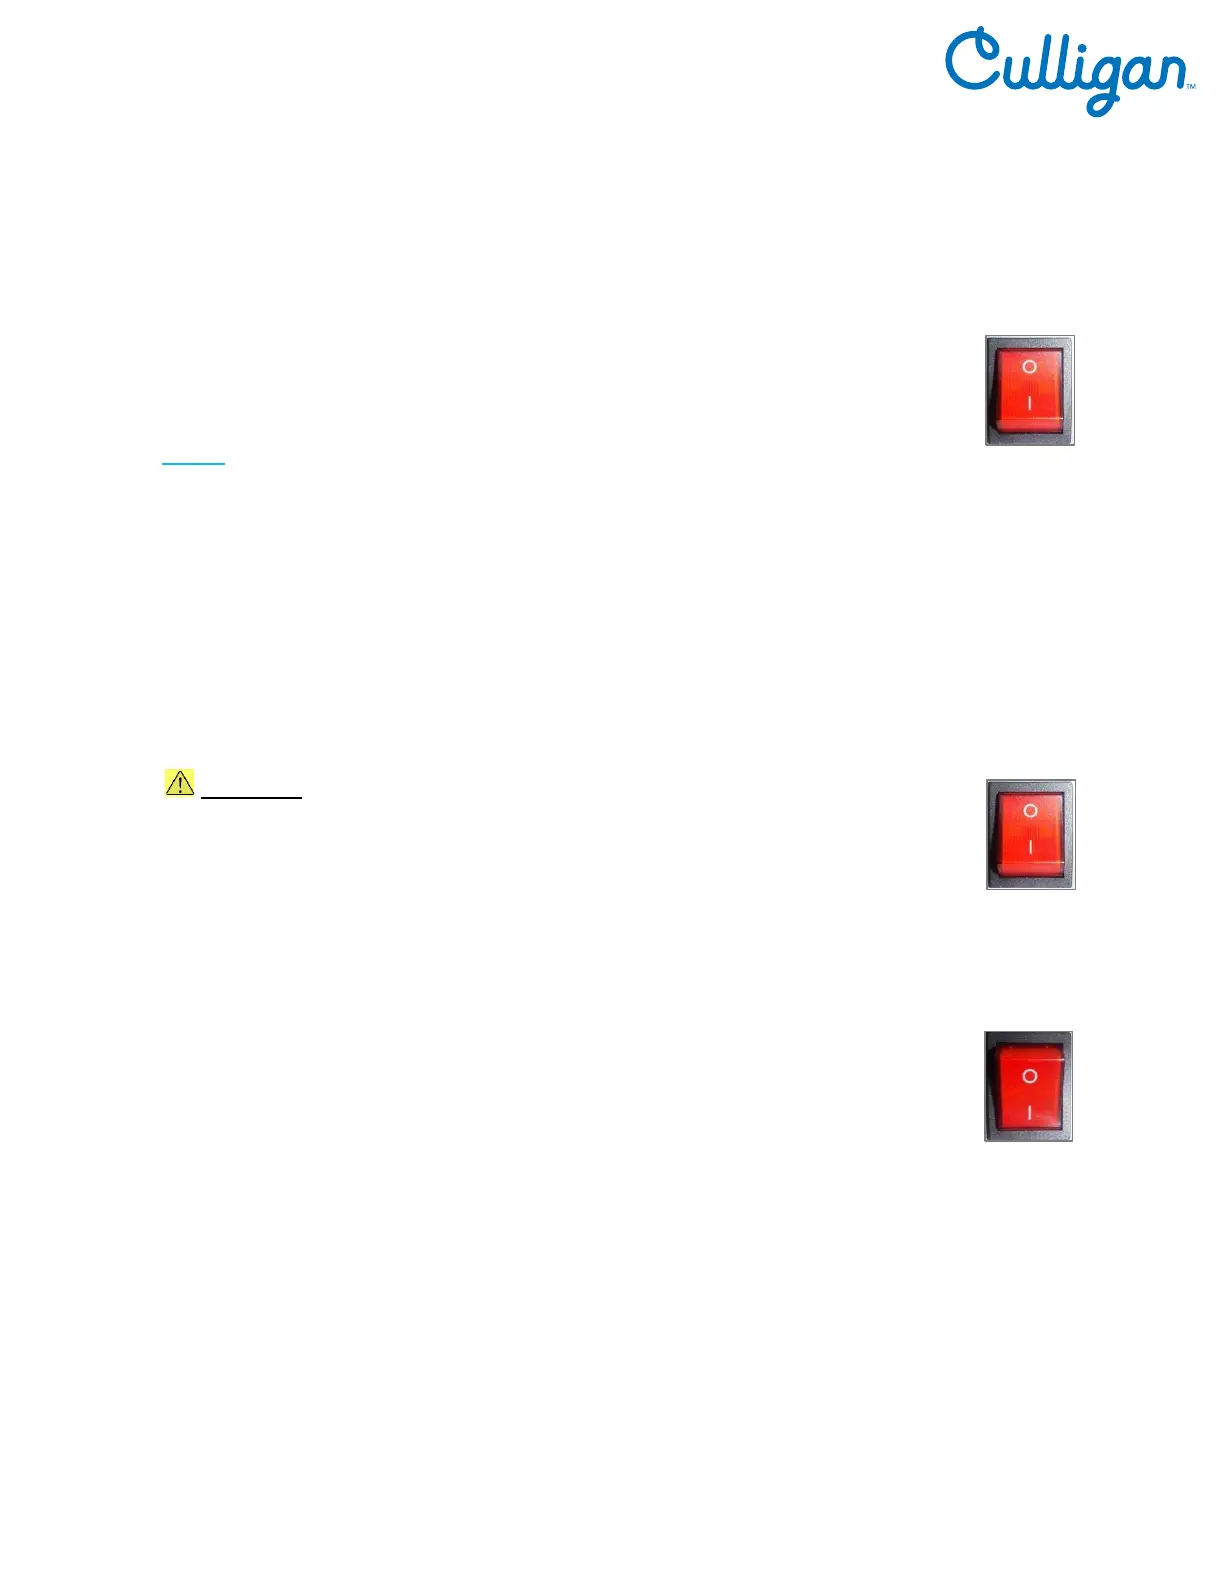
2. Check to ensure that the Red Compressor & Heater switch is the O=OFF position.
NOTE: Switch has internal LED that illuminates when placed in I=ON position.
3. Connect the power cord to the back of the Culligan C100 Water Treatment System and to a
220/240 Volt supply.
4. Fill the Cold Tank. Hold a container under the dispensing faucet, press and hold the main
dispensing button until a continuous flow of water is obtained. Once a continuous flow is
obtained, release the dispensing button. Cold Tank is now full.
5. Fill the Hot Tank. Hold a container under the dispensing faucet. Press the Hot Select Button
followed by the main dispensing button until a continuous flow of water is obtained. Once a
continuous flow is obtained, release the main dispensing button. Hot tank is now full.
CAUTION! NEVER TURN ON HEATER BEFORE FILLING HOT TANK.
Red Compressor/Heater Switch must be in the O=OFF position while the hot
tank is empty. Damage could occur within one minute and the overheat (high
limit) will require manual reset if heater is turned on with an empty hot tank.
6. Move the Culligan C100 Water Treatment System into its final operating position. Be sure that a
minimum of 50mm clearance is maintained around both the sides and the back of the unit. This is
important to allow proper airflow and heat exchange of refrigeration system.
7. Level unit using the adjustable feet to level if necessary. Never install on incline.
8. Turn the Red Compressor & Heater Power Switch to I=ON position.
9. When the unit has reached its Hot Temp Set Point, the heater will cycle off.
When the unit has reached its Cold Temp Set Point Temperature, the compressor will cycle off.
10. Once the unit is at the target temperature(s), sample the water to ensure water meets
expectations and additional rinsing or adjustment is not required.
11. Check the C100 Water Treatment System for any leaks. External Leak Protection is always
recommended.