CURTMFG.COM
•
PRODUCT SUPPORT: 877.287.8634
•
17601-INS-RB
•
09/23/2021
•
ECN8903
•
PAGE 3
Step 8 - Installing the spring bar support brackets
Mark the position of the support brackets (#3) by
making a center line on the trailer A-frame a minimum
of 4" in from the end of the spring bars (#2).
Step 2
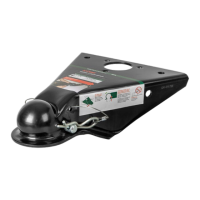
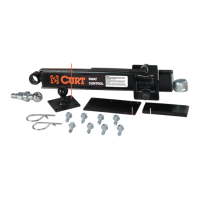
Torque ball to 450 ft-lbs. Secure the ball to the head
assembly (#1) using a lock washer (#8) and nut (#9).
Step 1
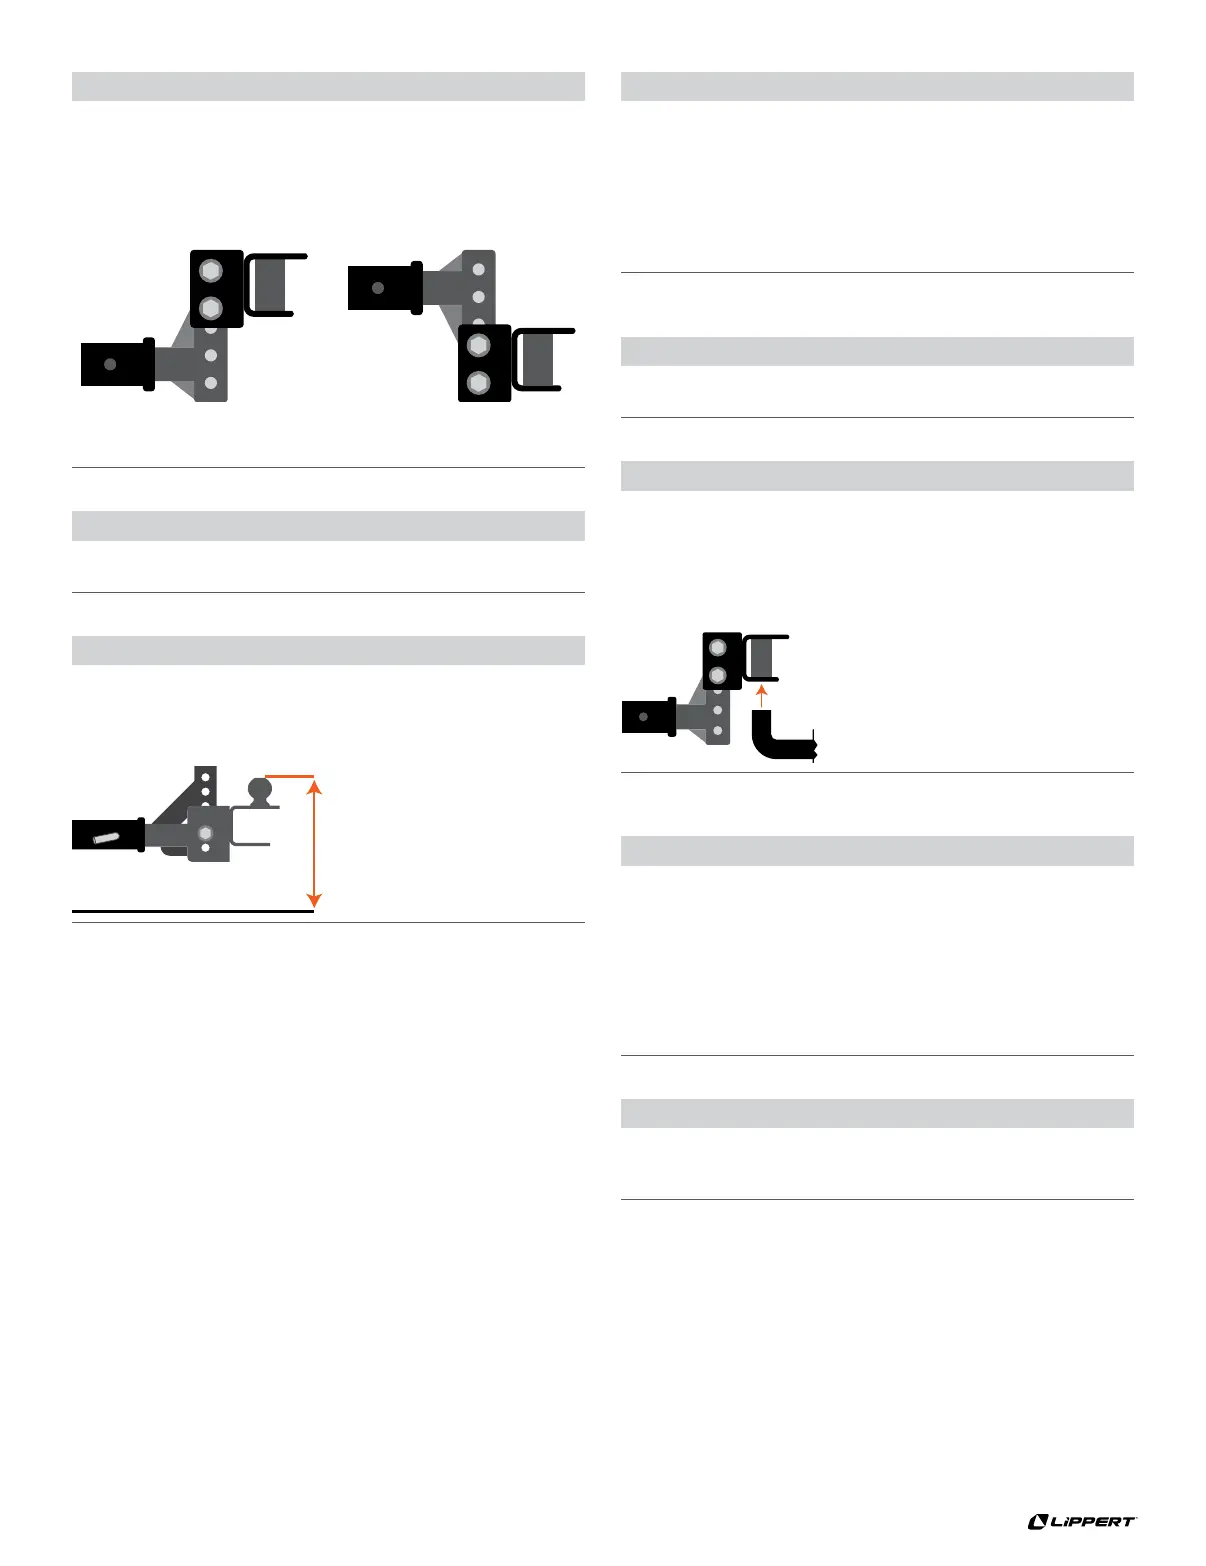
Insert adjustable shank bar (#4) into receiver tube on tow vehicle
and secure with hitch pin & clip (#6). NOTE: To obtain proper
ball height on high ground clearance vehicles, shank may
be inverted as shown below. If shank is used in the
inverted position, check for adequate ground clearance.
Upright
position
Inverted
position
Step 6 - Lubricate and install spring bars
Apply a heavy, grease on the round end of each spring bar
and push end up into the head socket until you hear a click,
as shown below. This will indicate that the spring bar is locked
into place. To release spring bar, lift up slightly on spring bar
and gently pull out on the retaining pin in the hitch head.
The spring bar will drop free of the hitch head.
Step 3
Position head assembly on shank. Slide head up or
down to the nearest bolt hole alignment position which
corresponds with the target ball height determined
earlier. Mark the position on the shank.
Closest position to
height determined
in Step 3
Step 4
Install the head on the shank at marked position. Insert the 3/4" - 10
x 5 hex bolt (#10) through the 3/4" conical washer (#11) and then
through the lower hole in the head channel. Rotate the head forward
as far as it will go. The ball should be vertical or tilted slightly back. If
it is not, adjust set screws (#13, #14). Install the remaining 3/4" - 10
x 5" bolt (#10) with 3/4" conical washer (#11) through the upper
slotted hole. Install a second 3/4" conical washer (#11) on both bolts.
Start 3/4" - 10 (#12) nylock nuts and finger tighten only.
Step 7 - Attaching the trailer to the ball
Using the trailer tongue jack, lower the coupler onto
the trailer ball and close coupler latch. Do not retract
jack fully at this time. Allow the jack to support some
of the tongue weight.
Raise the front of the trailer and back of the tow vehicle
approximately 3" with tongue jack or until the rear bumper
is back to the initial measured height. This will allow easier
installation of the spring bars onto the support brackets.
Step 5
Tighten top 3/4" - 10 x 5 hex bolt (#10) just enough to hold head tight
against the pin in the head channel. This bolt will be tightened later.