7 Installation
Installer reference guide
42
ERHQ+ERLQ011~016 + EHBH/X11+16CB
Daikin Altherma – Low temperature split
4P384974-1 – 2015.01
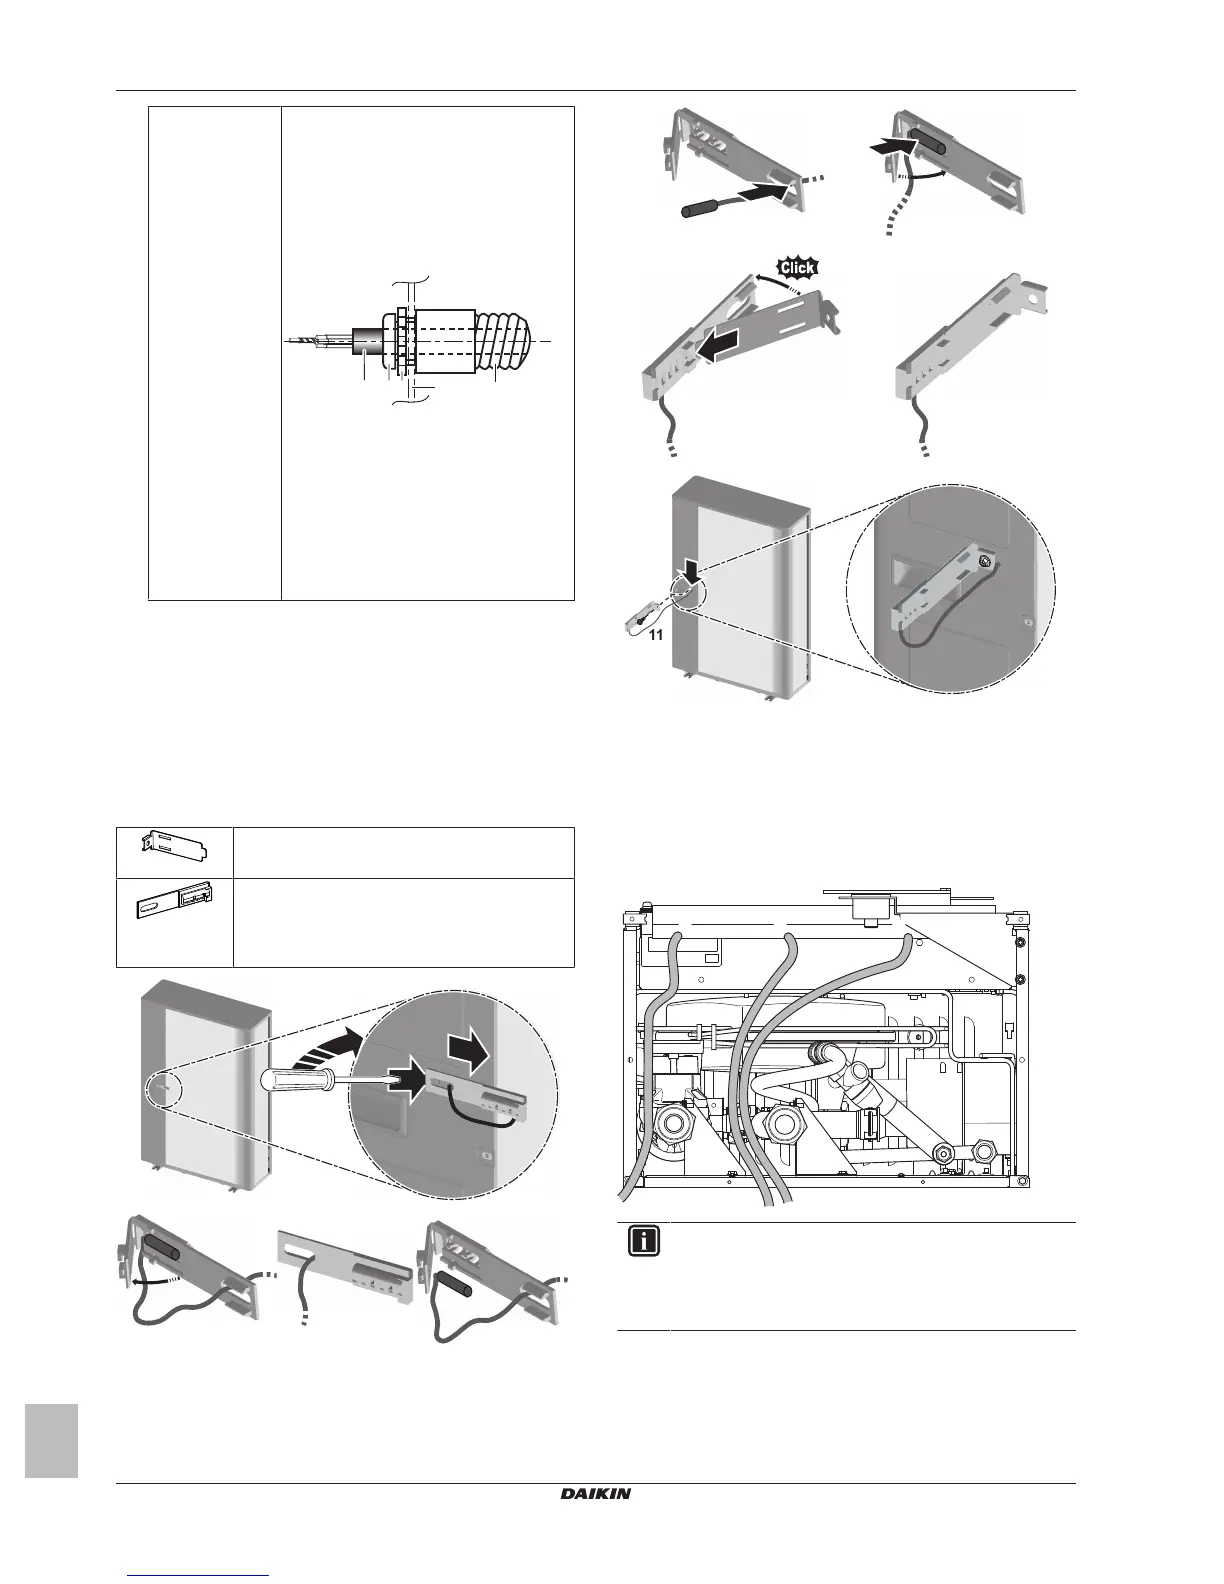
Connecting to the
frame
When cables are routed from the unit, a
protection sleeve for the conduits (PG
insertions) can be inserted at the knockout
hole.
When you do not use a wire conduit,
protect the wires with vinyl tubes to
prevent the edge of the knockout hole from
cutting the wires.
A Inside of the outdoor unit
B Outside of the outdoor unit
a Wire
b Bush
c Nut
d Frame
e Hose
6 Reattach the service cover. See "7.10.2 To close the outdoor
unit"on page47.
7 Connect an earth leakage circuit breaker and fuse to the power
supply line.
7.9.7 To reposition the air thermistor on the
outdoor unit
This task is only required for ERLQ.
Required accessories:
Thermistor fixture.
Use the one from the accessory bag.
Thermistor fixing plate.
Reuse the one attached to the unit. If necessary,
you can use the spare one from the accessory
bag.
7.9.8 To connect the electrical wiring on the
indoor unit
1 To open the indoor unit, see "7.2.3To open the indoor unit"on
page29.
2 Wiring should enter the unit from the bottom.
3 Routing of the wiring inside the unit should be as follows:
INFORMATION
When installing field supply or option cables, foresee
sufficient cable length. This will make it possible to remove/
reposition the switch box and gain acces to other
components during service.
 Loading...