3 | Components
Service manual
97
EBLA09~16DA + EDLA09~16DA
Daikin Altherma 3 M
ESIE20-06A – 2021.03
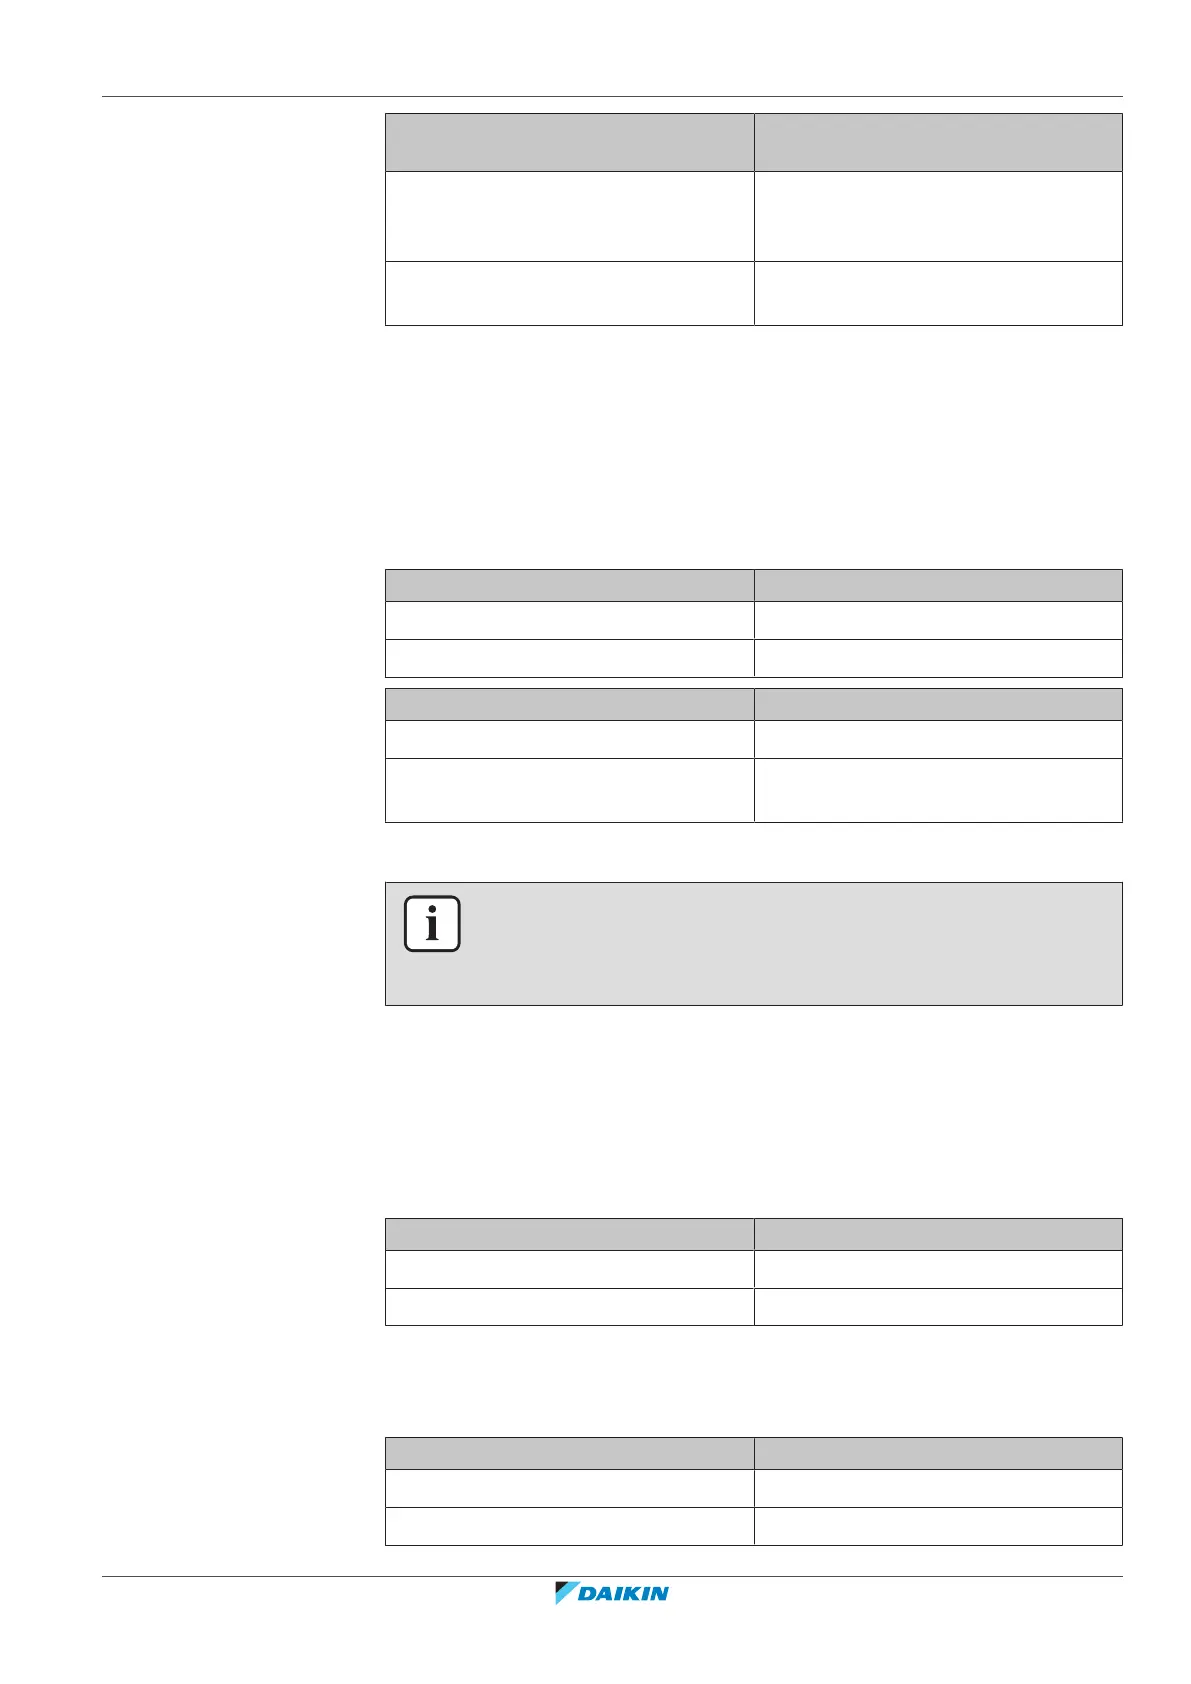
Is the 4‑way valve coil firmly fixed and
not visually damaged?
Action
Yes Perform an electrical check of the 4‑way
valve, see "3.2.1Checking
procedures"[496].
No Fix or replace the 4‑way valve coil, see
"3.2.2Repair procedures"[4101].
To perform an electrical check of the 4-way valve
1 First perform a mechanical check of the 4-way valve, see "3.2.1 Checking
procedures"[496].
2 Unplug the 4-way valve connector from the appropriate PCB.
3 Measure the resistance of the 4-way valve coil between the pins of the 4-way
valve connector.
Result: The measured value must be:
Unit Coil resistance
1‑phase outdoor unit 1,4kΩ ± 10%
3‑phase outdoor unit 520~600Ω
Is the measured value correct? Action
Yes Continue with the next step.
No Replace the 4‑way valve coil, see
"3.2.2Repair procedures"[4101].
When outdoor unit is combined with Heating + Cooling indoor unit
INFORMATION
This procedure is ONLY possible when the outdoor temperature is within the
temperature range for both Heating and Cooling operation mode. See the
databook on Business Portal for the temperature range of the operation modes.
1 Connect the 4‑way valve connector to the appropriate PCB.
2 Turn ON the power using the respective circuit breaker.
3 Activate Heating operation via the user interface.
4 With the 4‑way valve connector connected to the PCB, measure the voltage
on the 4‑way valve connection of the PCB.
Result: The measured voltage MUST be:
Unit Voltage
1‑phase outdoor unit 230VAC
3‑phase outdoor unit 12VDC
5 De-activate Heating and activate Cooling operation via the user interface.
6 Measure the voltage on the 4‑way valve connection on the PCB.
Result: The measured voltage MUST be:
Unit Voltage
1‑phase outdoor unit 0VAC
3‑phase outdoor unit 0VDC
 Loading...


