7 | Unit installation
Installer reference guide
70
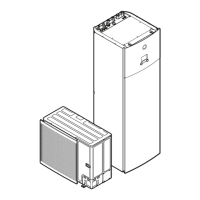
ERLA11~16DAV3+W1 + EBVH16SU23DJ
Daikin Altherma 3 R F
4P655196-1 – 2021.09
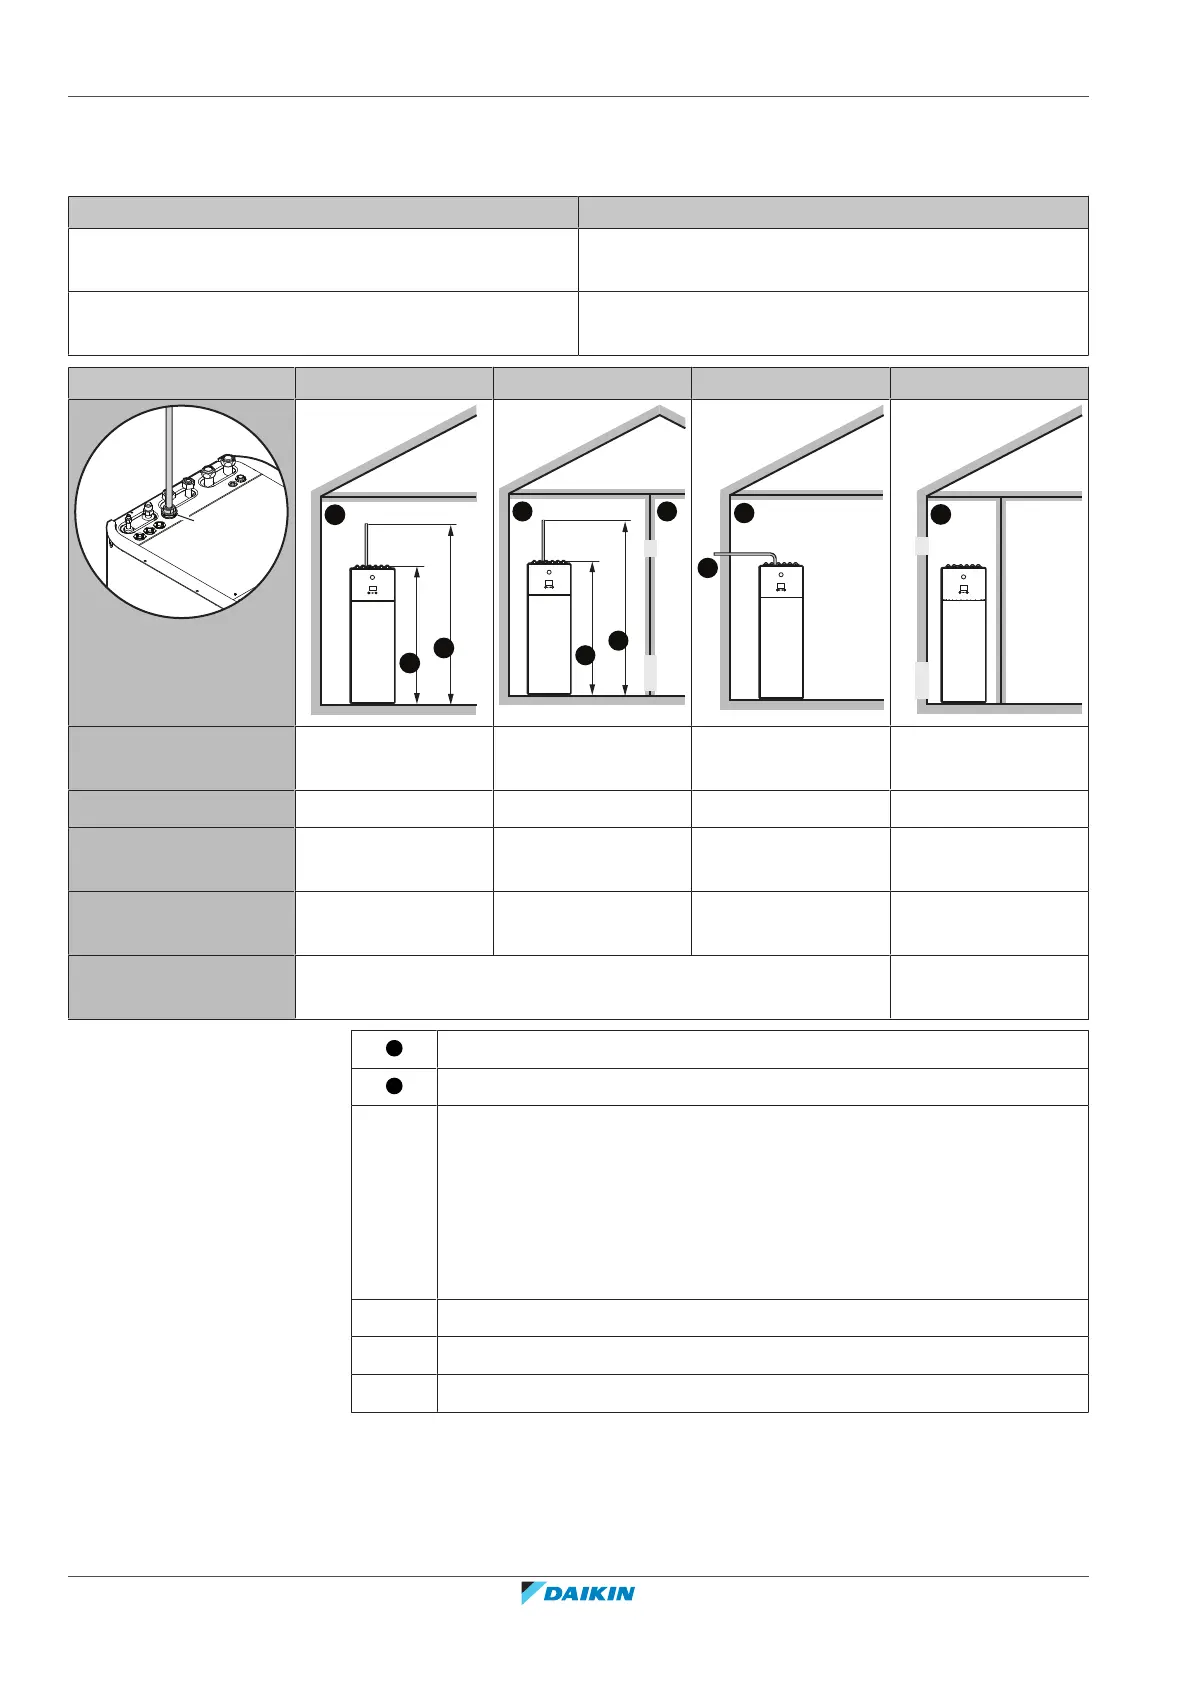
7.1.5 Installation patterns
Depending on the type of room in which you install the indoor unit, different installation patterns are allowed:
Room type Allowed patterns
Living room, kitchen, garage, attic, basement, storage
room
1, 2, 3
Technical room (i.e. room that is NEVER occupied by
persons)
1, 2, 3, 4
PATTERN 1 PATTERN 2 PATTERN 3 PATTERN 4
H
release
H
release
2a
b
c2
c1
A
B
2b
Ventilation openings N/A Between room A
and B
N/A Between room A
and outside
Minimum floor area Room A Room A + Room B N/A N/A
Chimney Might be needed Might be needed Connected to
outside
N/A
Release in case of
refrigerant leakage
Inside room A Inside room A Outside Inside room A
Restrictions See "PATTERN 1"[472], "PATTERN 2"[472], "PATTERN
3"[474], and "Tables for PATTERN 1, 2 and 3"[474]
See "PATTERN
4"[477]
Room A (= room where indoor unit is installed)
Room B (= adjacent room)
a If no chimney is installed, this is the default point of release in case of
refrigerant leakage.
If needed, you can connect a chimney here:
▪ Unit's connection point for the chimney = 1" male thread. Use a
compatible counterpart for the chimney.
▪ Make sure the connection is airtight.
b Chimney
c1 Bottom opening for natural ventilation
c2 Top opening for natural ventilation